Holed stone 5.
Image credit: A. Brookes (18.6.2024)
Holed stone 5.
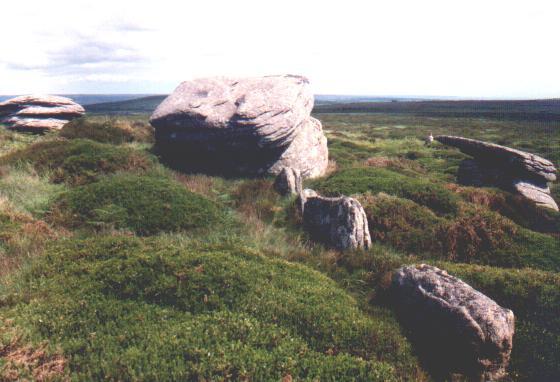
Part of the row of holed stones on Kenidjack Common, photographed from the north west on 5th of May 2003. © Chris Bond.

Part of the row of holed stones on Kenidjack Common, photographed from the north west on 5th of May 2003. © Chris Bond.

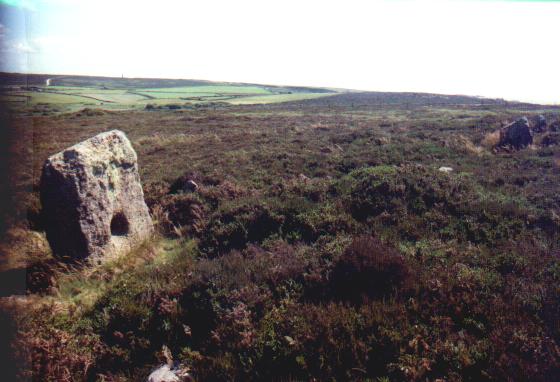
One of the holed stones on Kenidjack Common, photographed from the north west on 5th of May 2003. © Chris Bond.

One of the holed stones on Kenidjack Common, photographed from the north west on 5th of May 2003. © Chris Bond.

One of the holed stones on Kenidjack Common, photographed from the east south east on 5th of May 2003. © Chris Bond.

One of the holed stones on Kenidjack Common, photographed from the east on 5th of May 2003. © Chris Bond.

One of the holed stones on Kenidjack Common, photographed from the north east on 5th of May 2003. © Chris Bond.

Looking from Stone 4 towards Stone 5.

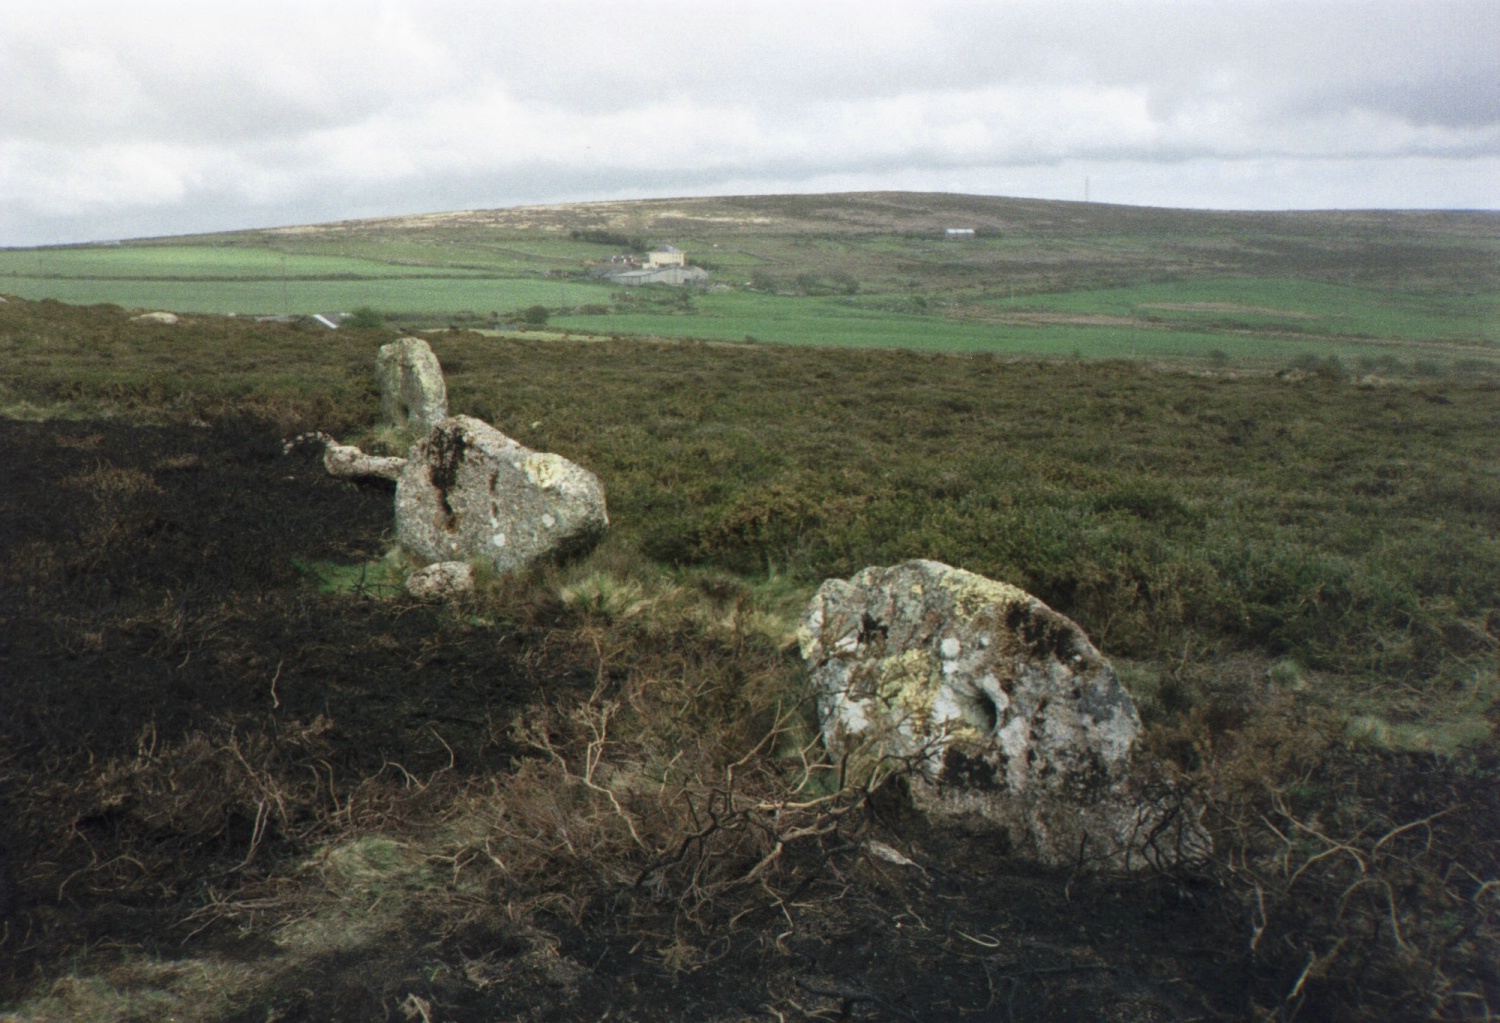
The cleared stones, with assorted blocks revealed.

No idea where the two blocks in front appeared from.


Repaired stone 5, still keeping it together.

The area around the base of the stones has been cleared,revealing various stones between stones 2 (pictured) and 3 (behind the camera).

An alignment of Tregeseal Holed Stones.

Stone 2.

Stone 3.

Stone 4.

Repaired Stone 5.

Four of the stones in a line. The second from the right is unnumbered and is probably a fragment only.

Photo taken 5th March 2014. One of repaired holed stones, with the looming shape of Carn Kenidjack on the skyline in the background.


Prostrate stone between 2 and 3, with apparent hole on left hand edge.

Stone 3.

The broken top of Stone 1.

Stone 1 remains broken.

Meet the residents.

Another view of the repaired and re-mounted Stone 5.

Since our last visit in October 2010, Stone 5 has been repaired (again) and re-erected.

on our way to chun we passed these curios- it was unccomonly warm to the touch- after a sunless day

Stone 1. The cement from the unsuccessful repair can be seen on top of the stone.

Broken stone 1.

Stone 5, looking back to stones 2, 3 and 4. The repairs shown in earlier pictures didn’t last.

Broken stone 5. The top of Carn Kenidjack can just be seen over the heather.

Stone 2 (foreground), with stones 3 and 4 behind.

In muted autumn browns.

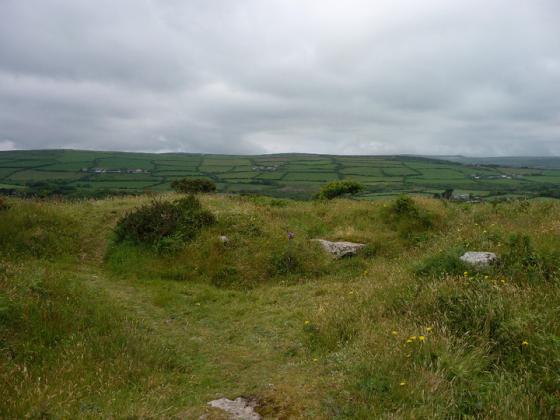
Looking SW towards Botrea barrows on the skyline.

Autumn colours.

Viewed as an alignment.

Two of the stones.

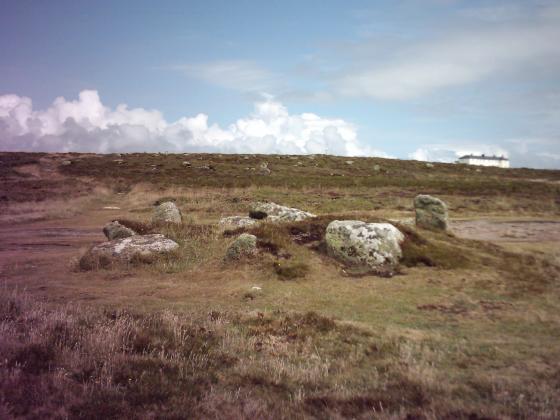
Overview of stones 2, 3 & 4 looking SW – back towards the remaining Tregeseal circle. Jane stands next to stone 5

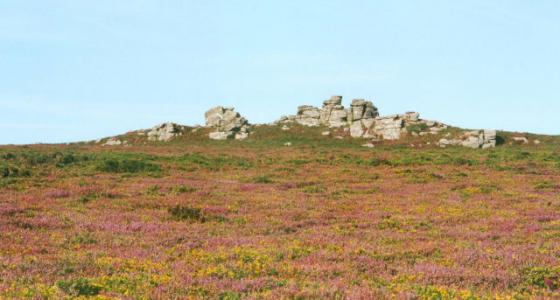
The holed stones with Carn Kenidjack on the horizon


Stone 1 – 0.9m high. Better repaired than 5.

Stone 2 – 1.4m high. The hole is well into the lower half of the stone – see also Stone 3.

Stone 3 (1.2m high when upright). It seems to have fallen to the left which would make the hole quite low down the stone when it was upright.

Stone 4 (0.8m high when upright).

Stones 2, 3, 4 from L to R.

Stone 5 and its clumsy repair (with 2,3,4 from L to R in background)

Kenidjack Holed Stone
May 2002

Kenidjack Holed Stone

Kenidjack Holed Stone
May 2002
Visited these and the nearby barrows and stone circle, and unless I’m particularly blind at the moment I couldn’t see the broken stones. I may just have missed them or have they been removed or taken away for repair?
To find these from the Tregeseal stone circle, take the path from the SE corner of the circle that runs NE just skirting the S side of the southerly of the three cairns. The holed stones start a little beyond the cairn.
There are five stones. Three are in an alignment of four stones (one unholed) and these have been numbered 2,3,4 from E to W. Numbers 3 and 4 have fallen. Number 2 still stands and is the tallest of the five at 1.4m.
There are two outliers – stone number 1 lies 90m to NE of the alignment and is fairly easily spotted on the hill. Number 5 is easily seen 18m NW of 4.
1 and 5 have been repaired and are made of different stone from the other three.
Visited October 2003