
Another stone with fine views of Y Rhinogydd.
Image credit: A. Brookes (10.11.2021)
Another stone with fine views of Y Rhinogydd.

Looking SW towards Foel Senigl. Stone C can be seen on the right, in front of the wall.

Looking towards Moel Goedog hillfort.

Looking towards what would be an ideal place for a cupmarked gorsedd, but isn’t.

Awwww how cute, if you two are eating my car i’m gonna eat you right now.

Moel Goedog hill fort above the right side of the stone.

September 2014

September 2014

September 2014


Stone C can be seen in the near distance in front of the wall


Stone D from SW
Stone D from SE
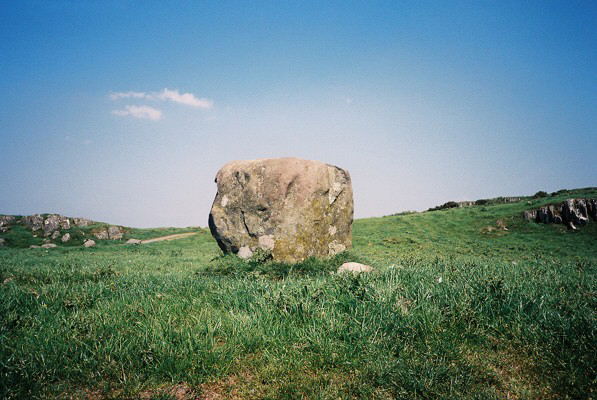
When I saw this stone I was unsure about it. It seems so different to the other nearby stones. The others are much thinner and more upright while this is a small squat bolder.
Stone C can be seen quite clearly from this stone. And it does mark the track way leading up to Moel Goedog.
It stands just to the NW of the track leading to Moel Goedog.
Coflein description: “Standing stone 0.9m high by 0.6m by 0.5m at the base. It is situated between two tracks, near the junction.”


