22/092/012 – Hingston Down
22/092/012 – Hingston Down
Visited 14.4.12
Directions:
3km north east of Callington – just off the A390. Follow the brown road sign for Kit Hill summit. There is a large free car park right next to the Barrows so access is very easy.
After a visit to the Dupath Well-House (E.H. site) in Callington I just had time to visit this Barrow cemetery. (As an aside the well-house is a cracker and well worth a visit)
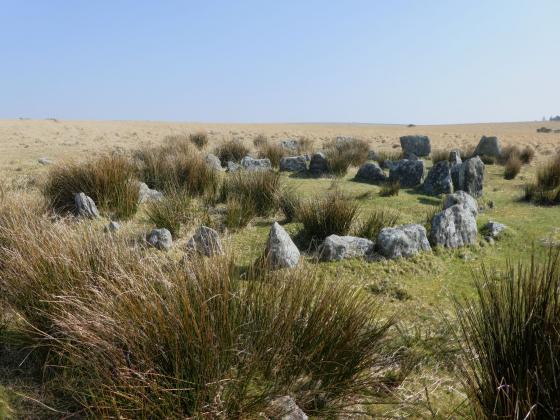
The Barrow immediately south of the car park is approximately 0.5m high and 10m across. It has been dug into and is well mangled. There are two stones sticking out of it.
The Barrow immediately east of the car park (the other side of the road) is approximately 1.5m high x 15 m across.
The next one along is 1.5m x 10m
The last of the Barrows was the other side of a very muddy field and had tractor tyre marks across the top of it! It is another mangled Barrow and looked to be about 1.5m high x 30m across
As I said, all of these Barrows are easy to see but you do have to jump over a field gate to get close to the 3 across the road from the car park. (Muddy)
There are good views to be had and I would certainly recommend a visit to see these Barrows when in the area.
The O/S map shows a further two Barrows to the south west which I didn’t investigate.