
What the barrow cemetery used to look like before most of it was ploughed out.
Image credit: formicaant 15/03/10

What the barrow cemetery used to look like before most of it was ploughed out.

The bowl barrow with the bank barrow to the right of it.

The barrow from White Horse hill to the north.

A small bowl barrow on a hill to the east, between is what remains of Mount Pleasant henge.

Conquer barrow is in the clump of trees, the crop mark about a third of the way down the photo is what remains of the bank of Mount Pleasant henge.

The very large, tree covered Conquer barrow from the south.

Two bowl barrows from the road down the valley.

Gorse covered bell barrow across the road from the east end of the bank barrow.

The bank barrow and associated round barrows from the top of a bell barrow in the east hill group. Shame about the power lines!

One of the western barrows with Bincombe Bumps in the background.

The north barrow from the east.

The most northerly barrow from the south, this is across the track from the main group.

A very slight, almost ploughed out barrow in the centre of the group, it appears as a mound from all directions.

The most easrely barrow, from the east.

Bell barrow with the pond barrow in the foreground.

Central bowl barrow with a slight ditch evident.

Pond barrow next to the bell barrow.

A low bowl barrow in the east of the group.

The central bell and bowl barrows with Came Woods in the background.

The bell barrow from the side of the large central bowl barrow.

Looking across Martin Down from the top of the dyke.

The bank and ditch, close to the road where it is at its slightest.

The central part of the ditch as it crosses Martin Down.

The main, southern part of the dyke as it snakes its way up Blagdon hill.

The northern part of the dyke, this is not far from the main road.

The two western pairs from the valley below.

The barrows from the valley below, looking south.

The full expanse of the hillfort from the south looking north above the village of Askerswell.

The cross dyke above Askerswell with Eggardon Hill in the background, viewed from the other side of a very busy dual carriageway.

The large barrow from the east with Deverel barrow in the background (dark green trees).

The large barrow from the style into the field.


The first and smallest of two barrows off the down.

The second of two bowl barrows on a track just off Deverel Down.

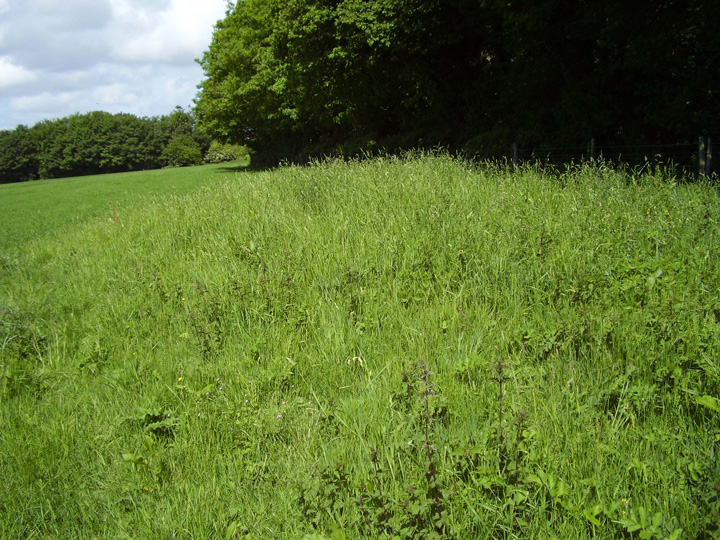


The hillfort from the valley below, the stone pillar is a war memorial.


The isle of Athelney with the memorial to king Alfred.

The south east corner, with Colmer’s hill in the distance.

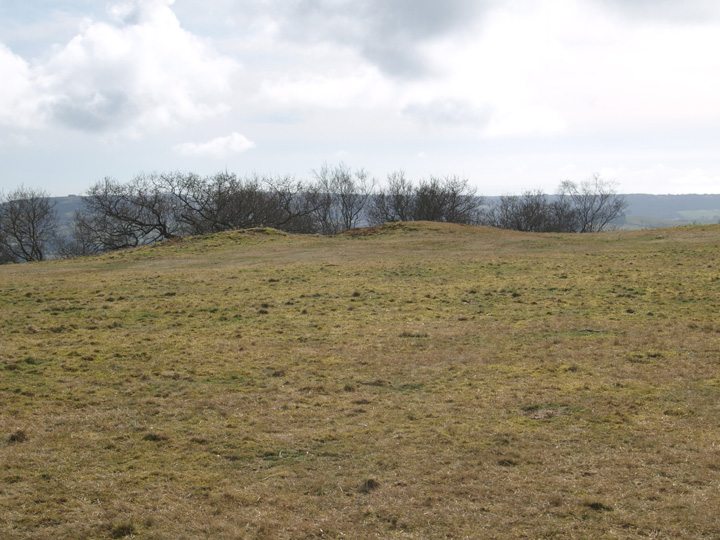

Bronze age round barrow in the interior of the hillfort.


The ditch of the southern side of the fort.

The southern bank and modern entrance.

The northwest corner of the hillfort from Whitfield farm long barrow, the railway tunnel which saved Poundbury from being destoyed can clearly be seen. The wall in the foreground is an old firing range.

The long barrow is in the centre of the photo, on the top of the ridge, now appearing much reduced by the plough.