
Looking north along the eastern row.
Image credit: A. Brookes (3.2.2013)

Looking north along the eastern row.

Two of the larger stones of the eastern row.

Displaced capstone of the eastern terminal cairn.

Cairn at the northern terminus of the east row.

The cairn at the northern terminus of the east row.

Hawks’ Tor.

Hawks’ Tor natural dolmen, to the SE of the settlement.

Approaching Hawks’ Tor from the NE. On first sight it looks like a Chun Quoit or a Maen-y-Bardd.


What I took to be the ring cairn, although the summit area is so badly pitted and dug into that it’s difficult to be certain.

Hut circle near Enclosure “B”, looking north.

Detail of the outer wall of Enclosure “A”, the best preserved in the settlement.

Fine hut circle in Enclosure “A”, showing near-complete inner facing of the walls.

In-situ door jambs of one of the Enclosure “A” hut circles.

Well-preserved hut circle near Enclosure “C”.

Detail of the outer wall of Enclosure “C”.

One of several hut circles not attached to one of the bigger enclosures.

Remains of Enclosure “D”, reduced to an arc of upright slabs on its northern side.

Enclosure “E”, at the northwest of the settlement.

Elevated view of the meandering row, from its northern terminus (bottom right) towards the southern terminal cairn circle (over the brow of the hill, top left).

The row from its northern terminus.
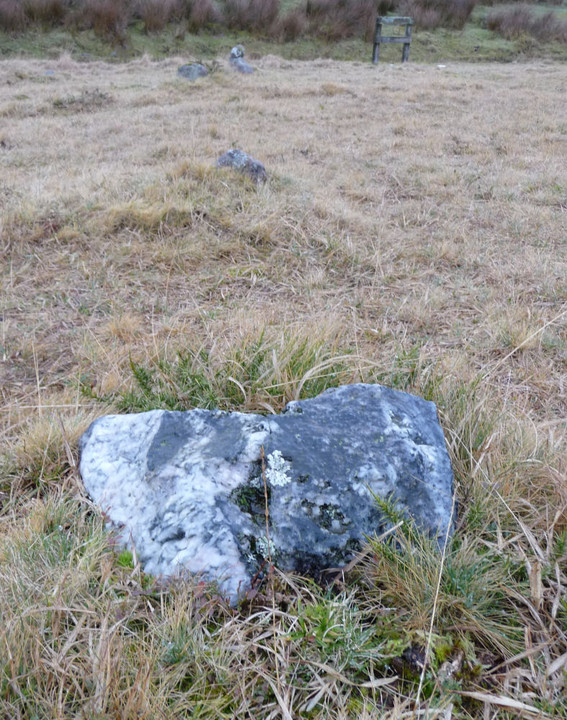
Nice quartz-veined stone towards the northern (lower) end of the row. This is one of the largest stones in the row.

Remains of kerbed cairn lying just to the east of the row, about halfway along its length and slightly uphill.

The southern end of the row, looking towards the terminal cairn circle (beyond the star post). Even in winter, the small stones are almost submerged into the turf.

Hut circle lying to the immediate SSW of the terminal cairn circle of the stone row. Looking SW towards Plymouth.

Looking SW across the cairn circle (note tiny upright in the foreground). Larger stones of a ruined hut circle can be seen in the top left of the picture.

The southern arc of the terminal cairn circle (three stones visible), looking SE.

Looking NE across the cairn circle. Three of the remaining stones in the southern arc can be seen in the foreground.

This large slab lies along the northern perimeter of the terminal cairn circle. Otherwise, only very small stones remain, one of which can be seen immediately beyond the slab. The row runs north from the metal pole in the background.


Looking WSW across the cairn, towards Shaden Moor. In situ kerbing can be seen on the north side of the mound.

The rather lumpy West Saddlesborough cairn, looking approx east. It’s not clear whether the large stone in the right foreground is a detached part of the structure (kerbing?) or just a naturally placed rock.

Fan Llia is the mountain in the centre. Fan Nedd with its own cairns is over to the right. Maen Llia stands out of sight in the valley between the two. From the northeast.

Showing the approx position of the cairn above Glyn Tarrell. The viewpoint is the Beacons Way below Fan Fawr.


Seen from the NE. The low profile of the round barrow can be seen to the left of the picture.


The adjacent round barrow in the foreground, with the long barrow behind.

Straight section across the common.

The central section of the earthwork, helpfully highlighted by the snow.

The earthwork is cut by the busy Minchinhampton – Stroud road.

The eastern section of the dyke.

Cotswolds Winter.

Showing how the snow has melted around the stone, but lies deep across the field.

A nice bit of winter sun.

The northeast face of the stone.


Through the weird window.