Two forts for the price of one... although for me Dun Beag is by far the finer. Looking across Camas Malag from the excellent coastal track to Dun Kearstach
Image credit: Robert Gladstone
Two forts for the price of one... although for me Dun Beag is by far the finer. Looking across Camas Malag from the excellent coastal track to Dun Kearstach

Aerial view of the strategic positioning of Dun Beag and big neighbour Dun Mor (left hand of the narrowest part of Loch Slapin) looking across Loch na Sguabaidh from the wondrous Glas-Bheinn Mhor

Dun Mor is that-a-way.... however I would strongly, strongly recommend you listen to Les and not decide to take that literally... as I did.


Dun Beag is far left....


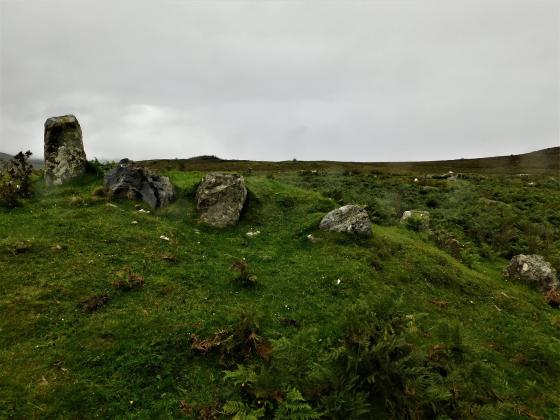
Just big enough for a small family group, this. Perfect.

Dun Beag is the penultimate bit of the sloping, grassy ridge... seen to the SE across Loch Slapin. Although dead on my feet I just had to get there. Blà Bheinn, Sgurr nan Each and Garbh-behinn form the magnificent skyline
Canmore description:
On an elevated rocky promontory jutting into Loch Slapin.
The plateau on the summit of the rock is roughly oval on plan and measures 36ft N-S and 28ft E-W: it stands about 30ft above HWM and 20ft above the rock to the landward side to the N. The slight remains of a stone wall are traceable along the whole circumference of the defence, being rather higher towards the land.