
The outer bank at the northeastern end of the fort.
Image credit: A. Brookes (20.1.2023)

The outer bank at the northeastern end of the fort.
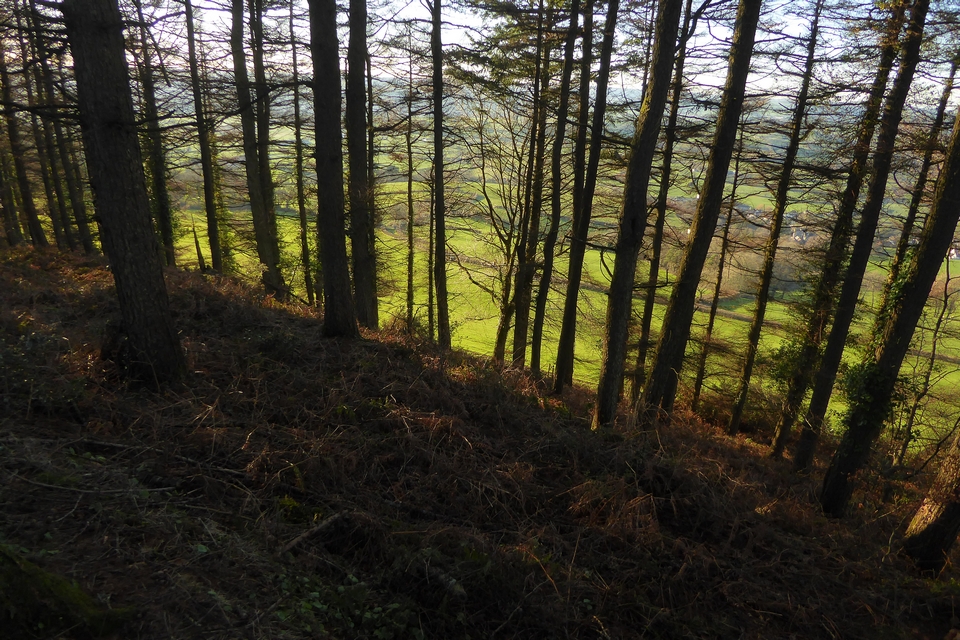
The very steep drop on the western flank, looking down on Musbury village and the Axe valley.

Looking along the inner northeastern bank.

Looking towards the outer bank from the inner bank at the northeastern end of the fort.

Tangled undergrowth on the massive inner bank at the northeastern end of the fort.

The ditch below the southwestern bank, looking along the annex towards Seaton and the Devon coast. The prominent wooded hill to the left of centre is Hawkesdown Hill fort.

Fort interior from the southwestern bank.

The massive bank at the southwestern end of the fort.
Visited 20 January 2023. After a Christmas and New Year spent slowly getting over Covid, a family gathering takes me to Musbury at the eastern fringes of Devon. A quick check of the OS map reveals a hillfort within a short distance of the village, a test for my weakened legs.
It’s a beautiful afternoon when I arrive in the village after a sunny and scenic train journey to Axminster, and I’m raring to get out and visit the fort. A fairly gentle ascent follows a farm track southeast from the church, giving good views of the profile of the wooded fort from the west. A stile gives access to fields, thankfully still frozen to keep the mud at bay, the route gradually getting steeper the further up I get. At length a footpath heads off up to the fort itself, and it’s only a few minutes before I’m at the massive southwestern rampart.
The earthwork here is very impressive, cutting off the interior of the fort from some kind of much less defined southwestern annexe. There are great views across the Axe valley to the west, and down to the coast at Seaton, partially hidden by another hillfort on Hawkesdown Hill.
I follow the rampart along the northwestern crest of the ridge. Here the earthwork is under trees and much smaller, relying on a very steep hillside to do most of the defensive work. The interior of the fort is a grassy field, the grass deep and tussocky and not that easy to walk through. Heading further north the way is barred by a fence, over which I can see a second huge earthwork, even taller than the one at the southwest. I follow the fence round to the corner of the field and a pedestrian gate, which gives access to the more overgrown northern part of the fort.
There are two enormous parallel banks here, forming the northeastern defences. Both are heavily overgrown with dead bracken and bramble, but this is definitely the time of year to come as it’s possible to walk along the tops of both of them, the undergrowth trying to catch my stumbling legs and trip me over. In the woods at the western end of the banks I startle a couple of deer, which run pell-mell down the field.
After disentangling myself from the vegetation I follow the southeastern side of the ridge round. Again there’s a lesser rampart running along the crest of the hill, but the natural slope is utilised to form the defences. Back at the southwestern end of the fort I have a look at the slight bank of the annexe. This a great little fort, the views are terrific on such a lovely day.
It’s cold and I’m tiring quickly, my recuperation not yet complete. I head back down the way I came, the sun sinking and the still frozen ground preparing for another hard frost. Tea and warmth await below, and despite the wobbly legs by the time I reach the church, I’m delighted to have been able to visit this fine site in such perfect conditions.

Modern-day site layout, showing the areas destroyed by gravel extraction. From the Gloucestershire Wildlife Trust info board on the site.


The Devil’s Chair at midwinter. No sign of Owd Scratch.

The hillfort from Carding Mill Valley below as dusk approaches. The bank and ditch can be seen clearly.

The NE barrow skyline profile, from the northeast.

The top of the NE barrow has been reclaimed by the heather since my previous visit a dozen years ago.


Looking east across the top of the SW barrow towards Caer Caradoc, Hope Bowdler Hill and Brown Clee.

Looking west across the top of the SW barrow towards The Stiperstones.

The ravaged northern flank of the SW barrow.


The barrow is densely covered in heather. Looking ESE.

Looking south. There are lots of barrows along the Long Mynd ridge. The high hills on the distant skyline to the right of centre are the mountains of Radnor Forest.

The top of the barrow shows a central excavation pit. Looking towards The Stiperstones.

The barrow in skyline profile, seen from the east.

Looking west. The skyline hills are Heath Mynd (cairn), Corndon Hill (many cairns) and The Stiperstones (cairns). It’s probably possible to see Pumlumon and maybe Cader Idris between Corndon and The Stiperstones.

The mound beneath the heather is most obvious on its northeastern side. Looking towards the gliding club. The OS map shows further barrows along the ridge to the left.

Looking southeast towards the Clee Hills, Callow Hill and Norton Camp. The Malverns are visible on the far centre skyline, but difficult to see at this resolution.

Looking NE across the heather-covered mound. The second hill from the left is Grindle, which has three barrows. Far right skyline is Brown Clee.

Landscape context of south Shropshire’s hillforts. Seen from Packet Stone, on the Long Mynd to the northwest.
English Heritage description:
The monument includes the remains of a substantial round barrow situated on a flat open hilltop. The barrow is visible as a flat topped mound of earth and stone, 24m in diameter and up to 1.5m high. The summit of the mound has been disturbed by exploration at some time in the past, creating a central crater 5m in diameter and 0.6m deep. Although no longer discernible as a surface feature, a ditch, from which material was quarried during the construction of the monument, surrounds the mound. This has become infilled over the years but survives as a buried feature some 2m wide.

Caer Caradoc on the left, with Ragleth Hill to the right. Seen from the lower slopes of the Long Mynd above Minton to the southwest.
English Heritage description:
The monument includes a substantial round barrow situated on the summit of Minton Hill. The barrow is visible as a circular, well defined stony mound, 16m in diameter and 1m high. The flattened summit of the mound has been disturbed by exploration at some time in the past creating a central hollow 2m in diameter and 0.3m deep. Although no longer discernible as a surface feature, a ditch, from which material was quarried during the construction of the monument, surrounds the mound. This has become infilled over the years but survives as a buried feature some 2m wide.

The cliffs of the north face, with the enclosure perched above. Taken as I beat my retreat back down the mountain to Dolgellau; not the best day for a visit, I returned in entirely different weather the following May.

The enclosure, outcrop and cairn.

Towards Mynydd Moel, which I had hoped to climb next. Sanity won the battle.

There’s a substantial amount of stone in the walls of the enclosure. Looking north-east towards Aran Fawddwy, notionally.

Looking north, down to a distant looking Dolgellau where warmth and tea await. Y Garn, Foel Offrwm and Rhobell Fawr are the dimly seen backdrop hills.

The enclosure slopes steeply to the east. Looking towards the Dyfi Hills, in a reverse of Gladman’s image.

Enclosure wall, with the cairn to the right. I think the cairn is modern, although it’s not on the true summit of the hill. It surmounts a natural outcrop enclosed by the wall.

Contemplating the ascent on the north-east ridge, as 40-50 mph winds lash the rain at me. Who says you have to be mad to do this?

One of the large hut circles in the settlement close to the cairn.

This is a super cairn circle.

Showing remains of an inner kerb.


Orthostats, like flower petals or sun rays.


Looking south-ish in worsening weather. The lower slopes of Mynydd Egryn peak out from the below the cloud base on the right.

Looking in through the entrance.

The excavated round house, showing cobble floor.