Visited June 2026
Image credit: Uwe Häberle 06/2026

Visited June 2026

Visited June 2026

Visited June 2026

Ernst Sprockhoff
Atlas der Megalithgräber Deutschlands,
Teil 2: Mecklenburg – Brandenburg – Pommern (1967)
Garzer Hof 1 and Garzer Hof 2 are situated just about 150 metres apart in a field, so it makes sense to visit both megalithic tombs at the same time.
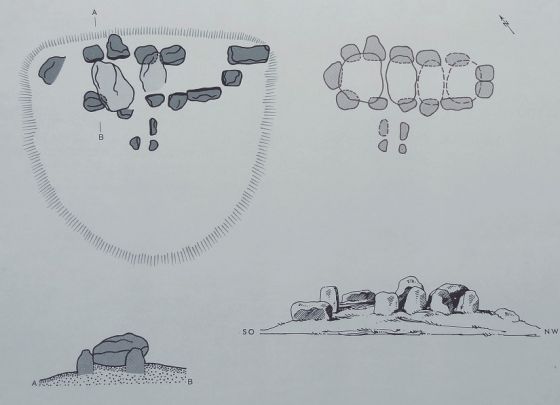
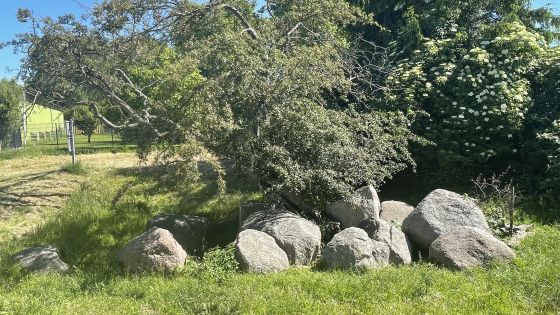
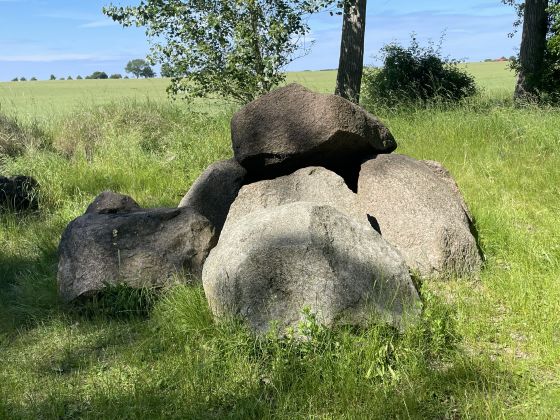
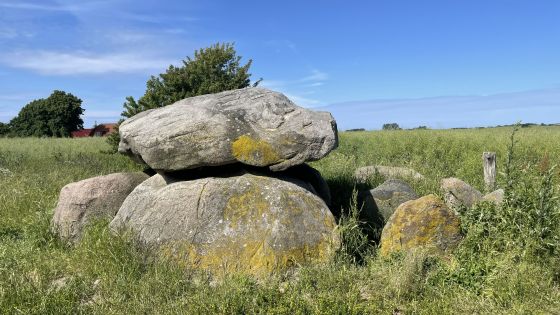
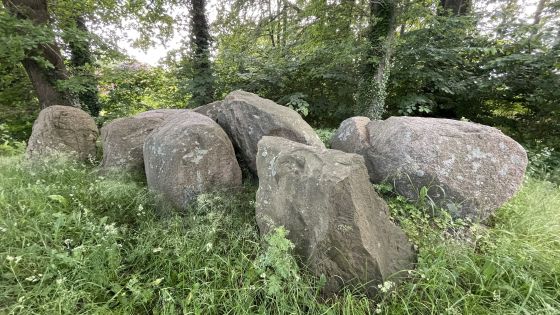
Garzer Hof 2 is a Grand dolmen (or extended dolmen) with a passage and a burial chamber, it is the westernmost of the two graves. The chamber is 5.00 metres long, 1.90 metres wide at the northern end and tapers to 1.20 metres at the southern end. To the south is the passage, which is 1.20 metres long, 0.60 metres wide and 0.80 metres high. The chamber consisted of three yokes; of the three capstones that originally covered it, two remain. The two capstones covering the entrance are missing. A doorstep stone can be seen at the start of the passage. The chamber featured a clay floor and was divided into compartments. Of the rectangular burial chamber, measuring 9.50 metres in length and 8.50 metres in width, stones have survived only on the northern and southern sides. The way it’s built reminds me very much of Wayland’s Smithy (Oxfordshire), only on a smaller scale.
To visit the tombs, drive east from Rerik along Kröpeliner Straße (L122) towards Garvsmühlen. About 1 km past Rerik, there is a bus stop with a small shelter on the right-hand side. The footpath leading to the two graves begins immediately behind the shelter. Although the adjacent fields are used for farming, the tombs are easily accessible even in summer thanks to the access path; however, Grazer Hof 2 in particular is now heavily overgrown, so the structures may be more clearly visible if you visit in autumn or winter. You can park your car in the car park of a nearby war graves site.
Visited June 2026
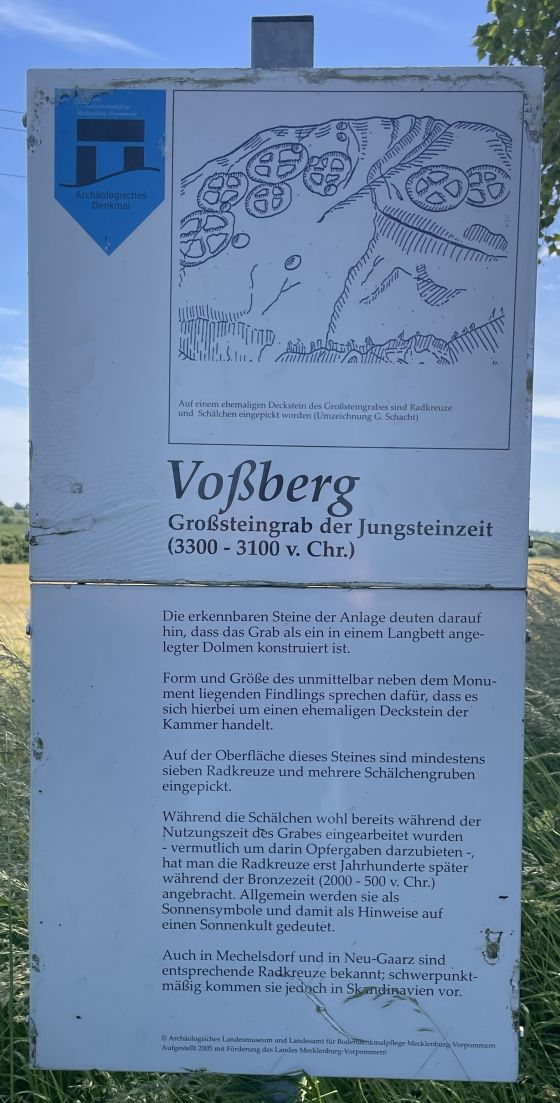
Taken from the on-site information board:
Grand dolmen
Megalithic tomb of the Neolithic
(3200–3000 BC)
This grand dolmen was excavated in 1967. The tomb was surrounded by an oval mound approximately 2 metres high. The surface of the mound reached up to the upper edge of the six lateral supporting stones. These supported two massive capstones.
The roughly rectangular burial chamber was accessed via a narrow passage, approximately 1.5 m long, at one end.
The tomb was constructed using animal or human power. The stones, weighing several tonnes, were moved using traction and leverage via rollers.
The chamber is 5 m long, 1.2 to 1.9 m wide and 1.6 m high. The floor consisted of compacted clay and was divided into several sections by red sandstone slabs.