


The restored Barbrook 1.

Larger kerbed cairn between Barbrook I and II. This one is a lot more overgrown with bracken than on our visit 6 years previously.

Another view of the excellent little kerbed cairn.

Excellent little kerbed cairn between Barbrook I and II. Last time we came this one was quite overgrown, now it’s much easier to see the structure. Looking SW across the Bar Brook towards the Big Moor (South) and Swine Sty monuments.

Small kerbed cairn along the hillside upslope from Barbrook I and II stone circles.

The third of the three cairns we found northeast of Swine Sty.

The third of the three cairns we found northeast of Swine Sty. Much less exposed stone in this one, but the cairn appears to be well-preserved under the turf and heather.

The second of the three cairns, looking northwest towards White Edge.

The second of the two cairns we found northeast of Swine Sty. Looking northeast towards Barbrook I and II, across the intervening valley of the Bar Brook itself.

The second of the three cairns we found to the northeast of Swine Sty. This cairn is close to the edge of the plateau, before the ground drops away southeast to the confluence of Bar Brook and Blake Brook.

Heading southeast from the first cairn we found is this impressive boundary or guide post. It’s probably medieval or later, but it’s in the middle of the cairnfield, to the northwest of the other two cairns we found. The view here is across the Bar Brook towards Barbrook I and II stone circles and associated cairns.

The upright slab inserted into the top of the cairn appears to be one of a series of boundary markers or guide posts on this part of the moor.

The first of the three cairns we found to the northeast of Swine Sty, looking northwest towards White Edge.

The first of three cairns we found on the area of Big Moor to the northeast of Swine Sty.

The largest stone remaining in the inner kerb.


The ring from the southeast, with the best-preserved section of bank in the foreground.

The cairn near Barbrook V.

The well-preserved round cairn between Barbrook V and the settlement site.


Landscape context from Rhymni Hill across Cwm Rhymni to the northeast. The positions of Carn y Bugail and the Fochriw cairns are also indicated.

Probable cist elements in the northern cairn.

Probable cist elements in the northern cairn.


I came across this small mound while looking for the central cairn. It’s not listed on the GGAT or Coflein records, but it looks a safe bet for a further cairn to me.

Buried slab in the southern cairn that may be the displaced capstone of the cist.

Looking west across the southern cairn. The rounded hill on the centre skyline is topped with the excellent Carn y Bugail cairns.

Probable cist remains in the centre of the southern cairn.

The southern cairn, looking southwest.
From GGAT record:
A small well-preserved round cairn within the remains of a ring cairn or low counterscarp bank. A triangulation pillar has been erected on top of the cairn, but the damage is minimal.
The round cairn is 6.60m in diameter and 0.50m high. The ring cairn/counterscarp is 13.3m in external diameter, 1.5m wide and 0.20m high.
The ring cairn is best preserved on the southern third of its circumference, the remainder of its circuit having been largely destroyed.
The site stands on the summit of Twyn yr Hyddod with spectacular views over the Sirhywi valley to the east and the Brecon Beacons to the north.

Sunset shadows from the Mawddach rail and foot bridge, Pared y Cefn hir centre.

Towards Braich-Ddu (Craig Cwm-llwyd).

Towards Tyrrau Mawr and Craig-y-llyn.

Golden light at Arthog Stones.
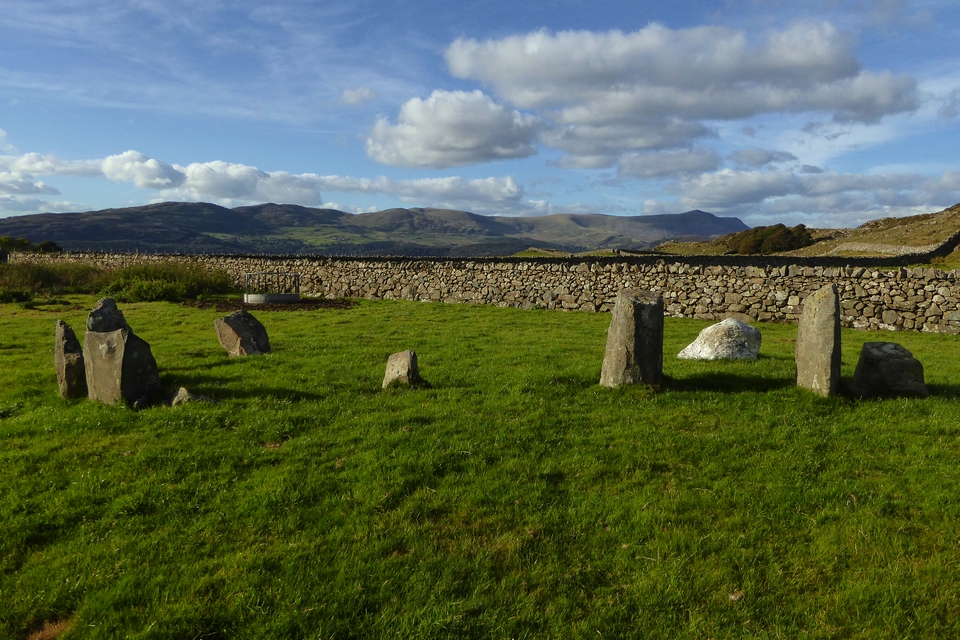
Looking north towards the southern ridge of Y Rhinogydd, with Diffwys at the right hand end.

The beautiful quartz block.

Looking south towards Craig-y-llyn.

Arthog cairn, looking east-ish. Lovely Lynnau Cregennen are on the other side of the hill.