
Bache Hill II barrow.
Image credit: A. Brookes (20.4.2019)

Bache Hill II barrow.

Bache Hill summit barrow.

Looking towards the landscape around the prehistoric complex of Walton Basin from the Bache Hill summit barrow.

The fabulous Bache Hill summit barrow, an old favourite and one of the finest barrows in Mid-Wales, in both size and location.

Retrospective view as I headed off to Bache Hill.

The summit barrow, Easter Saturday 2019.

The top of the summit barrow, looking southwest-ish towards the Brecon Beacons.

The top of the summit barrow is regrettably being eroded by off-road bikes.

Nice to see the summit barrow without the fog!

Mynydd Foesidoes barrow. This one is difficult to get to, as the heather is energy-sapping.

The overgrown top of the Mynydd Foesidoes barrow.

The NW barrow in the Mynydd Ffoesidoes nature reserve, from the north. Black Mixen’s summit barrow is near the mast.

Looking south, with Black Mixen summit on the left.

Cwm Bwch I in the foreground, Cwm Bwch II behind.

Cwm Bwch I, the northern and lowest of the three barrows.


Looking southwest over Cwm Bwch II. Cwm Bwch III is on top of the opposite ridge, far left.


The northern spur of the escarpment above Cwm Bwch. Barrows I and II are at the end of the spur, right.

The long drop down to Cwm Bwch from the top of the escarpment. Cwm Bwch III can be seen at the top of the slope, left.

Looking out into Mid-Wales from Cwm Bwch III.

The profile of Cwm Bwch III from the north.

Cwm Bwch III. The flat summit of Great Rhos, the highest of the Radnor Forest peaks, rises in the background to the right.

Cwm Bwch III, the southern barrow of the group. I and II are at the end of the spur visible in the background to the right.

Llandegley Rocks from the northeast.


This is a nice slab of sandstone. It would fit nicely in a stone circle.


Mature trees grow on the northern rampart.

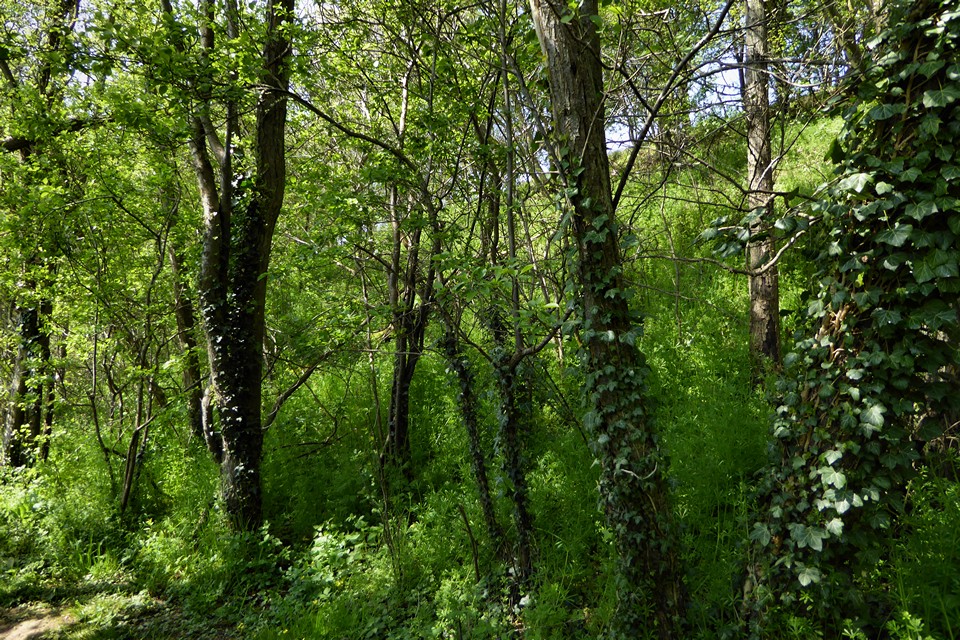

Looking down on the modern southern entrance.


Looking down from the northwestern rampart.


Polished bone necklace from Skara Brae, National Museum of Scotland.

The landward side is protected by a sheer crag of dolerite.

The defensive position is impressive, even without the medieval walls.

Looking over the dunes on the northern flank.

The dunes separating the castle from the sea have a pleasing bank and ditch quality to them.

The site rises above its surroundings. Seen from Harkess Rocks to the northwest.

Bamburgh Castle rises prominent above Holy Island Sands, seen from the Lindisfarne causeway.
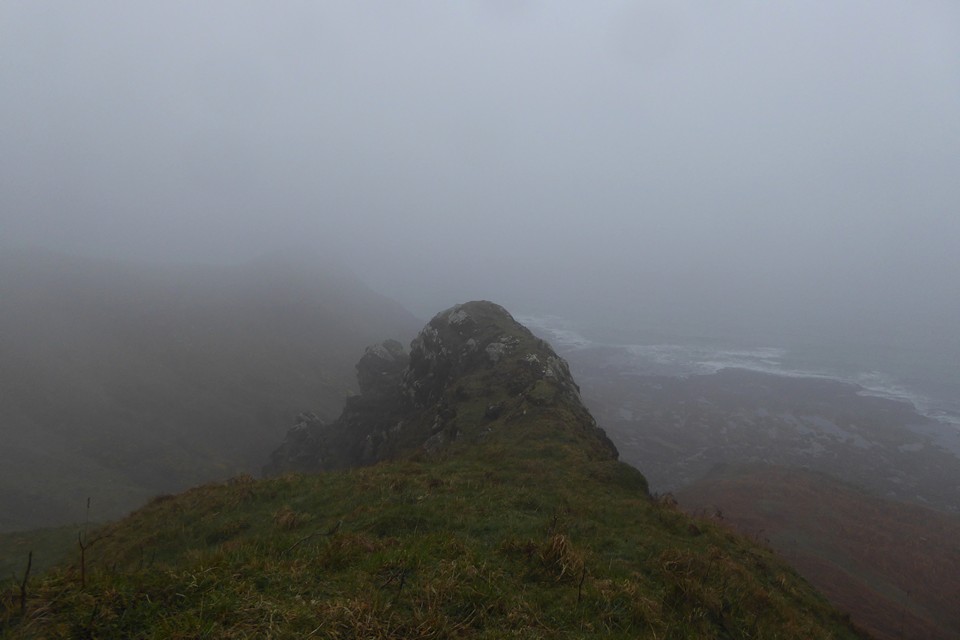
The ground falls away vertiginously from the rocky ridge on the west. The occupation site is below on the right but I didn’t get any closer than this.

The landward side is protected by a ridge of rock, which is now run close by the Edinburgh-Berwick railway line.

Conditions were less than ideal, but as far as I can tell, the site is below on the right.