
The grassed-over eastern part of the cairn is largely free of gorse and bracken. Looking southeast up towards the summit of Craig y Castell.
Image credit: A. Brookes (9.11.2022)
The grassed-over eastern part of the cairn is largely free of gorse and bracken. Looking southeast up towards the summit of Craig y Castell.

It’s not clear whether the big stone in the foreground came from the cairn or is clearance.


The very large but low cairn. Carnedd Lwyd, Tyrrau Mawr on the left, Pared y Cefn hir on the right.

The rocky ridge of the fort, centre skyline, seen from Craig y Castell to the east.

Seen from the summit of Craig y Castell to the south. The two main cairns “upon a woodland saddle” are also indicated.

Autumn afternoon landscape context from the south; Craig-y-Waun/Craig y Castell North is the rocky hill in the middle ground. Diffwys, the southern summit of the main Rhinogydd ridge, crowned with a Bronze Age cairn, rises behind.

Mynydd Moel is the left-hand of the three central peaks of Cader Idris. Seen from Craig y Castell to the north.

Carnedd Lwyd cairns are silhouetted in the sunburst towards the right hand end of the ridge. Seen from Craig y Castell, a prominent rocky hill to the northeast.

The prominent Foel Offrwm from the neighbouring hillfort on Foel Faner, across Llyn Cwnwych.


Sub-circular stone construction next to the north-eastern entrance.


The impressive southern rampart, looking west along the Mawddach valley.

Looking southeast across the valley of Afon Wnion towards the southern peaks of the Aran range and the Dyfi Hills.


Looking eastwards over the rampart across Llyn Cynwych to the neighbouring forts on Foel Offrwm. The mountain far left is Rhobell Fawr, the southern Arannau on the right.

Well-preserved stone rampart on the north-western side, looking towards Y Garn (Rhinogydd).


Looking down on the cliff fort, centre, from the slopes of St Abb’s Head. The excellent Earn’s Heagh double cliff fort is atop the cliffs to the far right, Coldingham Loch hillfort out of site a little further on.

The cliff fort occupies the short headland just to the left of centre. Presumably it was larger originally and coastal erosion has washed the rest away.

The view from the mound down to the River Tweed and Dryburgh suspension bridge.

The view of the Eildon Hills from the top of Bass Hill.


Bass Hill and the Temple of the Muse.

Eildon Hills from the SSE, near Whitelee on St Cuthbert’s Way.

Black Hill rises prominently from the surrounding lowlands. See from the neighbouring hillfort of Eildon Hill North. The River Tweed can be seen at the bottom of the image.

Eildon Hill North from the summit of Eildon Wester Hill.

Eildon Mid Hill and Eildon Hill North from the summit of Eildon Wester Hill.

Looking up towards the summit of Eildon Mid Hill from the cairn.
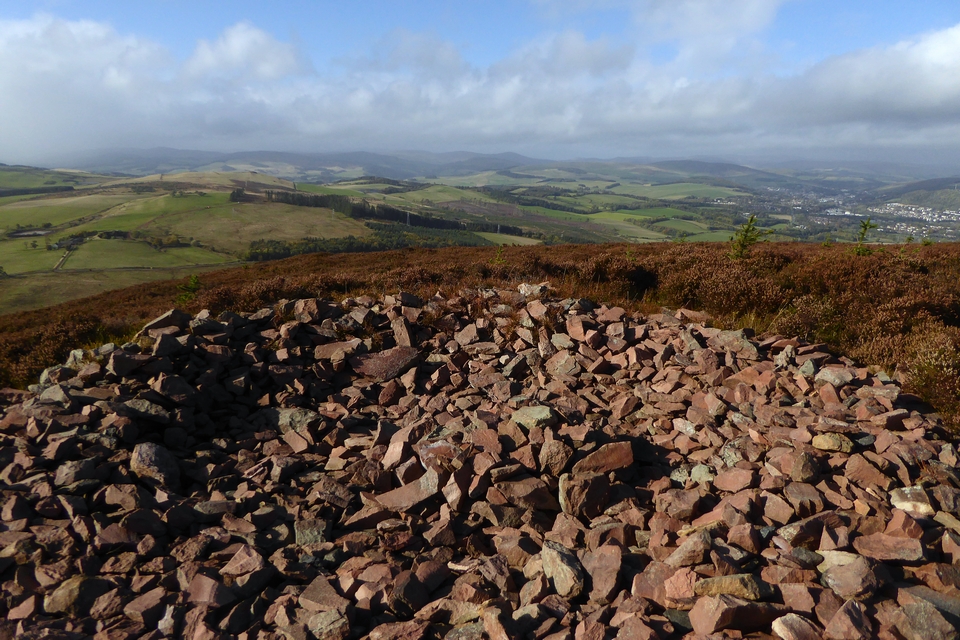
Looking northwest from Eildon Mid Hill cairn. The monument is a lovely pinkish red sandstone.

Eildon Mid Hill cairn, looking down on Bowdenmoor reservoir. The cairn’s footprint extends under the heather where I was standing.

Looking down on the Eildon Mid Hill cairn from the summit.

Eildon Hill North, the ramparts clearly visible around the hill, from Eildon Mid Hill.

One of the windiest places I’ve ever been, looking towards Eildon Wester Hill and Eildon Mid Hill from the flank of Eildon Hill North while trying not to be blown over.

Looking southeast over the rampart of Eildon Hill North towards Newtown St Boswells.


Hindwell Farm II barrow, a low unploughed mound in the field, seen from the road to the west. The conical hill rising behind is Burfa Camp hillfort.

Looking east towards the conical (from this angle) Burfa Camp hillfort.

Towards The Whimble and Bache Hill.


