The inner ramparts are highest on the western flank, 3 metres and more tall.
Image credit: ryaner
The inner ramparts are highest on the western flank, 3 metres and more tall.

Outside the western flank of the fort. There are the inner, middle and outer ramparts visible here.

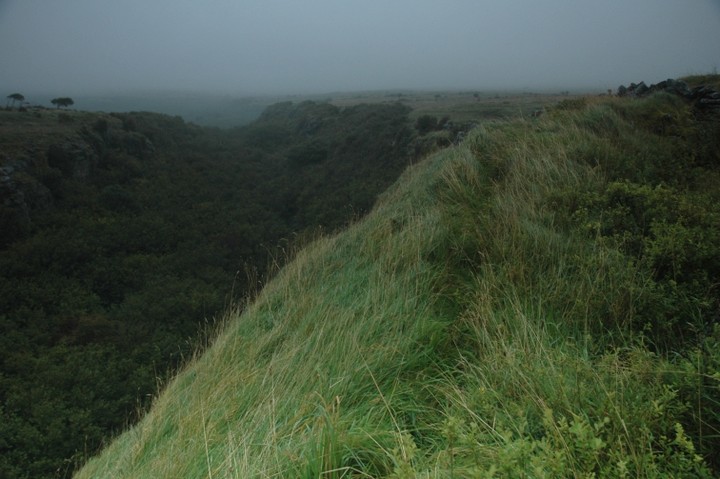
The valley trails off into the distance to the south-east of the fort, turning sharply north-east and skirting its northern flank.

Pano looking north-west over the interior.

Pano of the interior looking north-east.


The valley which the fort is up against – looking east.

The valley which the fort is up against looking west.

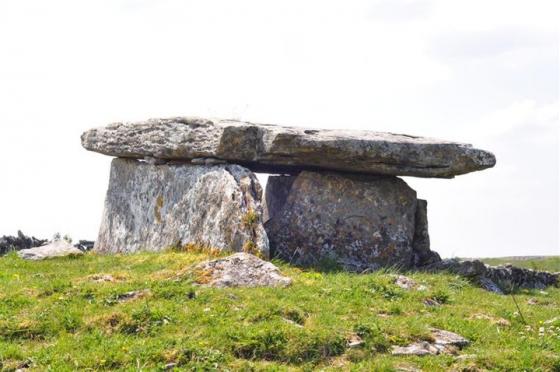
The inner rampart of the fort.


The ravine that protects the fort’s northern side, viewed from the eastern walls.

What Hencken called a ‘niche’ in the western ramparts of the fort interior

Looking across the fort interior with the precipice to the left and the modern viewing platform to the right
At the edge of the abyss. Easily the best site in the Burren.

I have to agree with Ryaner below about this being one of the most impressive sites in the Burren.
It is similar to Dun Aeognus on the Aran Islands in that it uses a cliff face as a natural defence to the north.
Here is a link to an aerial view on Bing Maps to get a better idea of its plan binged.it/13C2kNd
I seem to recall that the valley to the north of it acted as an east – west transport link across the Burren so this would have been a controlling point on this route.
The best site on the Burren, bar none. I arrived there at 6.30pm on the 2nd last day of August, a miserable, misty, gloam-laden Clare evening. There wasn’t a sinner in sight, the last of the tourists back in their ranches long ago, so having the place to myself was a treat.
The 1km walk from the road is relatively easy going until the final push to surmount the plateau where the fort is situated. You’ve already descended into the ravine that protects the southern side of the fort only to have to ascend what is probably the easy approach, now and back when the fort was in use.
It’s handy to have a look at Hencken’s plans of the place before getting there. I think if I ever go back, which I’d like to do, soon, I’ll photocopy and laminate these as they really are detailed and expansive. Standing on the viewing platform, having traversed the decking that follows the outer wall from south to east, I could have done with a bit of a guide. But then my attention was pulled to the ravine, the yawning maw that made this place particularly defensible.
Hencken found 2 souterrains, both of which led down to exits in the wall of the cliff here. Without his plan to hand I couldn’t make out where these are.
The rain started to teem down so I gave the inner enclosure only a very cursory scout. The walls are still impressive and don’t seem to be overy restored. What with all the summer growth, it’s not so easy to make out the remains of the outer structures of this tri-vallate fort. By now I was soaked to the skin, one of those ‘from the outside in and the inside out’, so I beat a retreat to the car, defeated by Cahercommaun and its splendour.
Photographs, site plan and geometrics displayed of this triple walled, concentric cliff-top stone fort.