
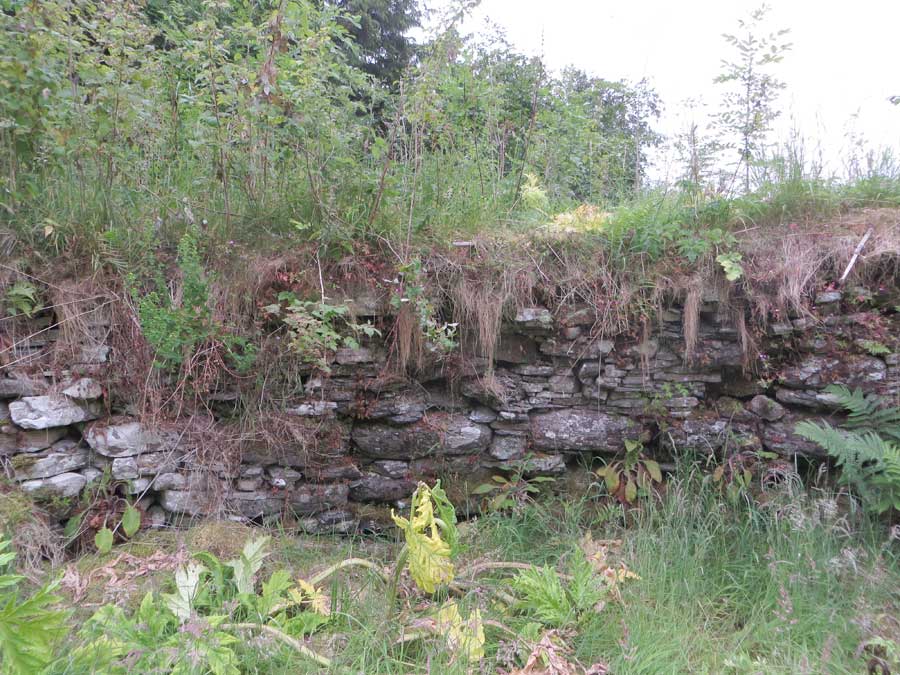
This is the only recognisable stretch of the inner wall exhibiting facing stonework.
Image credit: Les Hamilton
This is the only recognisable stretch of the inner wall exhibiting facing stonework.

This open section of mural gallery is the only major feature remaining at Dun Chealamy.

Looking down on Strathnaver from the vantage point of Dun Chealamy

This gate is the starting point for a visit to the broch. Thing’s Va can just be discerned as a tiny hump on the horizon, about a kilometre away.

Almost there! This is the view of Thing’s Va’s grassy mound from the approach path.

This image is a composite of six phtographs across the summit of Thing’s Va broch.

The entrance passage at Thing’s Va, heavily overgrown but still discernable.

This, presumably, is the ‘probable guard cell’ reported by Canmore.

This is a probable section of heavily overgrown inner wall-face at Thing’s Va

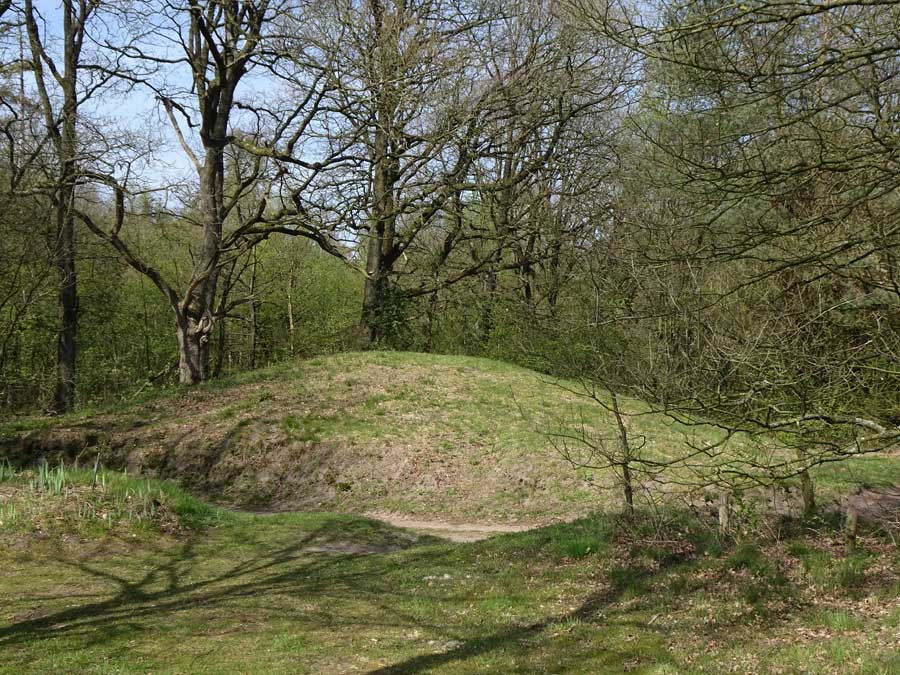
Grave Mound No 1, viewed from the northeast.

Viewed from the southwest, Grave Mound No 1 lies just off a path junction. Around two metres tall, it is the most expansive of the group.

Grave Mound No 2.
The path to the right heads north, and Hunebed D11 can just be seen, on the path, in the distance.

Grave Mound No 2 in its forest clearing.


Grave Mound 3, one of the largest in this group, stands almost 2 metres tall. It is also the farthest east of the six.

Grave Mound No 4 lies on the opposite side of the path to No 5.
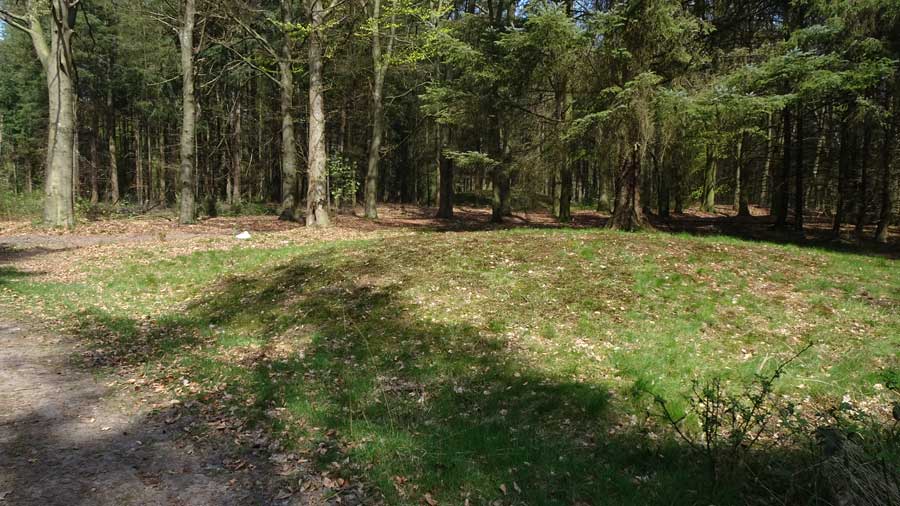
Grafheuvel No 5 is a grassy mound located at the junction of two forest paths.

Grafheuvel No 6 stands on the opposite side of the path to mound 3 and a few metres farther west.

The Galgwanderveen Grave Mound as viewed from the approach path through the woodland.
The Galgwanderveen Grave Mound.

The Galgwanderveen Mound in its beautiful lakeside setting.

Close-up view of the grave mound from across the lake.

This is a close up image of the larger of the two grave mounds here, which must be at least three metres tall.

This is the larger of the two grave mounds, and is situated at the east of the site.

This is the western, and smaller, of the two grave mounds on this site.

The grave mound at Liesakkers, viewed from the south.

The grave mound at Liesakkers, viewed from the east.

The northern grave mound, which is visible for Kerkweg.


The southernmost of the three grave mounds.

Hunebed G5 viewed against a diorama showing a neolithic settlement

Hunebed G5 Heveskesklooster, in the new MuzeeAquarium building in Delfzijl.

Hunebed G5 Heveskesklooster, in the new MuzeeAquarium building in Delfzijl.

Hunebed G5 Heveskesklooster, in the new MuzeeAquarium building in Delfzijl.

Looking into the passage of Hunebed G5 Heveskesklooster.

... and here’s the bhoy, up with the lark, documenting Holmhead RSC shortly after dawn!

This is a composite of three photographs, showing the entire expanse of Kintradwell Broch from an elevated viewpoint (monopod).


A view across the central court towards the entranceway.

Rebuilt walling on the east of the broch, possibly closing off an intra-mural space.
Close-up view of a section of walling, built from a few of large boulders, but mainly brick-shaped sandstone slabs.

This stitched panorama illustrates Achvarasdal broch from a vantage point above the wall on the west.


