
The superb high-level view of Tre’r Ceiri with Yr Wyddfa beyond unfolded to alleviate the slog of the climb to the summit of Yr Eifl.
Image credit: A. Brookes (8.5.2016)

The superb high-level view of Tre’r Ceiri with Yr Wyddfa beyond unfolded to alleviate the slog of the climb to the summit of Yr Eifl.
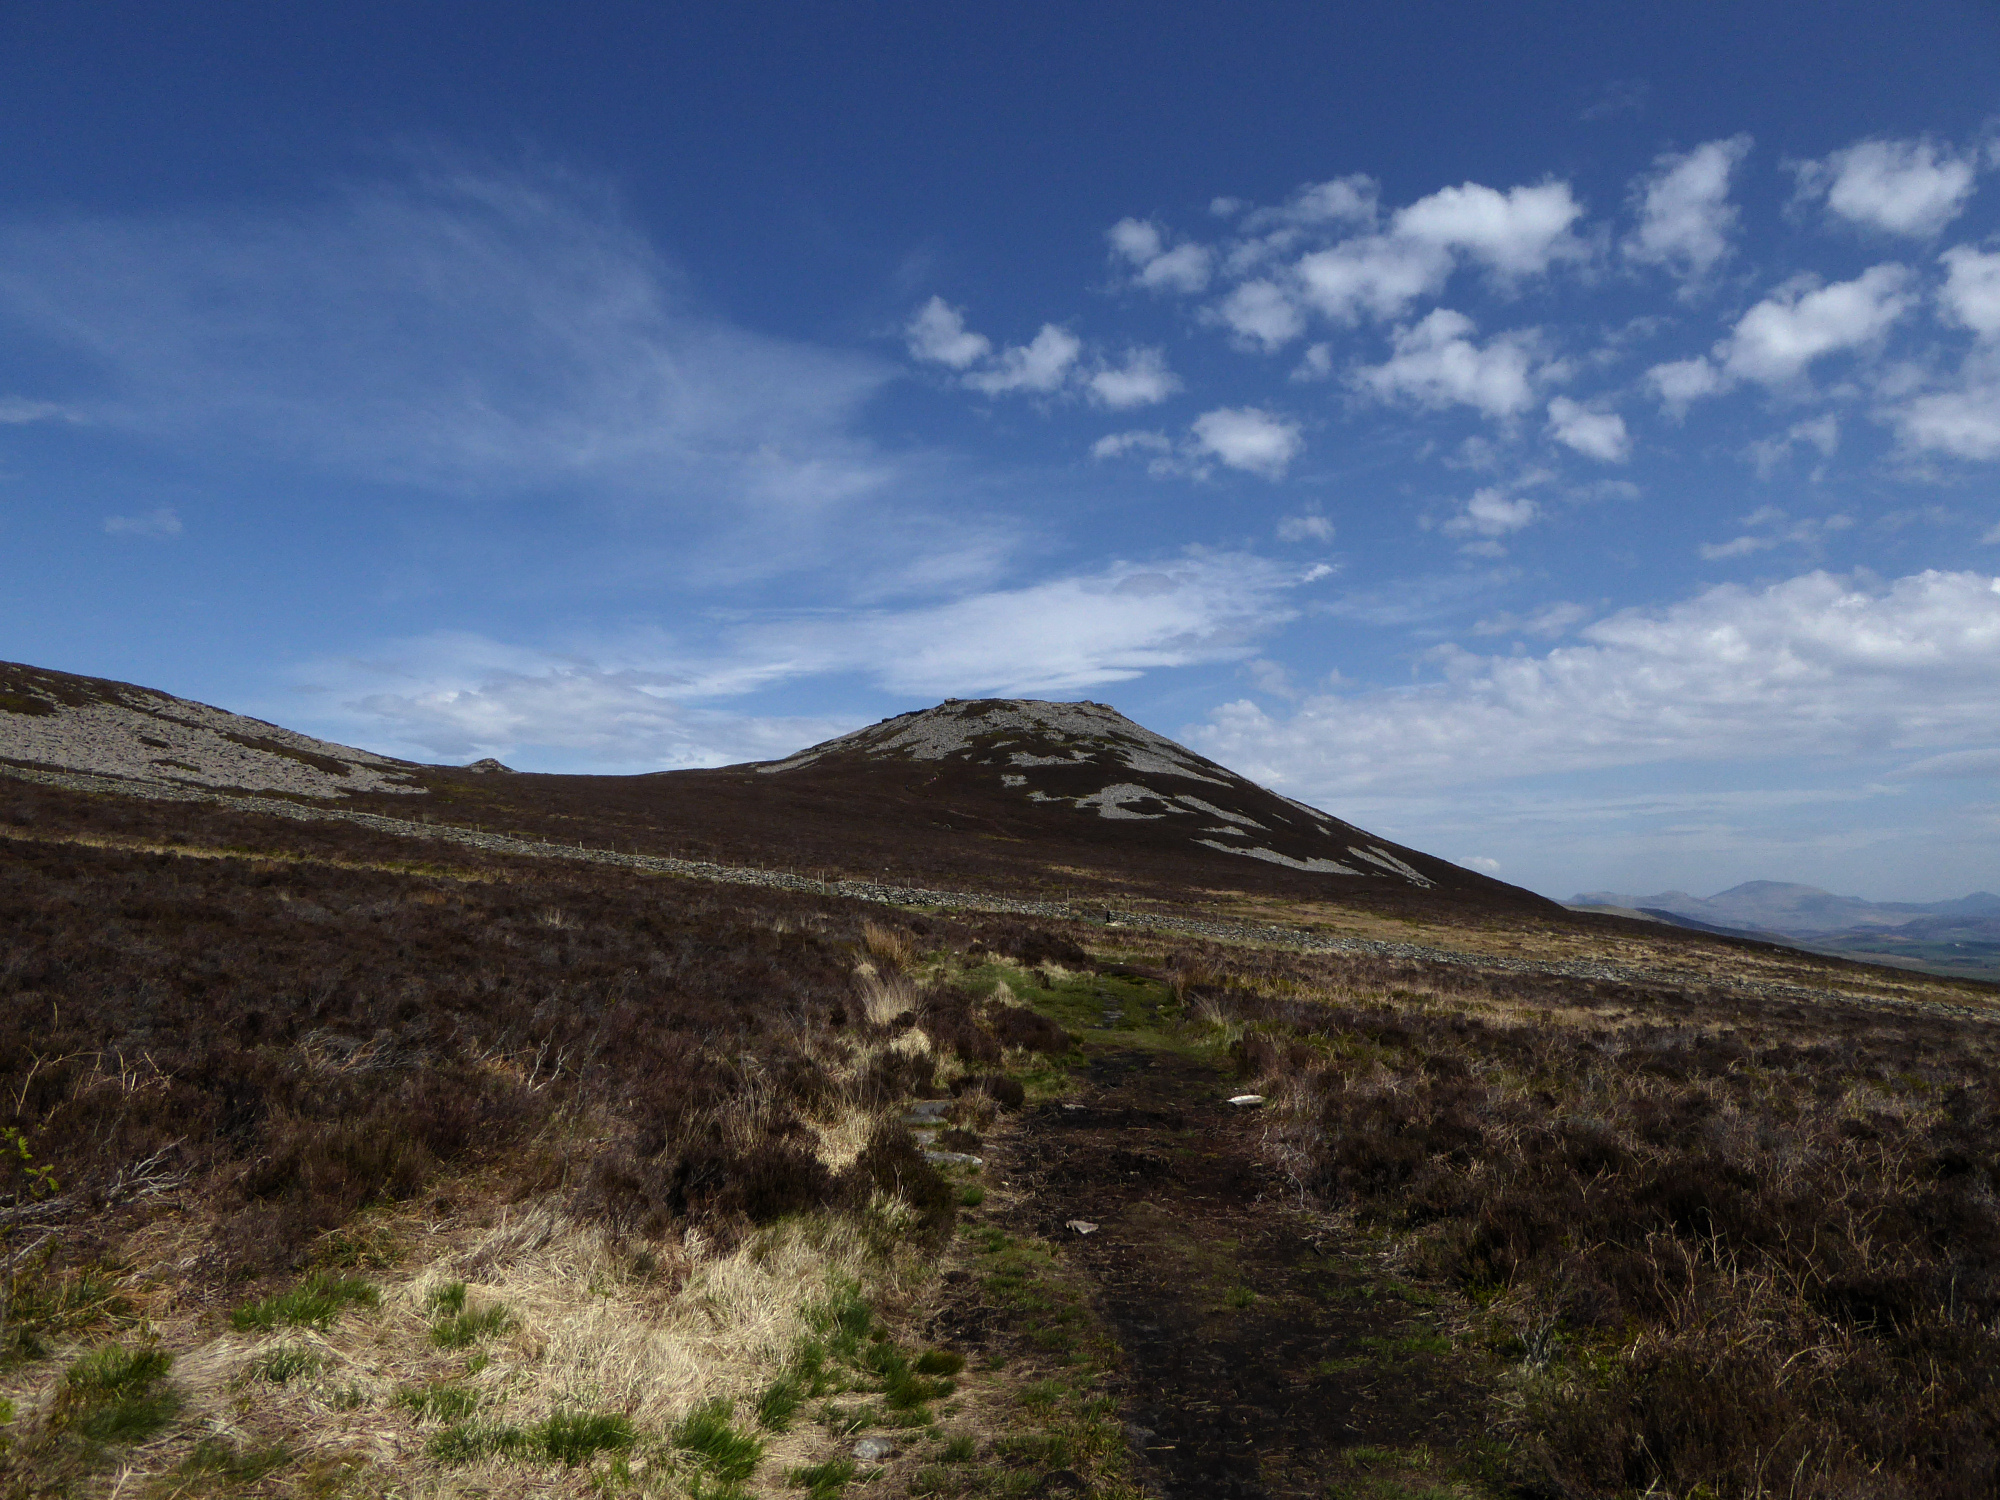
Tre’r Ceiri from the southwest. Moel Hebog can be seen in the distance over on the right.

From the south the rocky nature of the hill really becomes apparent, tumbled scree and boulders overlain by scanty heather and bracken making for a daunting climb.

Garn For and Garn Ganol, the northwestern and central peaks of Yr Eifl. Both have cairns on the summits. The track is the old road that leads over Bwlch yr Eifl between the two peaks, and is likely to be a prehistoric trackway as well as being used by the Romans as a link to the fort at Segontium (Caernarfon).

Looking down on the field systems on the climb out of Nant Gwrtheryn. The northwestern peak of Yr Eifl (Garn For) looms above.

Nant Gwrtheryn is the valley with the buildings, centre of image, enclosed by steep sides and the towering peaks of Yr Eifl above. Seen across Porth y Nant from the southwest.

Yr Eifl from Pistyll to the southwest. The damaged northern summit (Garn For or Pen Bwlch yr Eifl) is centre of image, the highest summit Garn Ganol to the right. The top of Tre’r Ceiri can just be seen to the right of that.

The long promontory encloses Porthdinllaen and provides a sheltered harbour. Seen from Ffrondirion to the east.

The imposing profile of the hill from the northeast.


Huge pile of stonework next to the southwestern entrance, suggesting a guardhouse or other substantial structure.


One of the larger round houses inside the fort.


Neat stonework deliberately blocks one of the entrances to the inner citadel.

What appears to be an entranceway through the rampart of the inner citadel.
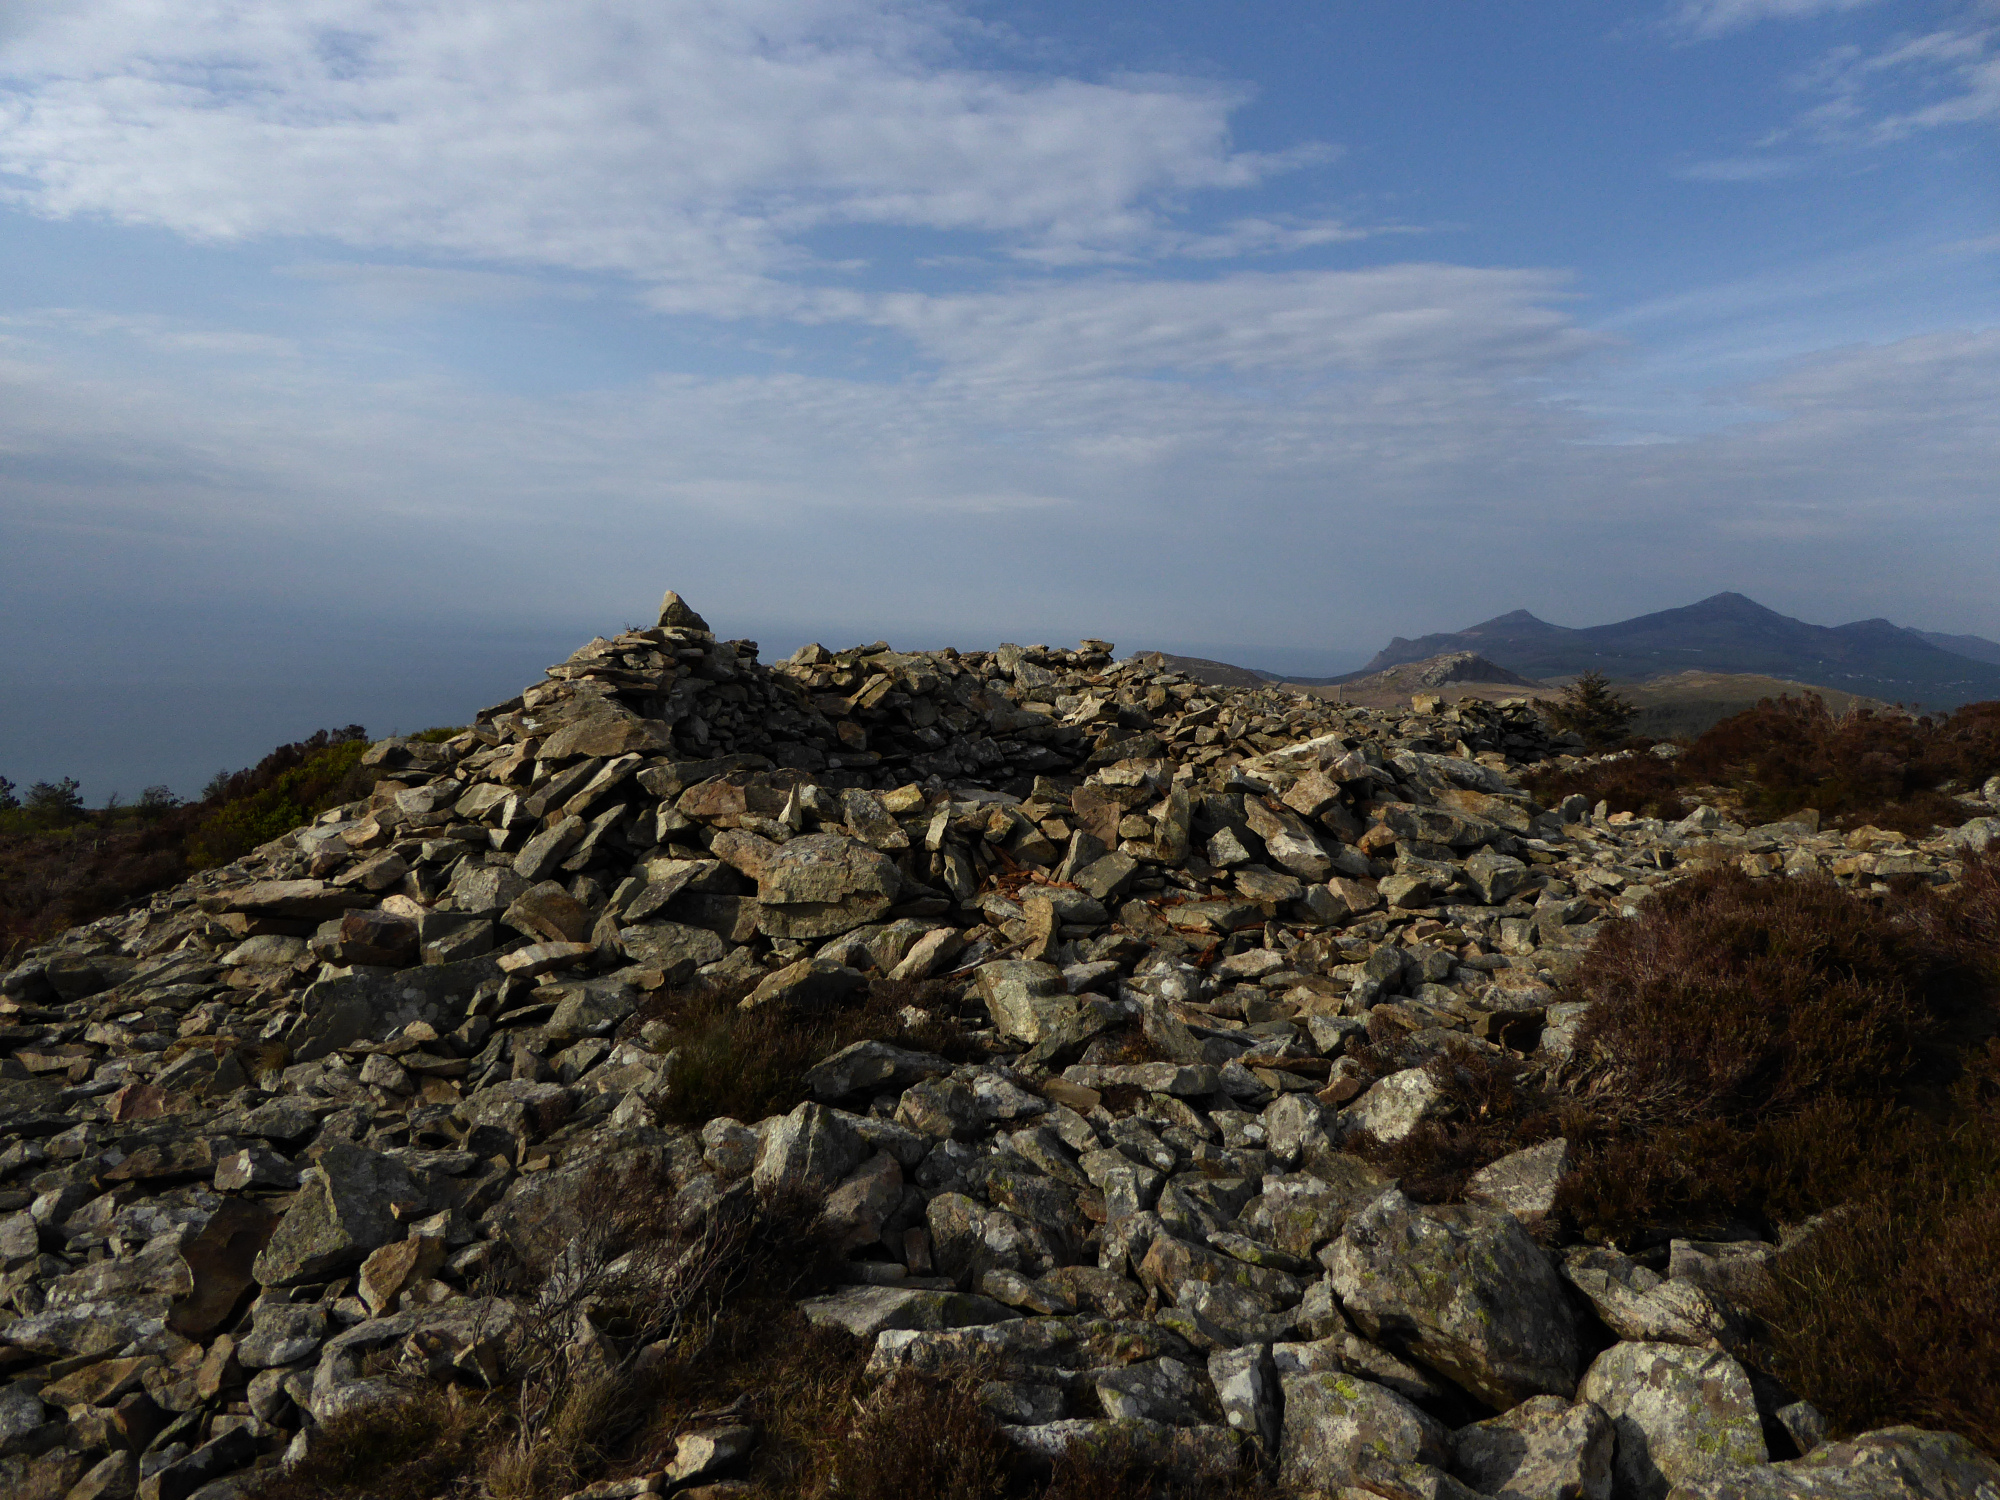
The remains of a possible Bronze Age cairn crown the summit of the hill, but the shape has merged with the rampart and been messed about by visitors, making it difficult to discern.


Looking south over the inner citadel rampart towards Llanbedrog and (far right) Mynydd Tir y Cwmwd. This hill is a prominent landmark from the ruined chambered tomb on the latter.

Looking southwest over the rampart of the inner citadel towards Carn Fadrun hillfort.

Looking northeast from the inner citadel and possible cairn towards Yr Eifl and Tre’r Ceiri.

Overview of the main round house group inside the fort.

Y Garn juts prominently, centre. Snowclad Yr Wyddfa to the left. From the northwest ridge of Mynydd Tal-y-Mignedd.

The brooding mountain and its jagged northeastern ridge, seen from Mynydd Tal-y-Mignedd.

Approx. landscape context from the ridge between Mynydd Tal-y-Mignedd and Trum y Ddysgl to the south.

Craig Cwm-Silyn rises to the left of centre, beyond the broken ridge linking Trum y Ddysgl with Mynydd Tal-y-Mignedd (with obelisk, right of centre). Yr Eifl can be seen on the centre skyline.

Moel Hebog from Trum y Ddysgl to the north. Moel y Gest hillfort near Porthmadoc can be seen to the right.

The cairns are at the sunlit end of the ridge below. Elidir Fawr, Y Garn (Glyderau) and the majestic Yr Wyddfa form the snow-covered backdrop. The viewpoint is the summit of Trum y Ddysgl.

Mynydd Mawr in shadow on the left. A further cairn crowns Moel Eilio, centre. From the col between Mynydd Drws y Coed and Trum y Ddysgl on the Nantlle Ridge.

From Trum y Ddysgl on the Nantlle Ridge, about 5 miles away.

According to GAT, the hut circle is somewhere at the end of the long ridge descending from the summit of Trum y Ddysgl. The viewpoint is the neighbouring peak of Mynydd Drws-y-Coed.

Moel Eilio, in shadow, is the conical peak central to the image. Mynydd Mawr, with more cairns is on the left, Y Garn with a pair of cairns is in the middle ground below the viewpoint of Mynydd Drws-y-Coed. Stately and snow-clad Elidir Fawr is the mountain on the far right.

The becairned summit of Craig Cwm-silyn is just visible in the centre, peaking over the slightly lower summits of the eastern Nantlle Ridge. Yr Eifl can be seen far right skyline. The viewpoint is Y Garn, Nantlle Ridge.

The eastern cairn. The summit itself, marked by a small modern cairn, is over to the right.

The eastern cairn from the western cairn, with Yr Wyddfa behind. Sunlight lights the snow on Elidir Fawr, far left.

Looking northwest across the western cairn, with the becairned summit of Mynydd Mawr behind.

The western cairn, with the Nantlle Ridge behind and Yr Eifl on the far right skyline.

Three high-level Bronze Age cairns, far above a prehistoric settlement site at Drws y Coed. The viewpoint is Y Garn, with two imposing cairns of its own.

Sunshine and showers over Beddgelert Forest. Moel Hebog to the right of centre, with Moel yr Ogof immediately the right of that, and Moel Lefn completes the trio of summits.

Moel Eilio, left skyline, seen rising above Llyn y Dywarchen from the slopes of Y Garn to the south.

A visit to these excellent cairns is a serious undertaking. Postie leads the way near the start of an hour of continuous climb from car to cairns.


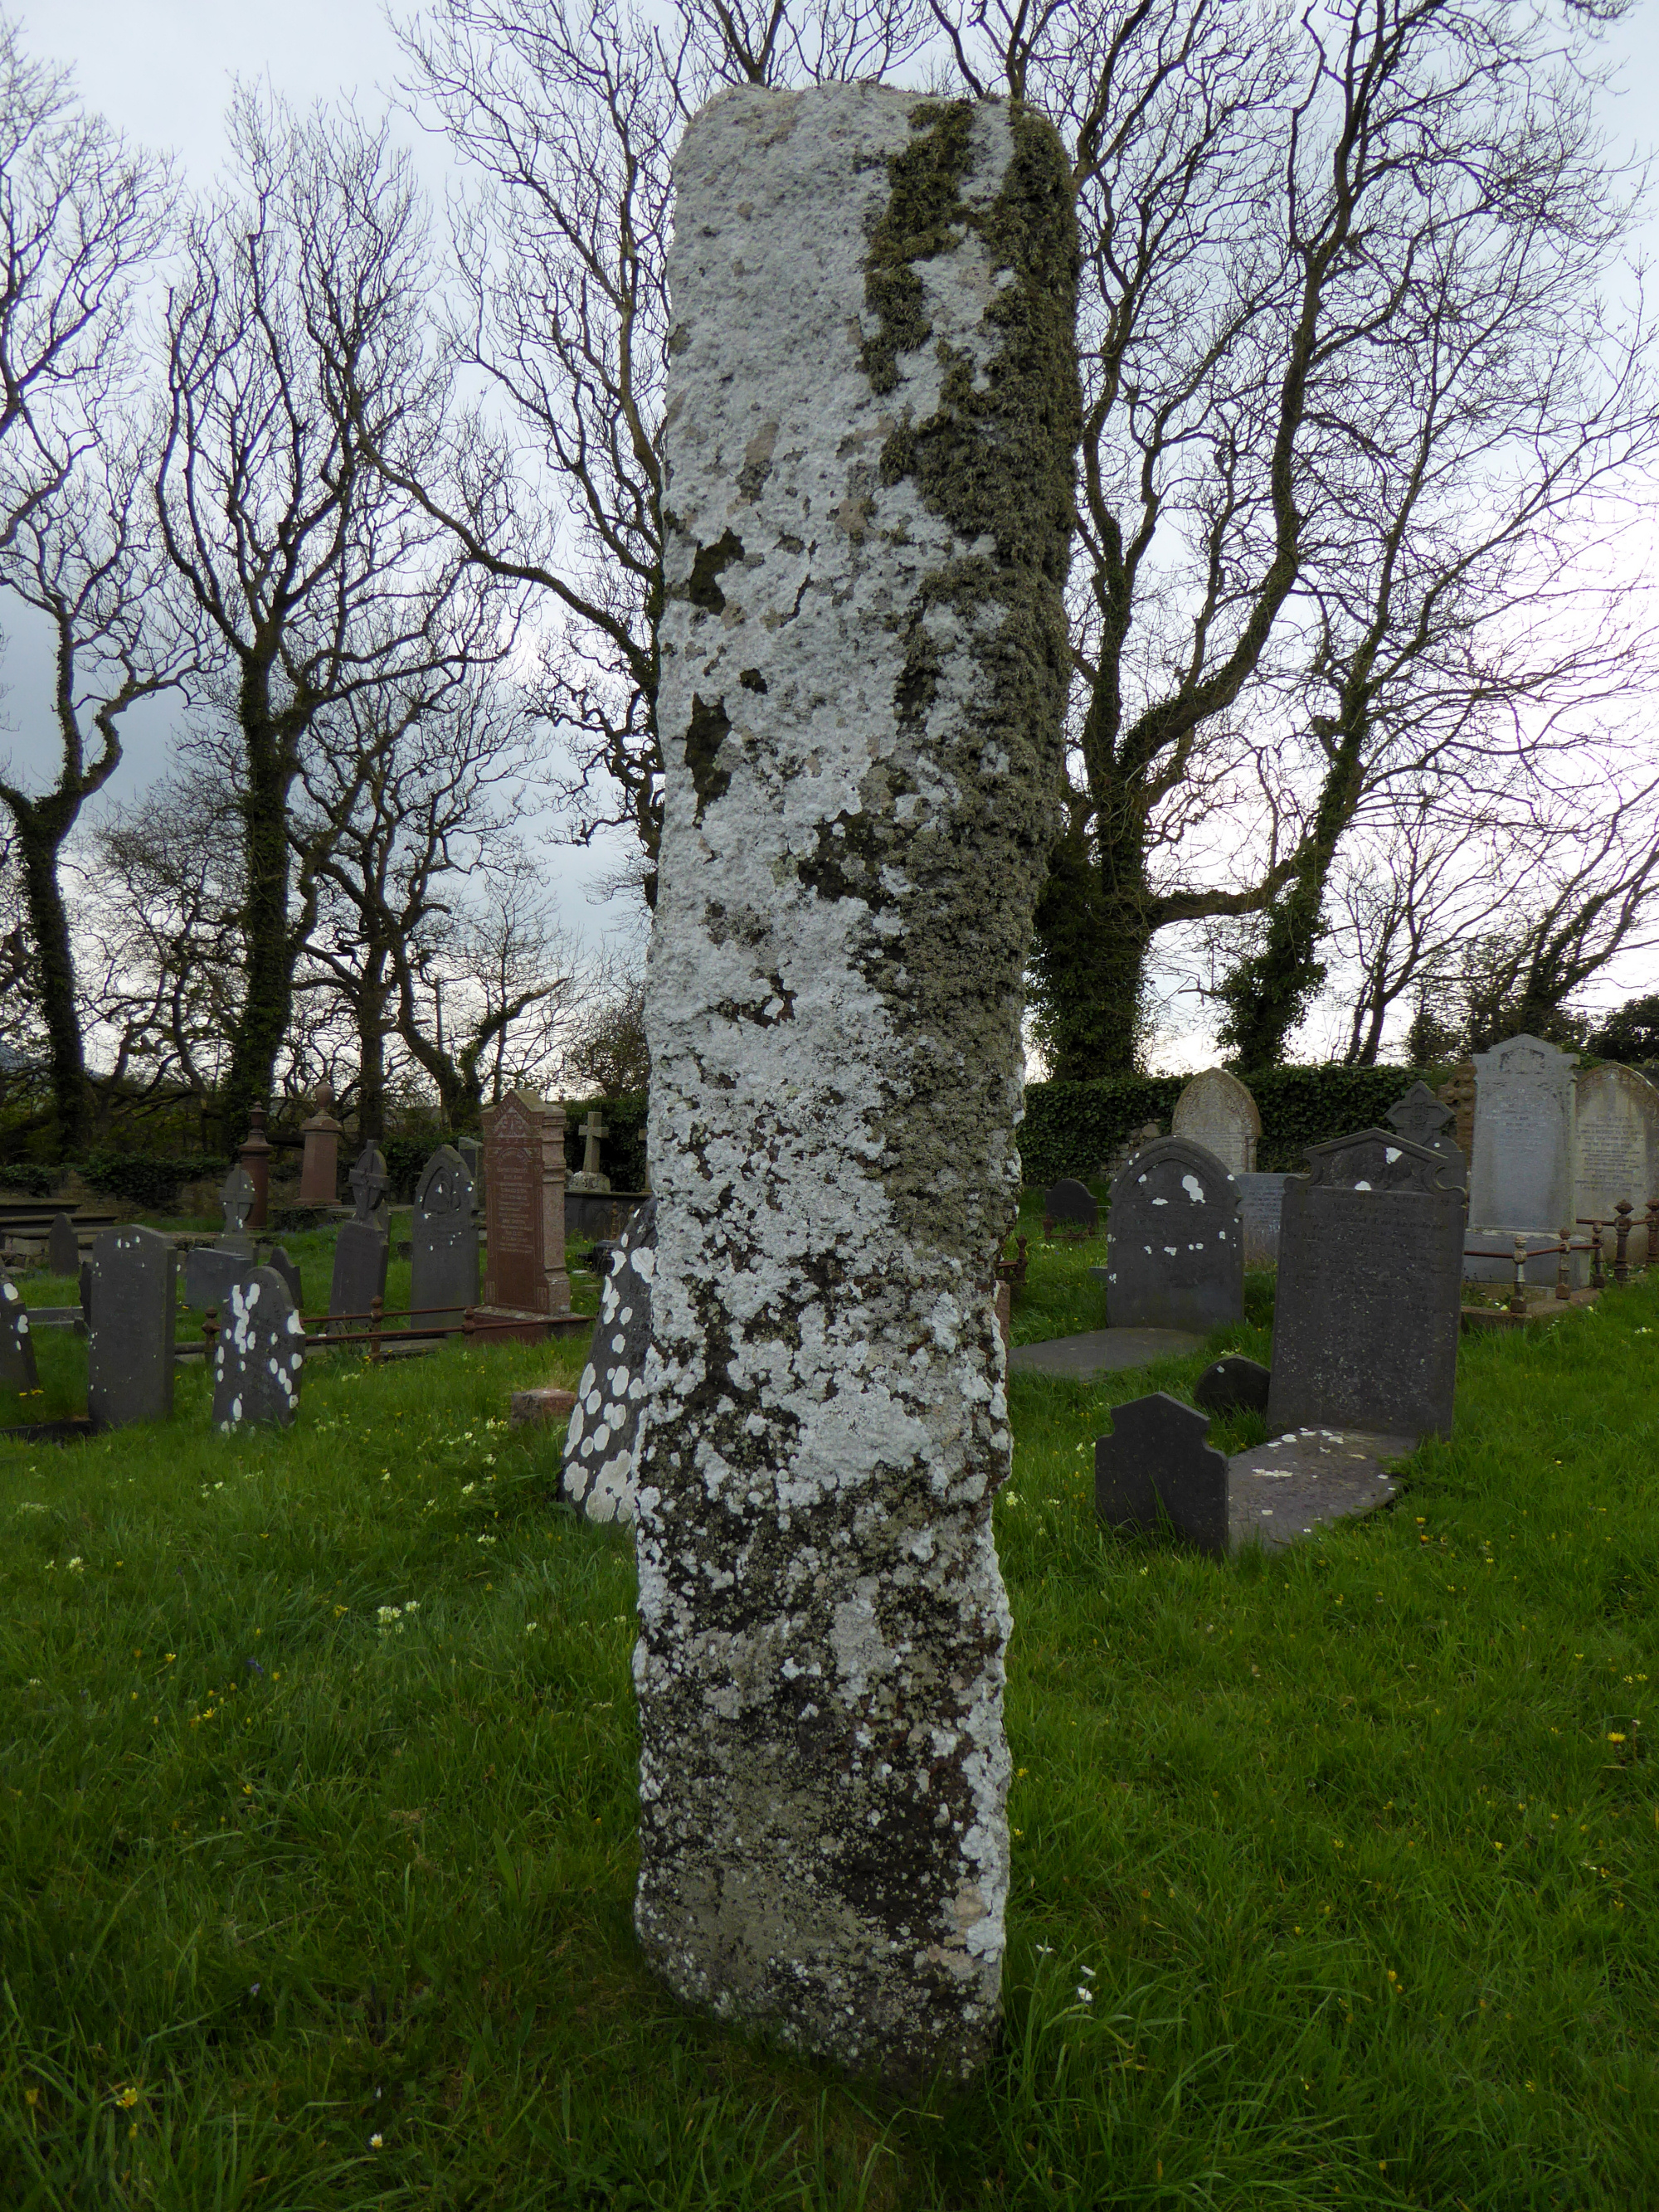
Gravestones give a sense of scale – it’s a whopper.

