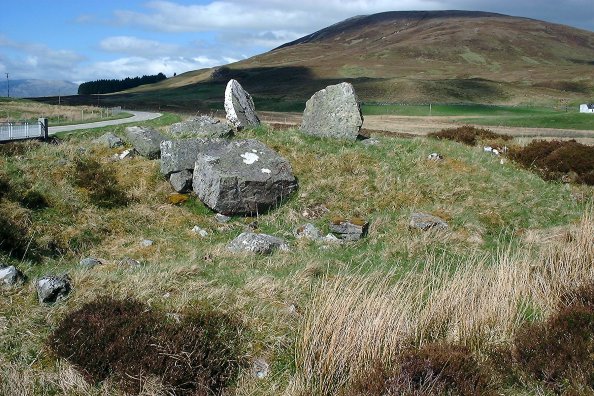
Yet another chambered cairn where most of the stones have disappeared over the years and the central chamber stones are most of what remains. This is quite a big one, though, and almost resembles a small stone circle. It’s set back around 100m in from the road on a small prominence, and is easily spotted and visited.
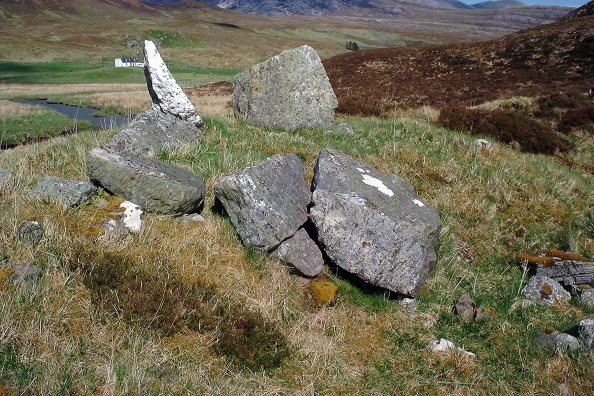

Another ruined chambered cairn right beside the road, which makes for relatively easy access. Again, much of the cairn itself has disappeared, but the main stones of the central chamber remain.

A view along the central chamber with Loch Assynt in the background. Apologies for the streaks!


Looking up to the cairn, with the tip of Quinag wreathed in cloud as a backdrop
Lying beside the road on the north side of Loch Assynt, the remains of the cairn are on a small hill just beside the ruins of Ardvreck Castle. It’s a beautiful place to stop, however, as the views are great. Just a bit further along the road we stopped below some crags to spend 20 minutes watching a golden eagle float silently above us.
A couple of the photographs of the cairn are a bit streaky, I’m not sure why this happened. The central chamber is still partially intact.


Very disrupted and ruinous, this chambered cairn lies at the roadside on the shores of Loch Borralan. There isn’t much to see, in all honesty.
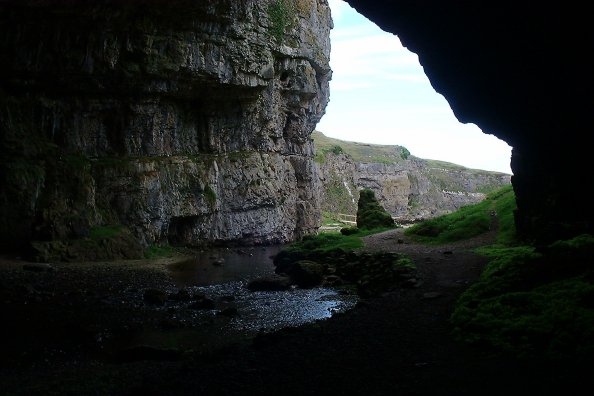
Stuck in fairly boggy ground, this broch, so I didn’t manage to get very close to it.


As Lianachan correctly points out, this is in fact the remains of the broch and not a cairn! I couldn’t get across the river to this one, so had to content myself with a couple of photographs. In dry weather it may be possible to ford the Loth, but not after the rain there had been some days I was up there! Don’t make the same mistake I did and assume the sheep-fold just north of this as the broch....


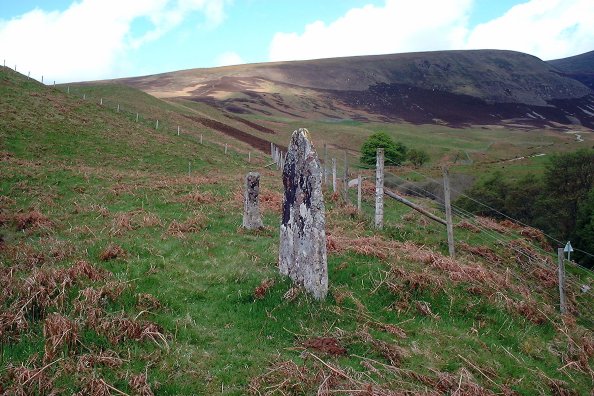
A nice wee pair of stones sited just above the bridge where Glen Sletdale meets Glen Loth – a fairly classic confluence siting. Neither are very tall, about 1m in height, and running approximately E-W. They stand beside a fairly abrupt drop down into Sletdale, and care should be taken up here! It’s quite a long fall down into the burn...


The north edge of the stone, looking back down the glen


Hamish is right about the distance this one is away from the road, the climb back up, through heather and bog, is pretty sapping. Having said that, it’s well worth the effort – this stone is a good 11 feet tall. Strange surface, pitted with dozens of tiny little holes (visible in one of the close-up photographs) and one possible cup mark, which I also photographed. A bright, cold May day when I had a look at this one, with a brisk northerly wind which discouraged lingering to enjoy the view back down the glen.


There are many burial cairns scattered about The Ord. The remains of the cairn tombs are the most obvious neolthic remains, but there are other burial cairns, a burnt mound and innumerable hut circles. I have attached a photograph of one of the burial cairns.