
This panoramic image of Loudon Wood Stone Circle shows clearly how the site slopes gently to the south.
Image credit: Les Hamilton
This panoramic image of Loudon Wood Stone Circle shows clearly how the site slopes gently to the south.

A sunny evening photograph of Hunebed D9 in its suburban setting.

This sunny evening view of Hunebed D9 clearly shows the concrete markers that indicate where the robbed stones of this monument used to stand.

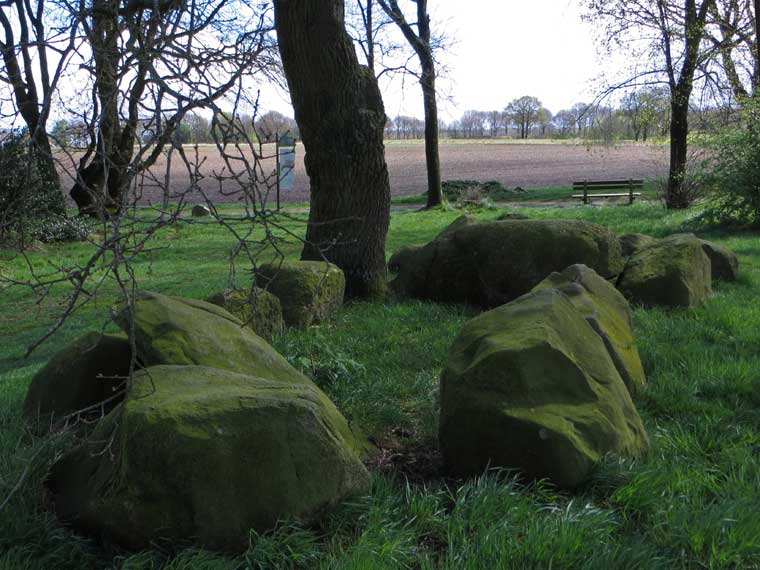
An April photograph of Hunebed D7 Kniphorstbos, looking north over the monument towards the woodland clearing beyond.

Hunebed D7 Kniphorstbos in April, when leafless trees allow the sun to illuminate the stones.


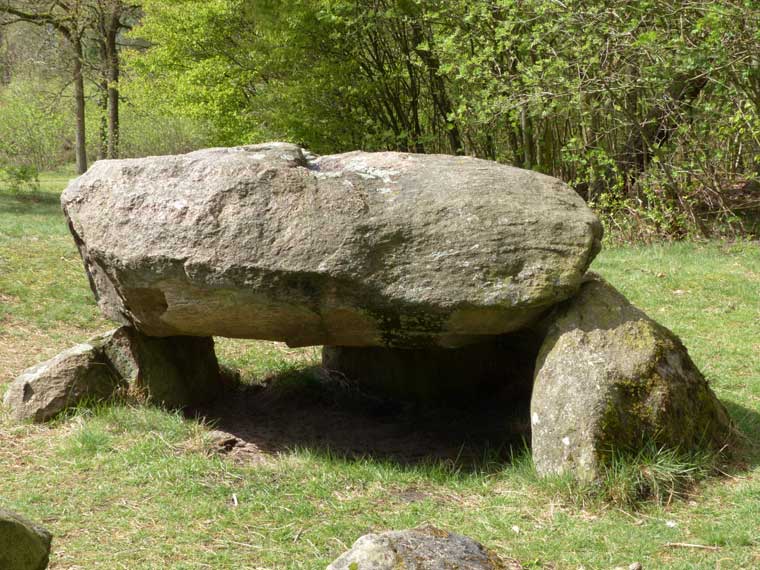
This side view of Hunebed D32 Odoorn empgasises its low profile.


Willem Roelofs painting of Hunebed D6 Tynaarlo.

Hunebed D6 Tynaarlo consists of granite boulders, mainly in three shades of red/pink.
(S = sidestone, C = capstone, E = endstone)


Hunebed D6 Tynaarlo, showing off one of its red capstones.

This is the sight that meets the eye on first approaching Hunebed D4 Midlaren.


This elevated view of Hunebed D4 Midlaren emphasises the size and regularity of its capstones.


An elevated view over the stones of Hunebed D3 Midlaren.

This side-on photograph of Hunebed D3 Midlaren gives an impression of just how massive many of the stones are.

First sight of Hunebed D35 Valthe in its woodland clearing, the stones just peeking above the remains of its barrow.

An elevated view over Hunebed D35, with most of its capstones robbed long ago.


A close-up view of the largest extant capstone on Hunebed D35 Valthe.

Hunebed D37 Valthe in the shadow of its splendid oak tree.
With most of its capstones robbed centuries ago, Hunebed D37 Valthe presents a rather tragic picture.


An elevated view over Hunebed D37 Valthe, showing the empty grave chamber (Hunebed D36 lies behind).

A ‘Hunebed Sign’ shows the way from Valthe to the passage grave.


The huge western capstone of Hunebed D36 Valthe, the only one still balanced on its sidestones.


