

The shapeless profile of Baile Mhargaite from the west.

A stretch of neat interior walling courses at Baile Mhargaite.


Stitched panorama of the interior of Bale Mhargaite broch. The true height of the walls is concealed by up to 2 metres of wind-blown sand.


Dùn Maraig, seen from the summit of Dùn View to its north.

Dùn Maraig viewed from the mainland to the east at low tide.

The former causeway shows as a slightly curving line among the weed-encrusted boulders to right of centre in this photograph.

Looking along the line of the former causeway from the shore.

Walling courses at the northwest of Dùn Maraig.

Impenetrable seaweed-covered boulders below the walling courses at the northwest of Dùn Maraig.

Seen from below, the only evidence of an entrance passage to Dùn Maraig is this slight dip on the skyline above the jumble of displaced foundation blocks.

The outline of the remains of a rectangular structure are just discernable beneath a thick carpet of grass and bluebells.

A tumble of huge defensive blocks to the east of the entrance to Dun Maraig.

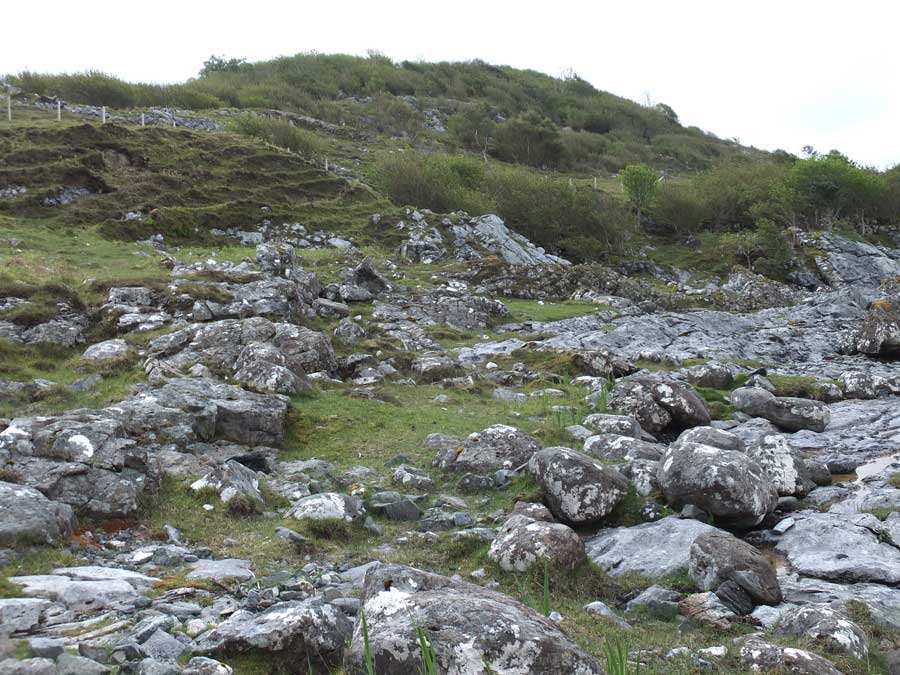
The causeway stretches away from Dun Maraig in a slight curve, marked by a scattering of large boulders.
Viewed from the shore of Loch Slapin, about half a kilometre south of Torrin, Dun Mor rises as a tree covered dome.

Looking out from the cattle fold through its entranceway.

The interior of Dun Mor, its grassy summit ringed by scrub and its original stonework destroyed to build a huge cattle fold.

The walling of the cattle fold is of poor construction, and fabricated from fragments of the destroyed original fort wall.

This 2-metre tall section of the original dun walling has been incorporated into the cattle fold’s northwest corner.

The original dun wall from above, over a metre wide.

The short stretch of original dun wall, seen from above.

Seen from outside the northwest corner of the cattle fold, you can still see the formidable foundation courses of the original fortification.

A view of Dun Grugaig from the far end of its internal court – with masses of blubells in full bloom in late May.

A three image composite of Dun Grugaig from the interior court of the structure.

Almost all the lintels of the entrance passage remain. The door checks in the entranceway are also shown.

One of the bar holes, used to secure the original wooden door of the dun.

It is not obvious, but this is a view of the three remaining stairs to the second level, highly obscured by undergrowth.

Climbing the remnant stairs, it is just possible to get a peek into a section of the level-2 gallery (otherwise inaccessible).

This view shows the prominent scarcement ledge that once supported the internal flooring of Dun Grugaig.

This is a side-on view of the scarcement ledge.


The location of the Cup-Marked Boulder, behind a tall hedge just south of ‘Treetops House’.

The cup-marked boulder, viewed end-on from the north.

A frontal view of the Black Top boulder, showing the cup-marks beautifully under oblique lighting.

Rubh an Dunain broch, defended on three sides by vertical cliffs.

The well constructed wall that protected the promontory from the west.

Clear evidence of a ground-level gallery at Rubh an Dunain.

Neat walling courses on the interior of the broch wall.


Viewed from the Rubh an Dunain broch, Loch na h-Airde and the ancient artificial channel connecting it with the sea at high tide.

The “ivy clad ruin” of the former Kilmore Kirk still stand within the graveyard surrounding its modern-day counterpart.

Cairn viewed from the north where a degree of damage is evident.
