


Looking toward Loch Dunvegan and the Fiadhairt Peninsula (approx centre), home of one of Skye’s finest surviving brochs.


To my mind, this is, surely, ‘up there’ with the finest of all views from an upland cairn? Anywhere. The Cuillin crown the horizon.

Looking south across the cairn to Healabhal Bheag, slightly the higher of the two Macleod’s Tables and, apparently, venue of the most outrageous alfresco dinner of all time! The Black Cuillin are superlative, top left.


The cairn’s been bugger about with by so-called ‘walkers’. The view, most certainly, is compensation.


Prospective visitors should note that the ‘altitude’ given upon the map belies the fact that this is a proper hill walk.

Beinn na Caillich..... from Beinn na Caillich


To be honest there’s not much structure left. However, the view of The Outer Hebrides is what legends are made of...


The broch is wondrously sited... in fact this gives it the edge for me over not too distant Dun Hallin.


The entrance.... note the door jamb, if I’m not very much mistaken.


In lieu of internal detail, there are numerous courses of outer drystone walling....


As Carl notes, the cairn is accorded splendid views.


Looking across the cairn to the wondrous Cleat, top right foreground; the Trotternish Ridge, culminating at The Storr (guardian peak of ‘the Old Man’, of course), stretches away to the left.

Seeing as I couldn’t discern anything looking down from the vantage point of the fort the scale of this cairn came as a pleasant surprise...


Dun Beag from the north descending Dun Mor, following a rather, er, ‘circuitous’ return from the wondrous Dun Vallerian.

Southern flank, looking approx east – all sorts of stuff going on ‘down there’; but then, to be fair, there’s archaeological stuff to be seen in seemingly every corner of Skye.

To the west, looking north toward the impossibly overbearing Dun Mor.


What I assumed to be the original main entrance to east, from without.

Northern flank, again looking approx west. Bioda Buidhe and the wondrous Cleat are the deceptively diminutive hills.

As one would expect, the main defences are to the north... here looking west(ish). Meall na Suiramach and the legendary rock formations of The Quiraing are shrouded with hill fog.
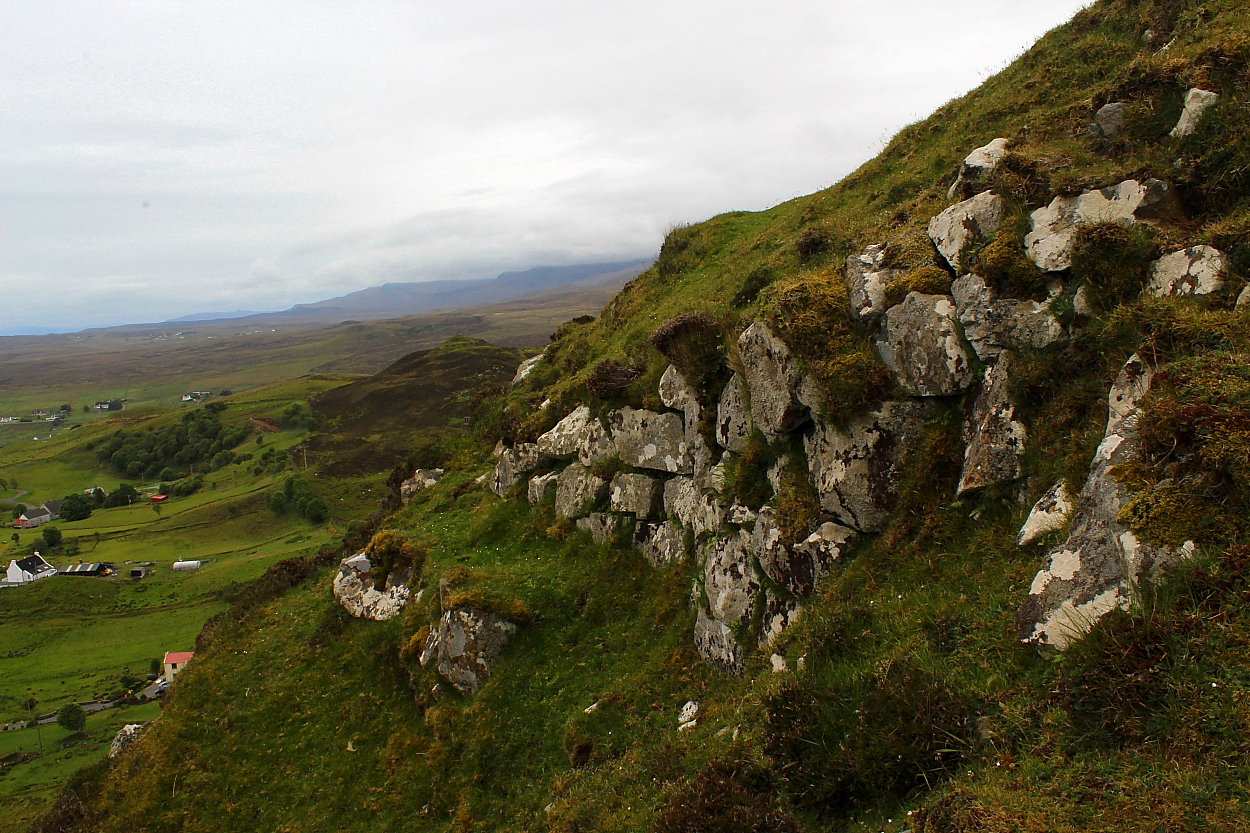


West toward the Quiraing, cloud swirling around the castellated rock formations shielding the lost world of The Table from view.