


Looking into the southern chamber (or passage) from the forecourt, where the entrance portal would have been.

Looking along the curving line of the forecourt kerbstones.


General view of the impressive monument from the northwest.

Stones round the edge of the central dish.


A beautiful evening, a few days before the Autumn equinoxe.


Some of the stones, near Rowsley South station.
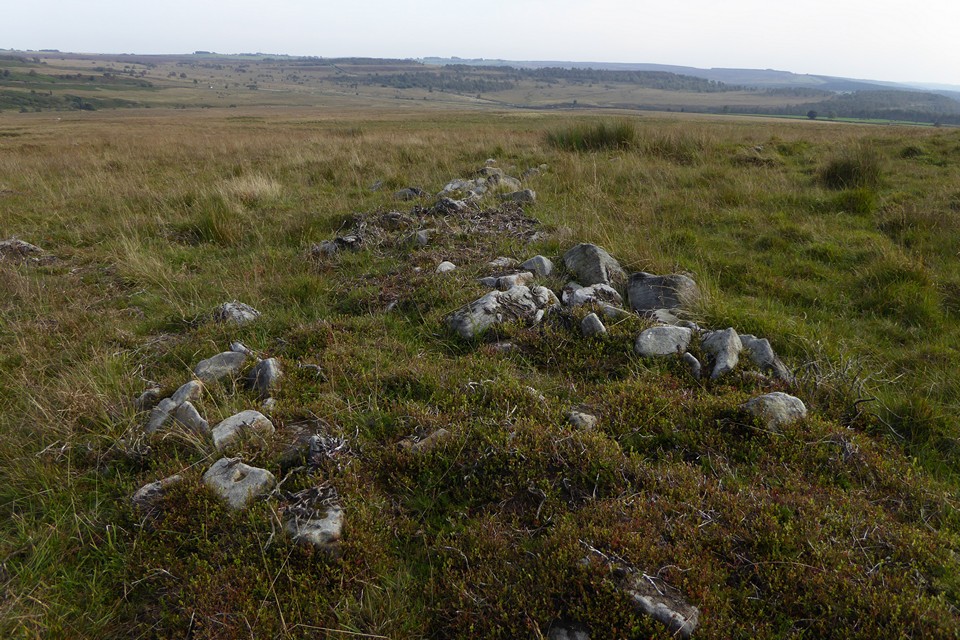
Looking along the settlement boundary, with the ground sloping down to the Bar Brook.

Hut circle in the upper part of the settlement site.

Settlement site outer wall.

Well-preserved round cairn between Barbrook V and the settlement site.

What appears to be a misshapen cairn close to Barbrook V ring cairn.
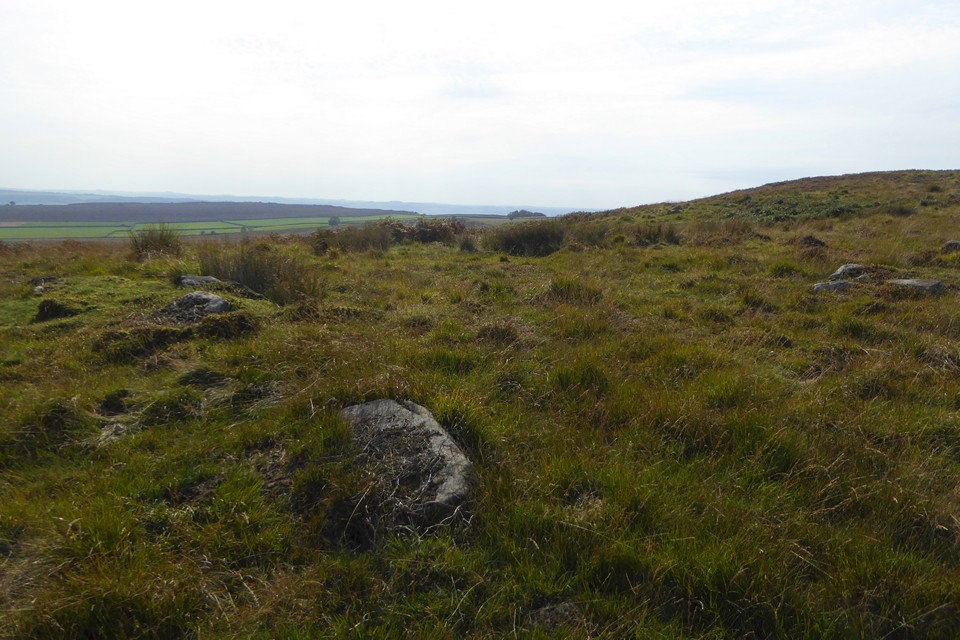
Looking across the site from just east of north. The stone in the foreground is no longer in the arc, but I assume it to be a displaced stone from the ring.

Detail of the best-preserved section of bank, with the stone at bottom left fallen inwards from the outer face of the bank. The little dot on the centre skyline is the Eagle Stone.
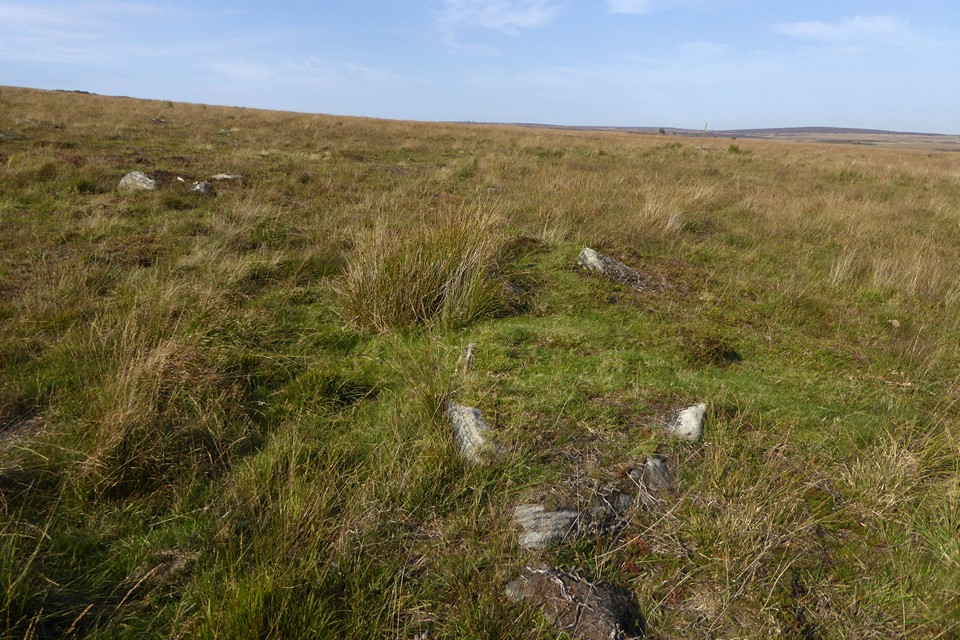
Looking along the best-preserved section of bank at the northeast. The distant hill on the skyline is (I think, but could be wrong) Brown Edge/Totley Moss.

The northeastern arc, looking north over Big Moor. The largest stone in the earlier TMA pictures is currently hidden by the tussock of reedy grass on the left.

Looking across the ring cairn from the southeast.

The southern arc. The dry weather has exposed a decent amount of visible stonework along the outer edge of the bank.

Looking southeast across the ring cairn. It’s not an easy site to make out from this side, but the clumps of heather in the foreground are on the western line of the bank.

The SE cairn, surrounded by super-chilled cows. looking towards White Edge, Big Moor lies over the crest.

Visible stonework in the mound of the SE cairn.

The overgrown top of the less-impressive SE cairn.
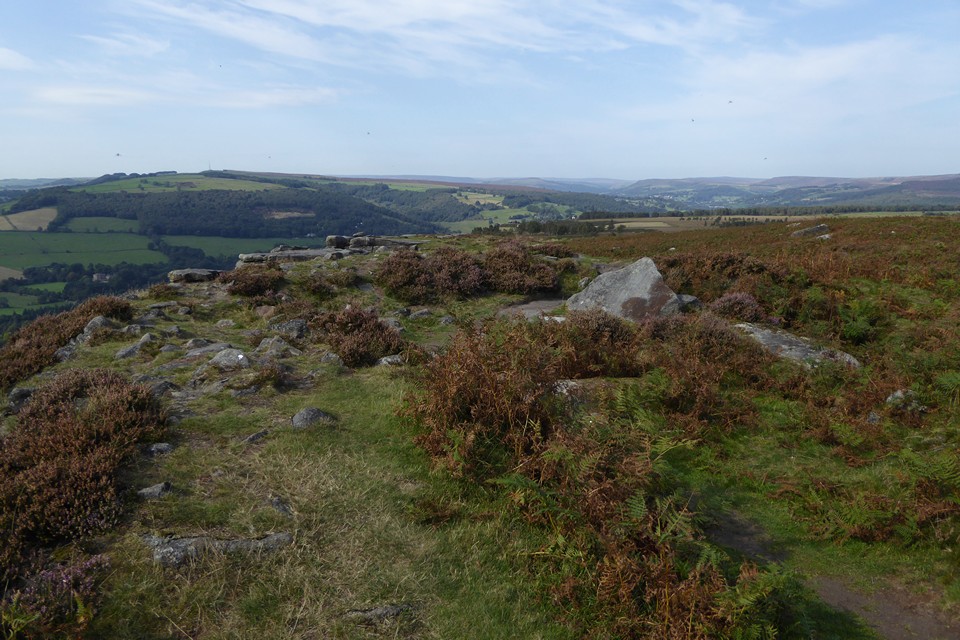

The propped slab in the NW cairn, presumably from the cist.

The well-consolidated western rim of the cairn, right up against the edge. Looking west towards Eyam Moor over the Derwent Valley.

The flattened top of the NW cairn, with remains of cist (note as well the two slabs pressed into the ground to the right of the propped slab). The view stretches away down the Derwent Valley.

Curbar Edge NW, approaching from Stoke Flat stone circle.


The northern entrance stones, revealed after a little bracken trampling.

Many of the low stones are hidden in the dense bracken.

Somewhat meagre seasonal offerings in the hollow of the tallest stone.

Looking across the circle from the southern entrance.

Looking across the circle from the northern entrance.

Looking eastwards over the circle towards Harland Edge.

The biggest stone is now practically supine. Unless action is taken, it will be face-down fairly soon.


With the low stones of the western arc in the foreground.