
Massive lintel or roofing slab on the Kilcoy South chamber.
Image credit: A. Brookes (14.10.2014)

Massive lintel or roofing slab on the Kilcoy South chamber.

The ESE elements of the chamber of Kilcoy South. The hill top left is Ord Hill, a stone-ramparted hillfort prominently seen from many places around.

The exposed WNW elements of the chambers in Kilcoy South. The drystone wall incorporates one of the orthostats.

Kilcoy South, crossed by a drystone wall.

Outer kerb. Presumably, as at other Clava cairns, the kerb was originally continuous.

The inner kerb, marking the outline of the original central chamber.

Stones of the collapsed passage, with swirling veins and nodules of quartz.

The partially collapsed entrance passage.


The western arc of the surrounding stone circle.

The site appears to be much clearer than when Greywether visited.

The Clava cairn. The infill of the mound is gone, leaving skeletal kerbs and passage – plenty to enjoy though.

The tallest of the remaining uprights in the circle, on the SE.

The two biggest stones of the surrounding circle. The farmer told us he had considered getting the fallen stone put back up.


Small slab exposed at the northern end of the mound.


Trees have been planted on the mound, which seem likely to cause damage at some point. Ben Wyvis is the mountain on the left skyline, visible from most of the monuments in this area.

The southern end of the cairn. Some of the loose material is likely to be field clearance.


The cairn has decent views for its relatively low setting.
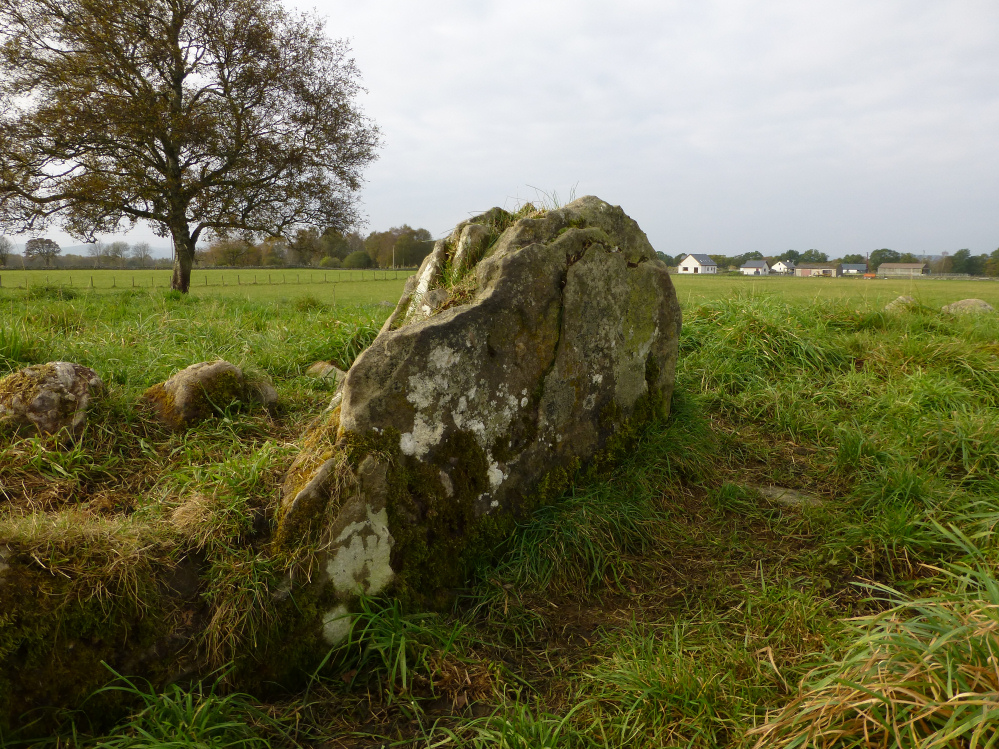
The single slab of the “chamber”. If fully exposed it would be 1m tall and 1.7m long. The elements are unfortunately taking their toll on the sandstone though.

Out of sight beyond the trees (left of centre) is Muir of Conan chambered cairn.

Looking NW across the “chamber” towards Ben Wyvis.
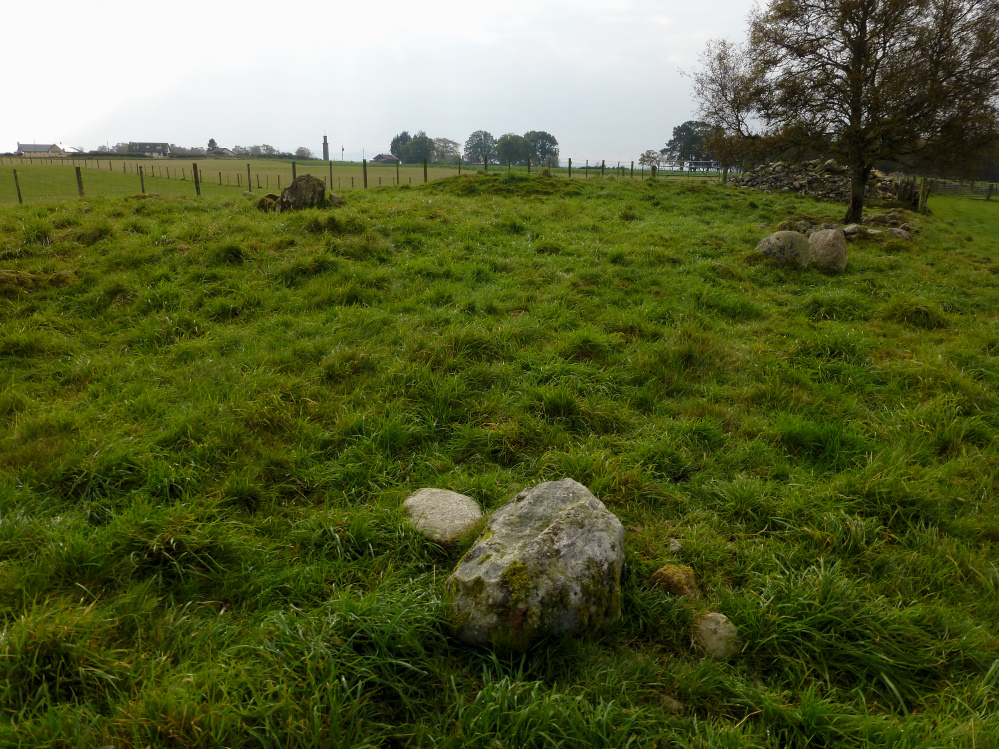
Looking south. The long rubble bank can be seen in the background.
The telescope-shaped tower commemorates Sir Hector MacDonald (“Fighting Mac”), a crofter’s son who joined the army as a private in 1870 and died an enormously decorated Major General in 1903. That’ll be a warrior chief’s monument I guess.

Looking NE across the cairn. Behind the camera is a long bank of stones and rubble which comes up to the edge of the cairn.

Seen from the ESE. Not really visible on this grey autumn morning, but the massive bulk of Ben Wyvis fills the backdrop.


Looking north. The lower parts of the visible orthostats are buried in the mound.

The substantial boulder on the edge of the cairn appears to be clearance and isn’t shown on Henshall’s plan.

Looking SE-ish across the chamber. The Beauly Firth, lying between the cairn and the skyline hills, is not visible from here.

The chamber is still surrounded by a substantial stone mound (c.20m across), although the height has been much reduced.


Fallen stones of the inner (western) chamber, presumably pushed over by the tree roots.
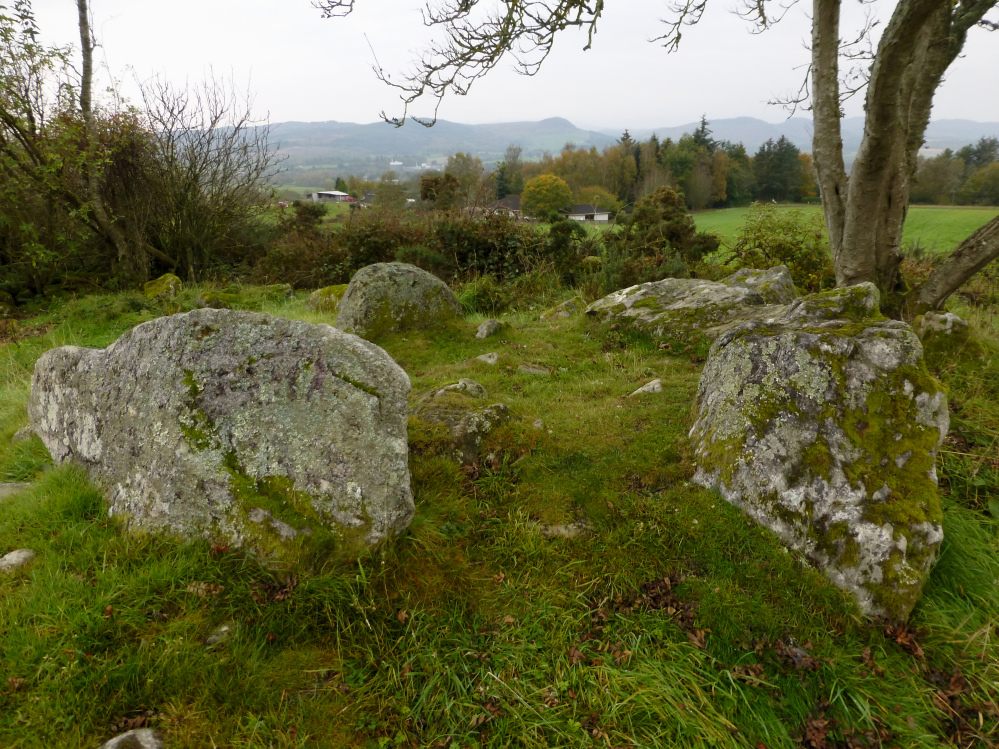
The outer chamber. The inner chamber has the tree growing from it on the right.

Massive lintel (almost 2m long) separating the passage from the outer chamber (behind).

Presumed clearance marks the southern edge of the mound.
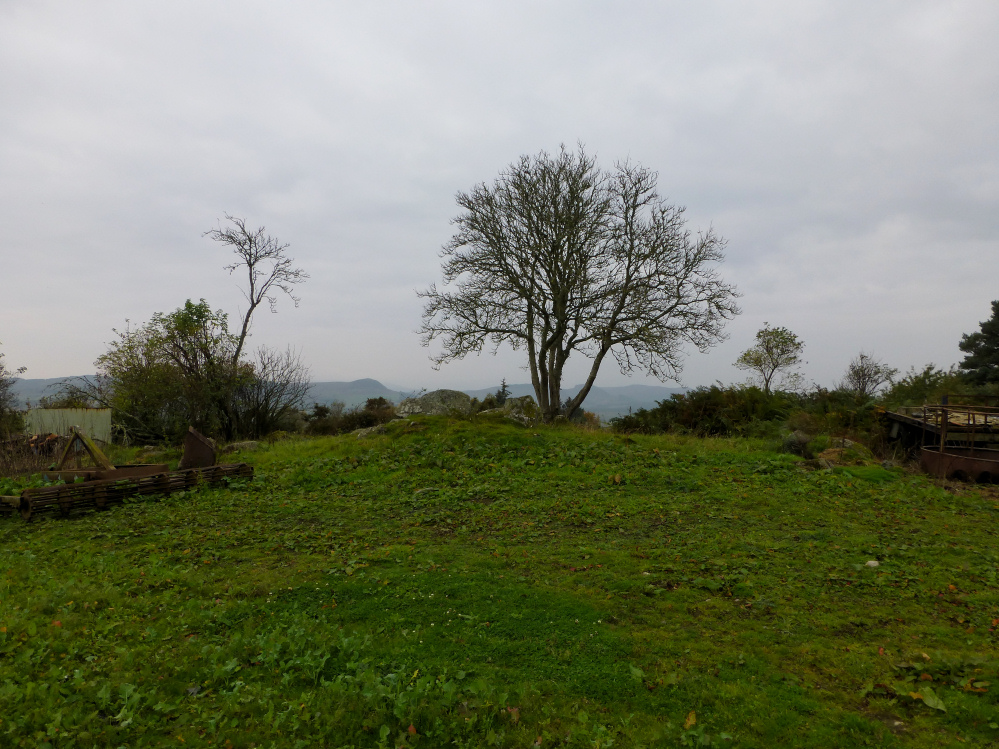
The surrounding mound was quite sizeable at one time. Looking SW.

1m tall orthostat on the northern side of the chamber.

The northern side of the chamber.

The chamber from its western end. It’s aligned along the contour, with the ground dropping to the north.

Despite my best bracken-flattening efforts, the orthostats resolutely refused to emerge properly.

Looking WNW across the chamber. The dimly seen peak in the distance is Ben Wyvis, the biggest mountain in this area by some margin.

The approach to the overgrown chamber, under the trees. The ground slopes away to Strathconon.


Conglomerate stone on the northern arc of the circle.


Stones of the NE arc of the stone circle.
