


Barbrook I, another superb site that I should’ve been to years and years ago.

Why has it taken me so long to come here?

Surrounding bank, looking down towards Bar Brook.


The stones don’t make it much above the level of the stone bank, but just enough to say “I’m a stone circle”.

Barbrook II, an instant classic, a place among the favourites assured.

Weathered block on Barbrook 1 cairn. Cupmarked stones were found in this cairn during the 1960s excavation. Although this stone probably shows natural weathering, there is at least a possibility that some of these marks are the eroded traces of artificial carving.

The restored Barbrook 1 cairn, showing neat drystone construction.

Barbrook 1 cairn (SK2791075600), excavated and restored in the 1960s. Barbrook I stone circle can be seen downslope on the far left.

Neat kerbed cairn southeast of Barbrook II stone circle.

Interesting cairn to the southeast of Barbrook II stone circle. The cairn is made up of a prominent kerb around an almost level platform of smaller stones. Whether this was the original design or a result of stone robbing isn’t obvious.

Representative example of many of the 60+ cairns on Big Moor, many concentrated in the area between Barbrook I and Barbrook II.

Small cairn, which may be clearance rather than sepulchral, with neat kerbed example beyond. These cairns are on the slope between Barbrook II and Barbrook I stone circles.

The damaged top of the substantial cairn at SK2774075680.
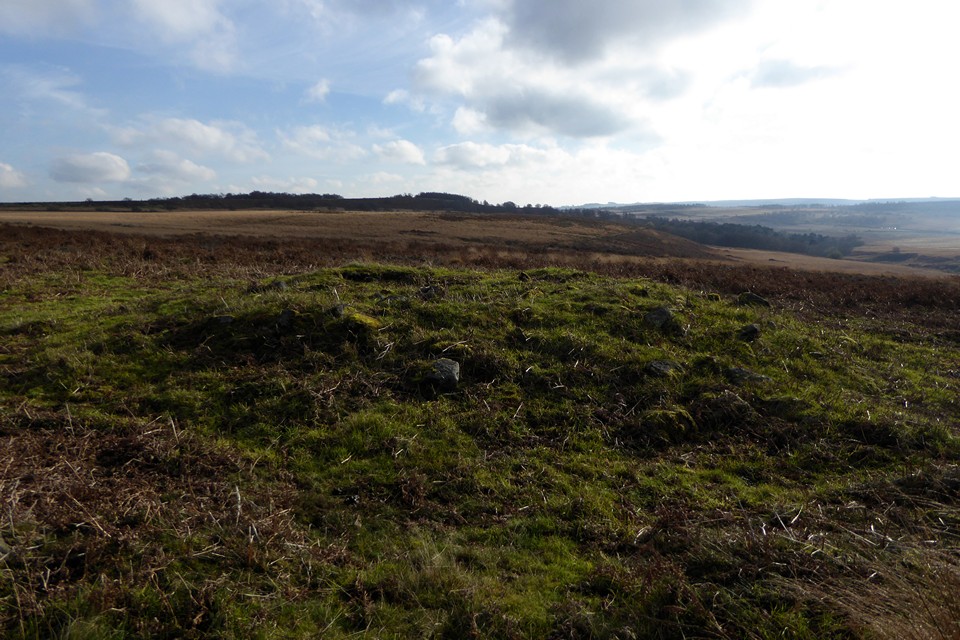
Substantial cairn slightly south and downslope from Barbrook II. Like most of the cairns in this area it was dug by Mitchell in the 1850s.


Without another burn or a clear-up, a lot of the stones are going to disappear into the grass and peat.


The northern arc, looking west-ish. The stones disappear into the grass even when you’re on top of them.

The grass has grown rather higher than in previous photos. Looking northeast across the circle.


The circle is much bigger than I was expecting. The embankment can be seen clearly from the cairn to the north, G/F sitting on the eastern edge gives scale.

Northeastern arc, looking southeast across the moor. Across the valley is Froggatt Edge and Big Moor.

The northern arc, with the cairn to the left. Looking northeast towards Hallam Moors and Higger Tor.

The southwestern arc. The heather-covered embankment around the circle can be seen stretching across the image.

The eastern arc, looking north towards the mutilated cairn.


The cairn enjoys a superb position above the Derwent valley and Hathersage.

The badly damaged southeastern side of the cairn.

Looking northeast towards Higger Tor and Millstone Edge.
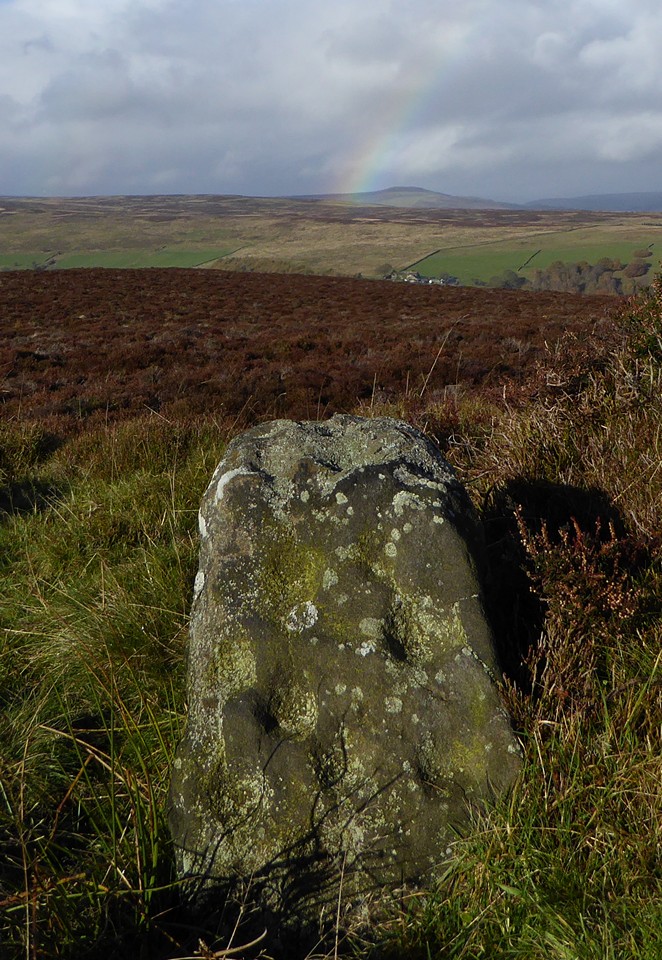
Sometimes being out in November showers pays off.


The decorations continue around the stone.

The cupmarked stone, looking northwest towards Mam Tor.

The cairn, with cupmarked stone to the right.

Looking northeast across the flat top of the cairn.

Looking down on the site from Sir William Hill. The cairn is in the heather where the slope flattens out.

Spencer says the stones are on a high point visible from miles around, so here’s some landscape context from Sir William Hill to the southwest. Ox Stones (not themselves visible at this distance) are on the high ground very slightly right of centre. Between there and here are Wet Withens stone circle (near distance, in the heather) as well as the sites clustered above Millstone Edge, including plenty of cairns, Carl Wark hillfort and Winyard’s Nick standing stone. Chock full of stuff, in fact.

Landscape context – the outcrop is prominent on the skyline just right of centre. Seen from the hillside above Grindleford to the southwest.

From the northwest, dog and walker for scale.

Looking east towards Harland Edge. Park Gate stone circle is in the lighter area to the left between here and the treeline.

The outer rim of the cairn is defined by some half-buried stonework.
