
Retrospective from the north, just before we turned the corner to leave Holyhead Bay. The iconic Lleyn hills line the skyline.
Image credit: A. Brookes (26.4.2017)

Retrospective from the north, just before we turned the corner to leave Holyhead Bay. The iconic Lleyn hills line the skyline.

Not long after we left a training exercise demonstrated the best way to get to the seaward section.

Looking down on the site from the cliff to the northeast.


The bank. Holyhead Mountain/Caer y Twr is the prominent hill across the bay.

Looking down on the single bank that forms the artificial defences.

The sheer cliffs separating the two parts. Access to the seaward section is now only by boat, or as we discovered shortly, helicopter.

Looking from the landward section to the seaward, higher part. There is a possible hut circle on the seaward part.

The landward part of the site is undermined by an impressive sea arch. Fellow visitors for scale (they came by kayak).

The split of the promontory into two is best seen from the south. If you look hard, you can see a seal’s head in the middle of the bay.

Looking across Holyhead Bay towards Caer y Twr, the most heavily defended Iron Age fort on the island.


The fort occupies an oddly misshapen promontory, it looks like it has been extensively shaped by the builders rather than relying on the natural layout alone.


Caer y Twr on Holyhead Mountain (centre), seen from Traeth y Gribin on the west coast of Ynys Mon’s mainland.


Showing the central boulder. The lovely Penrhosfeilw standing stones are in the green fields, the hills of the Lleyn float on the horizon.
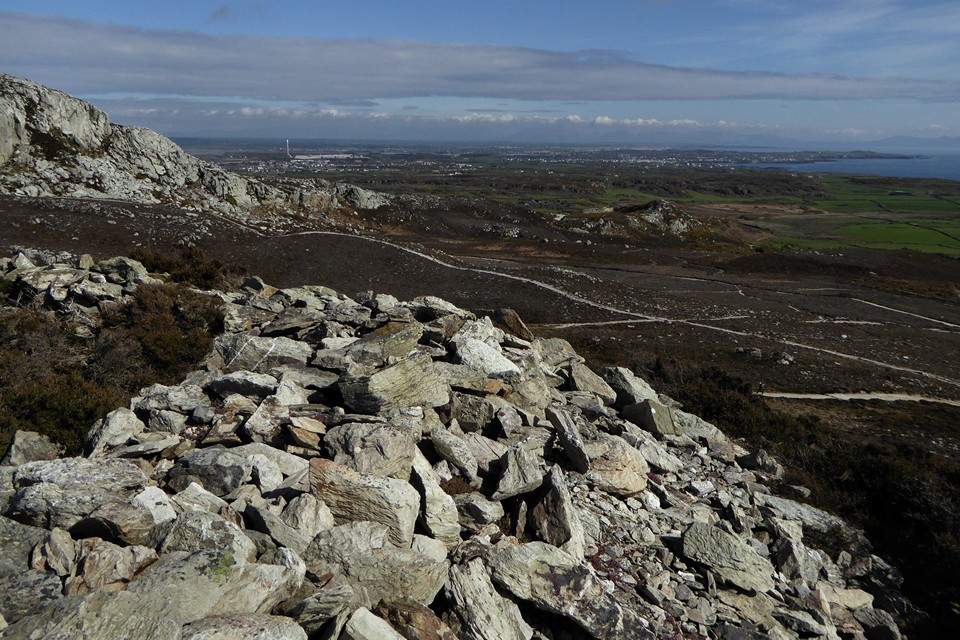
Looking across Anglesey towards a cloud-topped Snowdonia.

The cairn with Holyhead Mountain behind.

On the approach from South Stack. The cairn is on top of the rocky knoll, right of centre above the fenceline.

Sunny landscape perspective from The Range to the south. The fort occupies the highest point, right. Garn cairn is on top of the rocky promontory to the left of that.

From the cliffs to the west above Porth Ruffydd.


The landward aspect of the fort, a low bank across the top is the only sign of a man-made defence. Yr Eifl and the hills of the Lleyn can be seen on the horizon.

The channel virtually cutting the fort off from the mainland. The only way across would be climbing up and down some crumbling cliffs, we didn’t attempt it.

The promontory fort seen from Graig Lwyd to the east.

The building of the road in the background destroyed the Bronze Age barrows and cist burials that were next to the round house settlement.


The surviving hut circles from the west.

Coastal context from Porth y Post to the east. Dinas is the far headland, top left.


Looking towards Falkner’s Circle and the Overton Hill barrows.

Looking SSE from the circle to the magnificent round barrows on Overton Hill.

The Overton Hill group from Avebury 24, a nearly vanished bowl barrow at the southern end of the group, ploughed down without the protection of trees.


Avebury 26 bell barrow at SU 11517 68630.

Avebury 27 and 26 bell barrows.

Superb Avebury 27 bell barrow at SU 11496 68668, one of the iconic group that looks down on West Kennett Avenue.


Avebury 28 bell barrow at SU 11541 68698, the northeastern in the group overlooking West Kennett Avenue.

Avebury 29, looking northeast. The trees on the left are on Avebury 30.

Avebury 29, the first round barrow I visited in the Avebury landscape back in 2008.

Avebury 29 bowl barrow with Spring offering.

Avebury 29 bowl barrow at SU 11661 68802, standing between the Ridgeway and the big group of five barrows looking down on West Kennett.