
Sharpening in Photoshop and Photoshop Elements is located in the same place (use the counter-intuitively named 'unsharp mask' for sharpening):
http://img.photobucket.com/albums/v463/CianMcLiam/image002.jpg
Hue/Saturation in Elements is here:
http://img.photobucket.com/albums/v463/CianMcLiam/image004.jpg
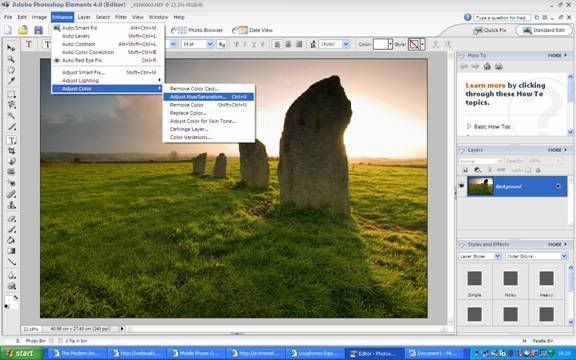
For sharpening, you have to sharpen according to the final image size, to sharpen a photo straight from the camera, try values of 100-150 for amount, 0.6 to 1.0 for radius and 0 for threshold. When you reduce the image size for web use, you must sharpen again even if you've sharpened the life out of the full size image. For images that were already fully sharp at full size, use 250 for amount, 0.2 for radius and 0 for threshold. For images that were not sharp before resizing use 150 for amount, 0.3 for radius and 0 again for threshold. These are just starting points bt work well for me in most situations, you know you've sharpened too much when bright lines or 'halos' start to appear around the edges of objects.
Saturation is depending on your taste, far more important for digtial camera files is white balance, unless you are taking photos in middle of the day with cloudless skies you could leave it on cloudy all the time which will give nice warm pictures and is the equivalent of film photographers using their ubiquitous warm up filters. Then adjust the blue/yellow balance in photoshop to taste.