
White Cairn (Beoch Hill) viewed from N.
Image credit: Mark Johnstone

White Cairn (Beoch Hill) viewed from N.

White Cairn (Beoch Hill) viewed from E looking towards Loch Ryan.

White Cairn (Beoch Hill) viewed from S.

White Cairn (Beoch Hill) viewed from W.

Cunningham Standing Stone viewed from N.

Cunningham Standing Stone viewed from S.

Cunningham Standing Stone viewed from W.

Fauldinchie E Burnt Mound viewed from N.


Fauldinchie E Burnt Mound viewed from S.

Fauldinchie E Burnt Mound viewed from W.

Fauldinchie W Burnt Mound viewed from N.

Fauldinchie W Burnt Mound viewed from E.

Fauldinchie W Burnt Mound viewed from S.

Fauldinchie W Burnt Mound viewed from W.

Summit of Fauldinchie W Burnt Mound viewed from N.

SSE Hollow of Fauldinchie W Burnt Mound viewed from NNW.

NE Crescent of Fauldinchie W Burnt Mound.

Stream adjacent to Fauldinchie W Burnt Mound.

Enclosure of The Thieves Standing Stones viewed from NW.

NW Arc of Enclosure of The Thieves Standing Stones.


S Face of NE Stone of The Thieves Standing Stones.

NW Face of SW Stone of The Thieves Standing Stones.

Recumbent Stone half-buried between The Thieves Standing Stones. It is c. 5 ft long on a NNW-SSE Axis (walking stick set to 1 yard for scale).

Cup Marks on a Recumbent Stone c. 80 yards SW of Tom Nan Carragh W Stone

Cairnharrow Cup & Ring Carved Stone viewed from E.

Cairnharrow Cup & Ring Carved Stone viewed from E.

Cup & Ring Carving on Cairnharrow Cup & Ring Carved Stone viewed from E.


Possible Kerb Stone on E Arc of Cambret Moor Cairn.


Stone Setting in NW Arc of Centre of Cambret Moor Cairn.

Exposed Cist in S Arc of Centre of Cambret Moor Cairn.

Interior of Exposed Cist in S Arc of Centre of Cambret Moor Cairn.


Modern Cairn on Cairnharrow Summit Cairn viewed from N

West Cairngaan Standing Stone viewed from N.

West Cairngaan Standing Stone viewed from E.
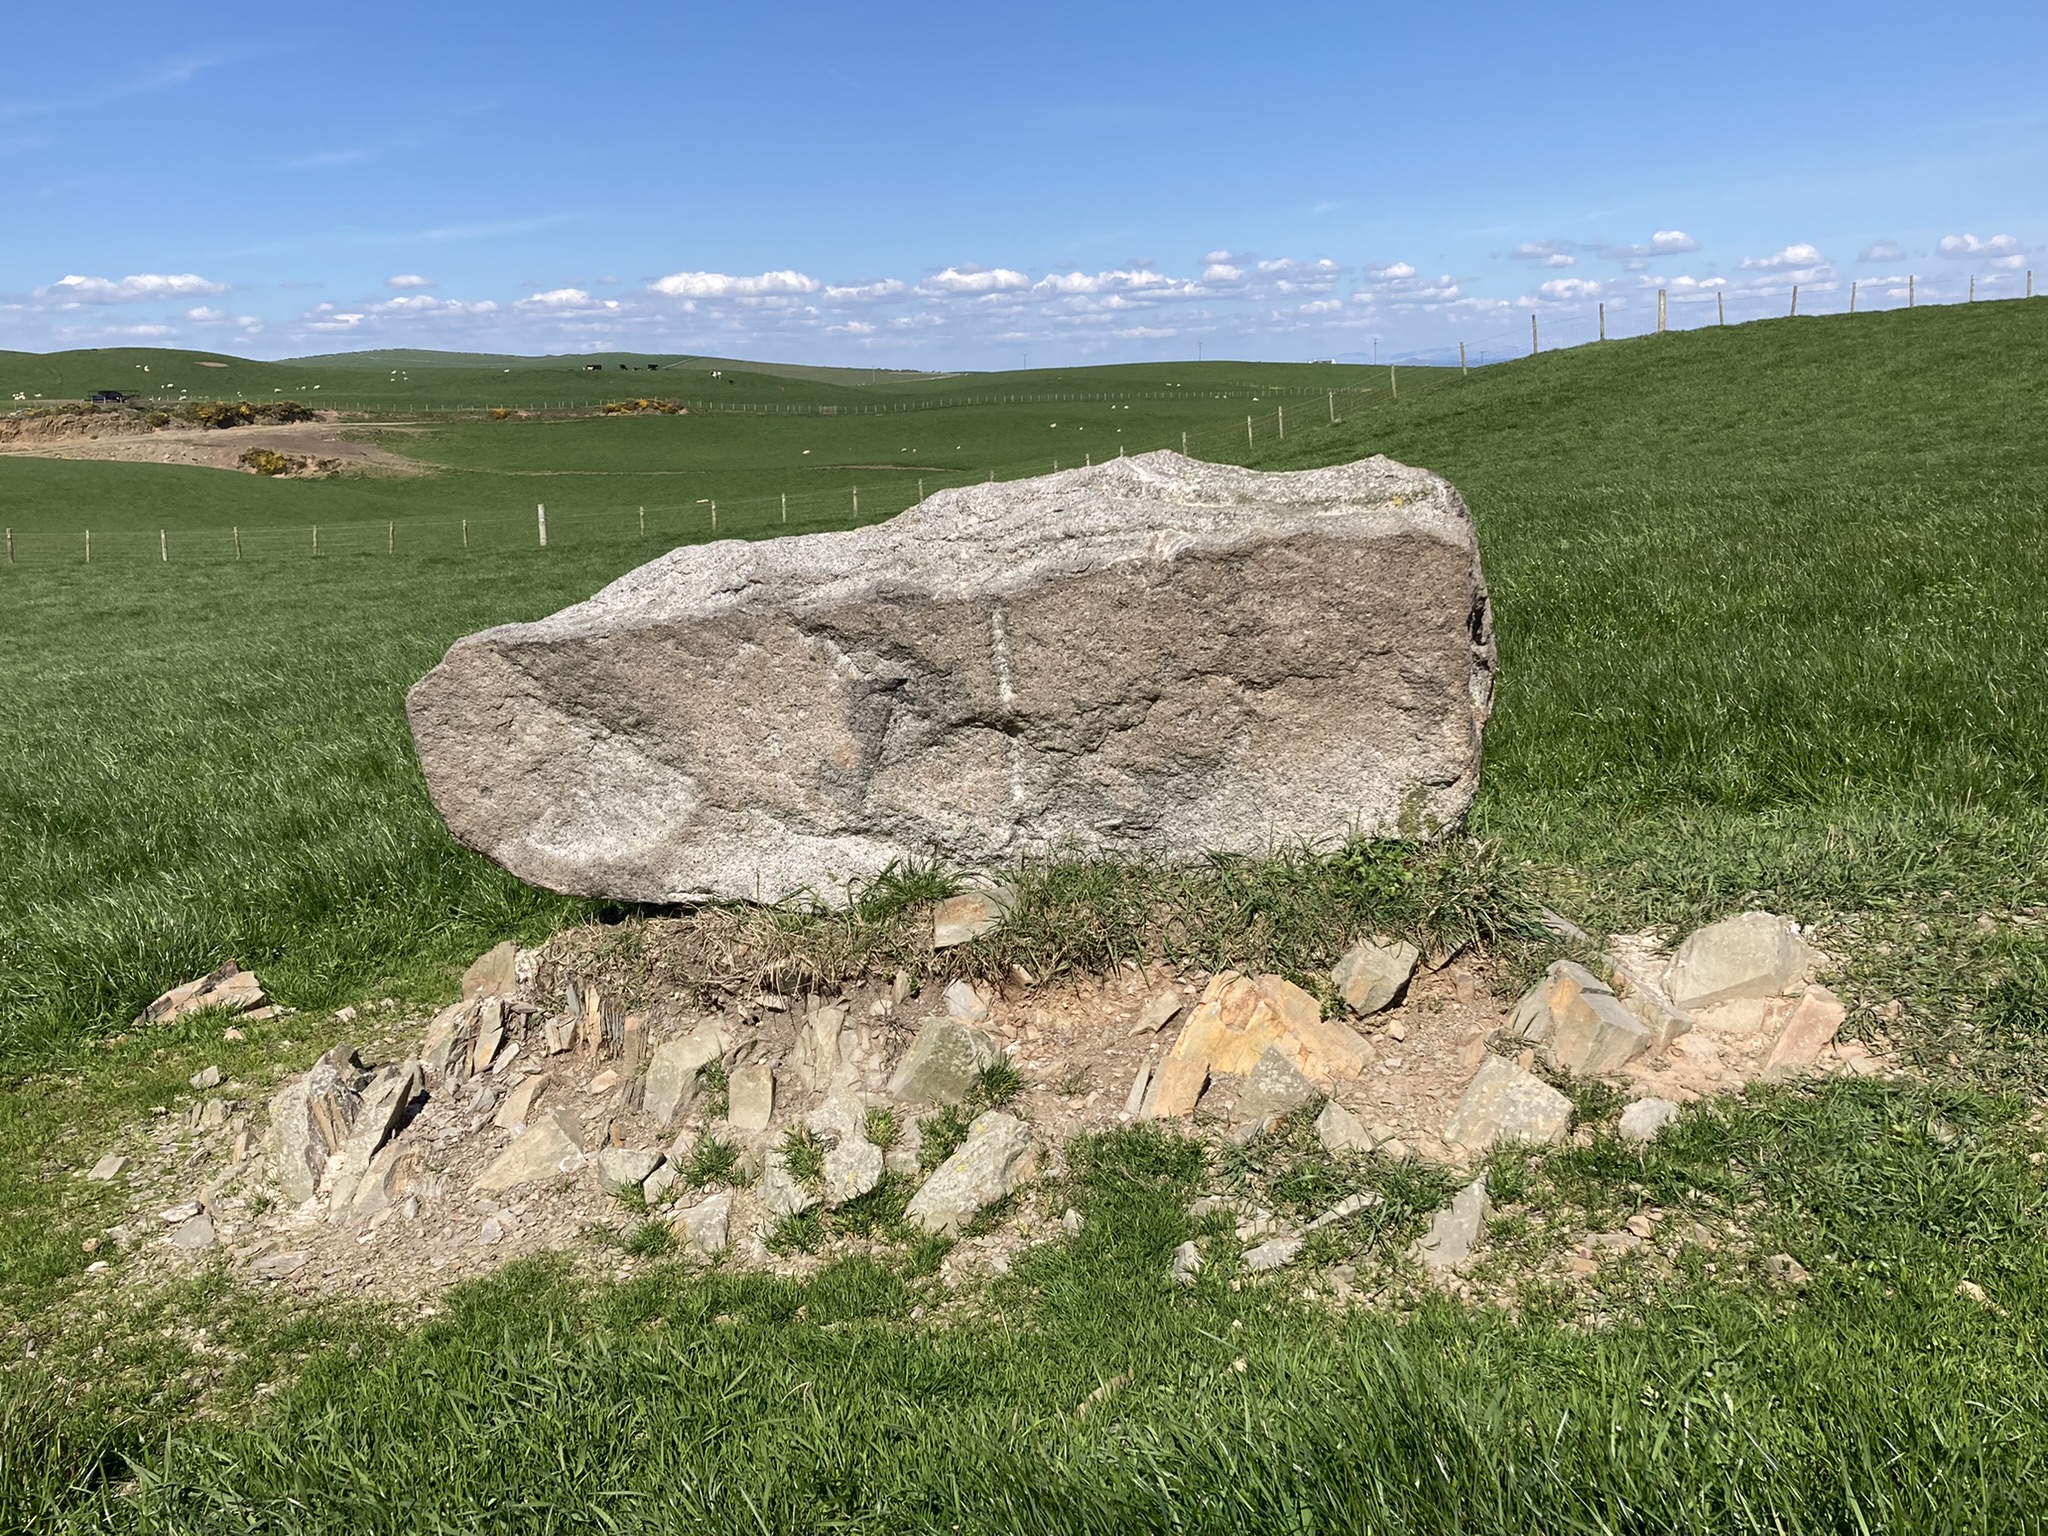
West Cairngaan Standing Stone viewed from S.

West Cairngaan Standing Stone viewed from W.
