


The interior of the mound, the floor of the passage was of course strewn with ‘offerings’ and rubbish, removed what I could reach. Carvings are on the large stone on the left of the passage.


The kerbstone of the ‘Seven Suns’, featuring all seven suns and other carvings.

Three of the ‘suns’ carved on to the kerbstone opposite the south entrance


A tourist guide type shot, 9/2/06

Its difficult to show the passage tomb in the context of the massive banks of the henge around it, this is about the only way it works. Idea borrowed from Kenneth McNally’s book ‘Standing Stones’.


The cross section of the mound, visitors cross a small metal bridge into a dug out chamber inside the mound beside what was the eastern entrance, where a small display area allows you to see how the mound was constructed, and destructed!

The Triple Spiral, well a copy actually. This exact replica is located in a life-size model of the passage and chamber in Newgrange which is part of the visitor centre audio-visual ‘experience’.

Just in case you were wondering... The world famous triple-spiral carving is quite small as demonstrated here by the lovely Niamh.

This is a casting of the carvings in the passageway, part of a replica of the Newgrange passage and chamber in the visitor centre.


This is either site 9 or 11, Burl points out that in any other part of the country these would be recognised as typical stone circles and from this pic you would have to agree. There are more stones just right of the frame. It was so cold at dawn that two pairs of gloves still left my hands cold in the atlantic breeze.
As usual, Maeve looks on from on top of Knocknarea.

Knocknarea at night, Maeve’s Cairn is not visible from this angle along the south shoreline of the peninsula
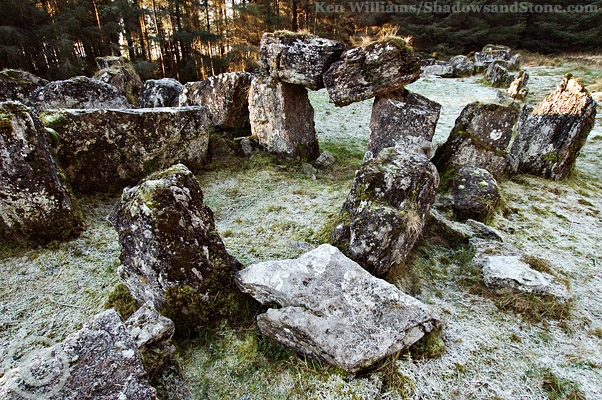

Tomb 5
A long exposure at night, light pollution giving the sci-fi effect (not photoshopped!)


Since winter creeps on slowly, I’ve been revisiting some summer sunset photos


Tomb 4 with 5 on the background horizon and that ‘lovely’ red barn, telephone poles etc. etc.

Punchestown stone and the full moon, 14th January 2006. This was taken with a 300mm lens and is a single exposure.


Found this while looking for something else, its now been identified as tomb 26.


Every once in a while you have to end up with grass up your nose to get a pic without fences and wires!
This was inspired by a photo I’d seen of Trethevy Quoit, it looked just massive so with a bit of wide angle, neck creaking and cow dodging I tried to make the dimuntive Ballykeel into a monster.

Ballykeel in its present day enviornment, complete with barb-wire and fences (shot through the hedge, the out of focus bits). Most of the time I find myself trying to make the most of the situation the stones find themselves in, a new direction for 2006 is warts and all!

Notice that the portal stone to the left has such a tiny point of contact with the capstone that the shadow is extremely thin, barely noticable as if the capstone were floating mid-air.

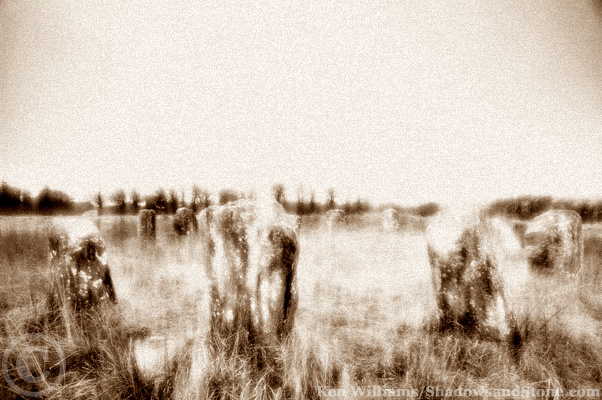

Grainy suits the atmosphere of this place on a cold, gloomy day.


‘Looking for the circle I suppose... s’over there....’ The Reanascreena ‘stealing horse’.


Viewed from the slope on the way up to the stones from the car park.


Proleek Dolmen 30/12/05. Notice how the sun shines on the bottom of the capstone at this time of year.

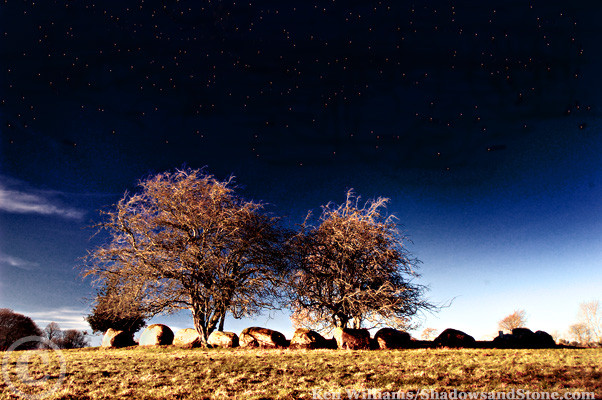


Broadleas circle, frosty early morning 25th December 2005.