The ruins of Balvalaich broch sit in a splendid location in the Strath of Kildonan, overlooking the River Helmsdale.
Image credit: Les Hamilton
The ruins of Balvalaich broch sit in a splendid location in the Strath of Kildonan, overlooking the River Helmsdale.

This section of walling with its huge boulders, on the western side of Balvalaich Broch, is the first significant feature seen on approaching the structure.

Some of the large stones comprising the foundation level course on the eastern flank of the broch.

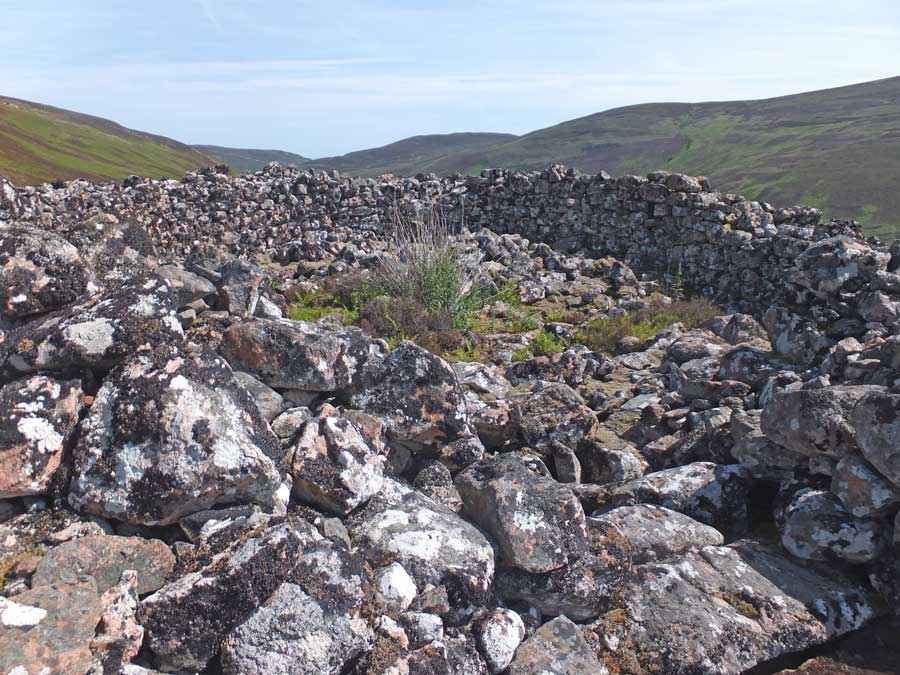
Though severely denuded, this section emphasises the original 4.5 metre width of the broch walls.

This is a composite of several photographs giving a panoramic overview of Balvalaich broch. The interior is simply a wilderness of small stones.

This is a view of Dun Viden tomb taken from the broch.

This is the view of the tomb’s heathery mound from the roadside with Dun Viden broch in the background.

This view illustrates the direction of the former chamber/passage.

The three standing stones probably represent former vertical chamber slabs.
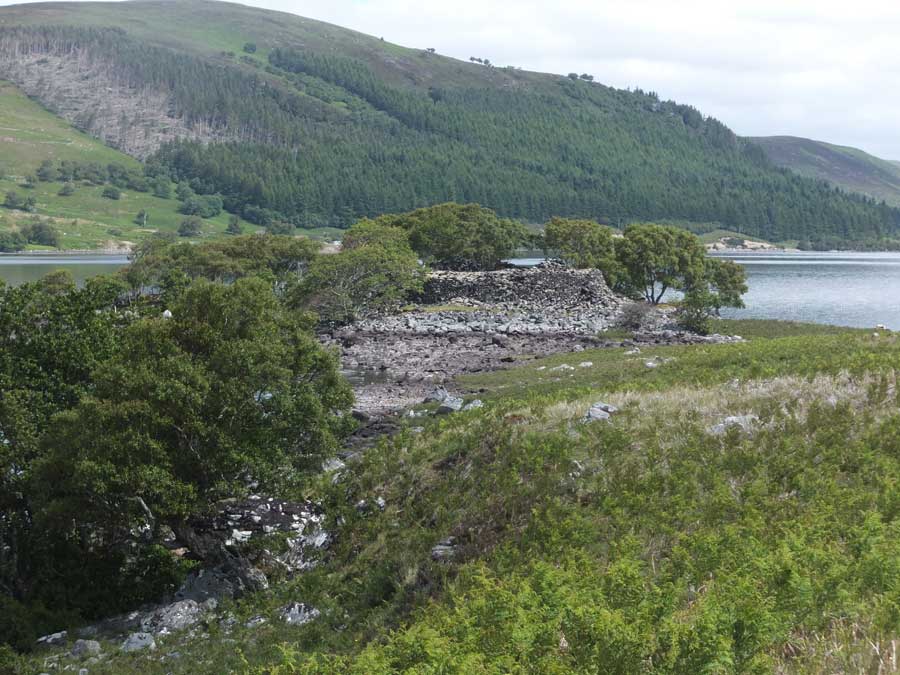
First sight of Dun Creagach, approaching along the shore of Loch Naver from Altnaharra.

Dun Creagach from Loch Naver.
The variations in colour of the rocks below the broch clearly indicates how the drought has lowered the loch’s level, creating what looks like a tide mark around it.

Dun Creagach is not currently an island.
The drought has lowered the level of Loch Naver by over half a metre, creating a shelf of dry land towards the shore of the loch.


Neat courses of outer walling on the east of Dun Creagach.

This composite panoramic photograph shows the interior of the broch viewed from the east.

A section of the broch wall, hinting at the former presence of an intra-mural passage.

This composite panoramic photograph shows the interior of Dun Creagach, looking north across Loch Naver.
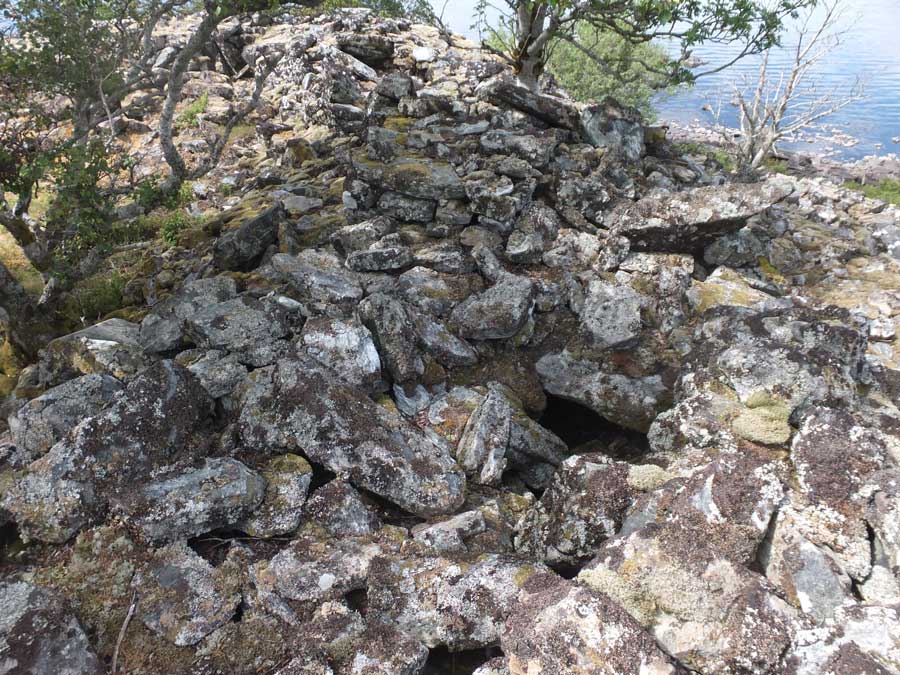
This image probably shows the broch’s second level.
A lintel to a probable gallery can be seen as well as a breach in the sidewall that hints strongly of a gallery within.

This section of the internal wall contains a doorway into an intra-mural gallery.

The fine entrance doorway to Dun Creagach, the actual passage now largely blocked by debris.

This image highlights the impressively thick wall of the broch at the west of the structure.

This is the impressive doorway in the south wall of Dun Creagach that leads to the intra-mural galleries.
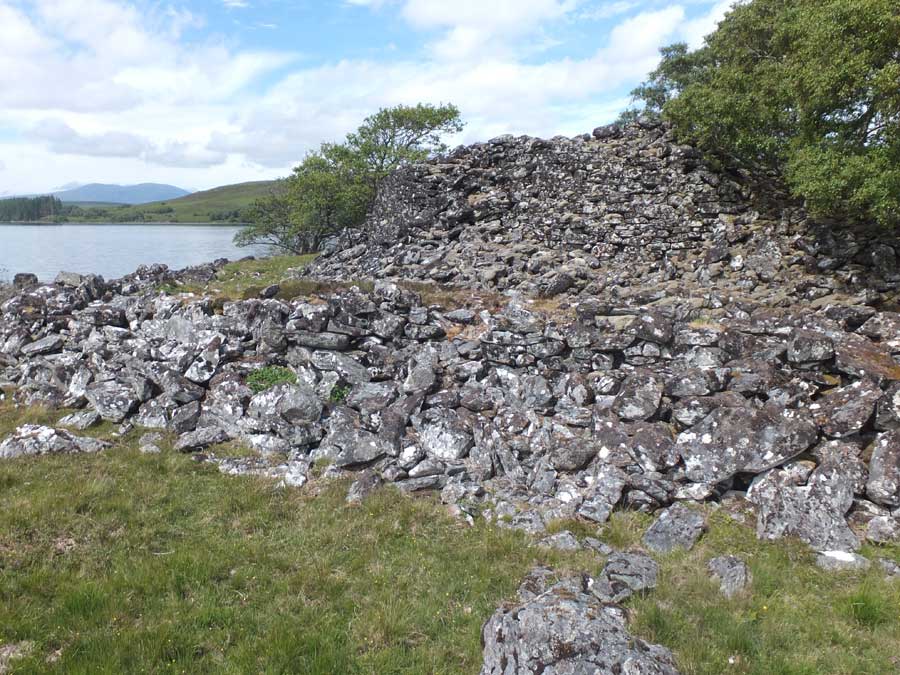
This elevated view from the east clearly shows the relation of the protective rocky wall (rampart) with the broch.

The promontory fort of Sgoir Beag, flanked by steep cliffs to north and west, and by a precipitous drop into a stream channel to the south.

The prow of Sgoir Beag, viewed from across the stream to its south.

On the landward side, Sgoir Beag is protected by a natural ditch, about 5 metres wide and 3 metres deep.

Across the ditch, intermittent stonework peeks out from the side of the fort.

Looking across the grassy interior of Sgoir Beag.

This exposed section is the only remaining visible sign of walling courses on the summit of Sgoir Beag.

The southern cliffs of the promontory atop which stand the scant remains of Geary Fort.

From the fort’s interior, this heavily vegetated rampart is surely part of its original protective wall.


The site of Geary Promontory Fort is thickly clothed with rank vegetation and thickets of shrubbery. Very little stonework is visible, save these two large boulders which may have belonged to its original defences.

The wall that protected the fort is all but gone now. Perhaps these deeply embedded, moss covered stones are a relic of it.

Overlooking steep cliffs, this is the view north from Geary Promontory Fort.

The steep hill that conceals the fort from the roadside. Note the boulder-stile that allows easy access to the site.