
The defensive strength of the original dun can be judged from this image, showing the thickness of the walling just south of the entrance passage.
Image credit: Les Hamilton
The defensive strength of the original dun can be judged from this image, showing the thickness of the walling just south of the entrance passage.

Past the entrance passage, the northern end of the dun still shows up to seven internal walling courses.

This panorama over Dun Kraiknish looks north from near the entranceway.

This panorama over the interior of Dun Kraiknish looks seawards (to the west).

Tot Nan Druidhean, viewed from its southern rampart.


Tot Nan Druidhean panorama viewed from the southeast.

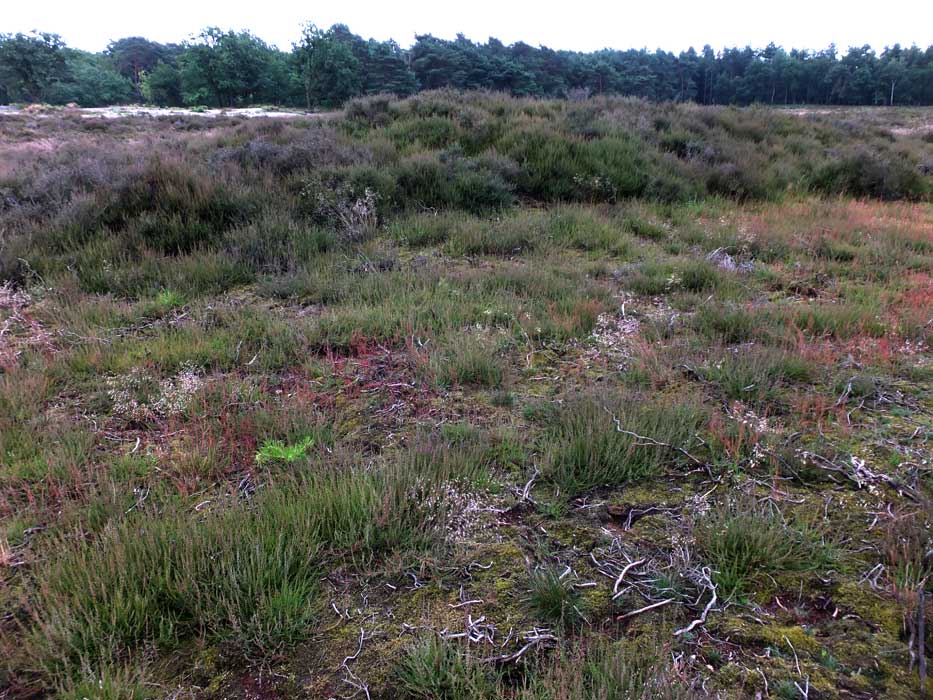
In early August, with rank growth of grasses, nettles and thistles everywhere, the cairn was hard to distinguish.


The impressive Grafheuvel No 9 situated in a clearing just a few metres east of the entrance to the Westerheide Reserve.

Grave Mound No 13 lies in a sheltered woodland clearing, just south of the heathland.


Hilversum 12, so extensive that it required a composite of three photographs to capture it in its entirety.


Grave Mound No 6 is the most northerly in the Westerheide.


Grave Mound No 4, with Mound 5 in the background.

Grave Mound No 5, with Mound 2 in the background.


Grave Mound No 2 is the largest of this group of seven barrows. This composite of two photographs shows the entire mound (with its summit fenced off), which is probably 4 metres tall and well over 20 metres wide.

Grave mounds 1 and 2, which almost overlap, viewed from the north. Mound No 1 is the leftmost of the pair in this view.

This is the view of Grave Mound No 1 first seen from the path on approaching the Hoorneboegse Heide.

Grave Mound No 2 is the biggest on this site, rising to an impressive 4 metres in height.


Grave Mound No 6 is a fairly inconspicuous heather-covered mound, no more than a metre in height.

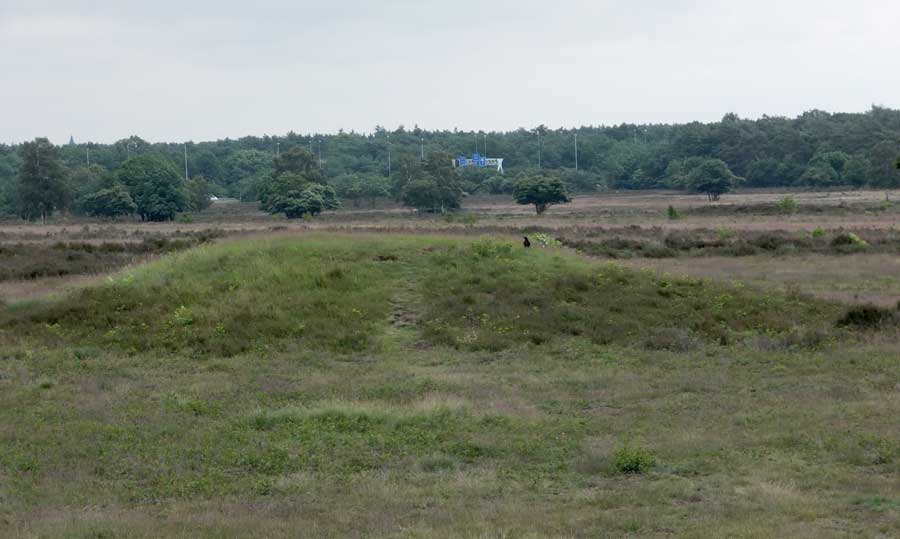
Grave Mound No 7 is barely recognisable and could easily be discounted as a mere undulation in the terrain. The fact that it is fenced off is all that gives the game away.

This map indicates the positions of the seven Grafheuvels in the Hoorneboegse Heide, located just south of Hilversum.

This is an image of Grave Mounds 1 and 2 as viewed from the summit of Mound No 7.

Grave Mound No 1 is probably the largest in this reserve, rising to at least 3 metres above the surrounding terrain. It lies immediately beside the path and presents an attractive green profile, free from the heather that partly masks some of the other barrows.
Grave Mound No 2 is one of the largest in this reserve, a symmetric green dome with a faint path crossing it.

Grave Mound No 3 is one of the smaller ones, rising from the heath as a compact inverted dome with a grassy summit.

Grave Mound No 4 barely reaches 2 metres in height, rising from the heath as a vegetated barrow with a grassy summit.

Grave Mound No 5 is a symmetrical grassy dome, about 2 metres in height, suffering somewhat from erosion.

Grave Mound No 7 is one of the largest, some 3 metres high, and will almost certainly be the first one encountered as you enter the reserve. It stands immediately adjacent to the path that leads to Mounds No 1 and 2. The mound is largely heather-covered, with just a hint of its grassy summit peeking out.

Grave Mound No 6 is one of the less significant of the seven, largely clothed in heather, but with its grassy summit just visible.

Map showing the locations of the Seven Grave Mounds (Zeven Bergjes) in the Zuiderheide to the northeast of Hilversum.

This map of the Westerheide shows the locations of the principal 13 Grave Mounds, and also the multiplicity of paths in the area. The pink markers show the locations and the yellow numbers the rather haphazard numeration of the mounds.
Scale: from north to south the map measures almost exactly one kilometre.


Detail of the sole capstone that still stands on its sidestones.

This stitched panorama was created from photographs taken with the camera elevated on a monopod, and provides an insight into the amazing ring of 24 kerbstones surrounding the hunebed itself.


This is the view of D50 obtained from the northeast.

This stitched panorama of three photographs emphasises the extent of this enormous hunebed.

The Stone of Noordbarge lies immediately adjacent to the sign indicating the western boundary of Emmen.
