
An Reidhean stone circle viewed from the northeast.
Image credit: Les Hamilton
An Reidhean stone circle viewed from the northeast.

Looking north across the stone circle from the low rise to its south. The hill at upper right is Beinn na Caillich, near Broadford.

The view north, along Loch Slapin, from An Reidhean stone circle.

Rigg Promontory Fort viewed from the car-park 130 metres above.

Rigg Promontory Fort viewed from half-way down the slope.

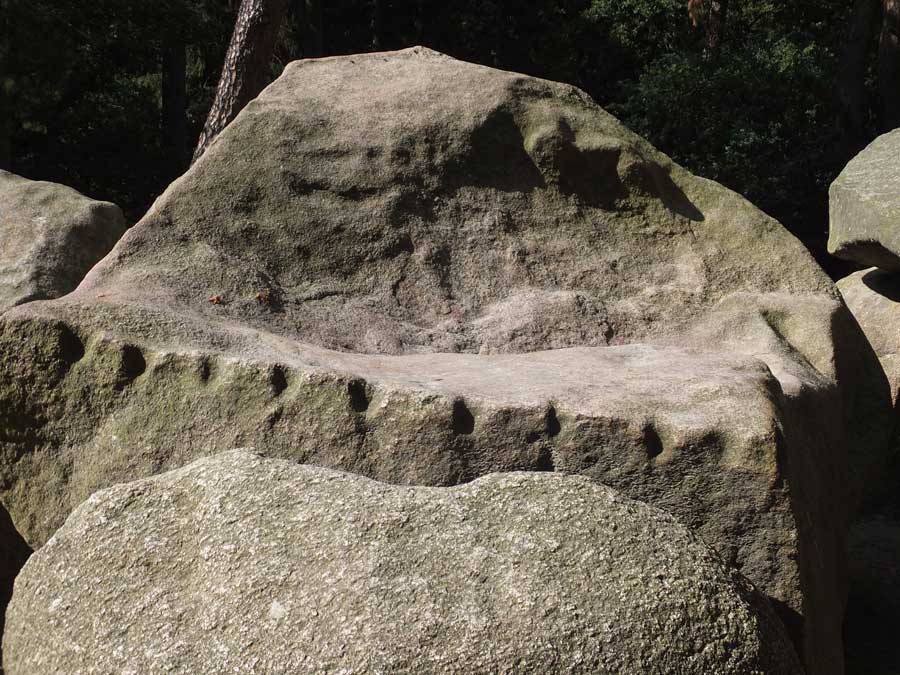
Looking into the peninsula with the remains of the separating wall in the middle ground.

Remains of the wall from the southwest, showing the entrance passage at lower right.

The remains of the two-metre thick wall isolating the promontory from the mainland. Both inner and outer wall faces are still well defined.

Looking along the length of the wall from the northeast.

Large foundation level blocks on the outer face of the wall.

Rigg Promontory Fort, guarded by vertical cliffs to its south.

The rocky knoll on which stands Dun Torvaig, viewed from the east.

The remains of Dun Torvaig, viewed from the rise to its southwest.

This stitched panorama highlights the degraded tumble of stonework on the southern flank of Dun Torvaig.

This last remnant of recognisable walling courses is located just north of the entrance passage.

The entranceway to Dun Torvaig, on the western side of the fort.

A few stones neatly aligned perpendicular with the direction of the wall might hint at the existence of a basal gallery.

Guide photo for finding the path to Hunebed D43 Schimmeres. Opposite the end of ‘Dopsheide’ at its junction with ‘Noordeinde’, follow the path shown for a few paces then take the dirt track to the right.

Hunebed D43 Schimmeres, covered in rank grasses in mid summer.

Impressive orthostats at the north end of the langgraaf.


D45 Emmerdennen, sparkling in the afternoon sunshine, in July 2017.
Evidence of boreholes, driven into stones in mediaeval times to split capstones for removal and use as masonry. Fortunately, most of the stones in D45 were too big to handle.

The repaired capstone: after a few years of weathering, the join is barely visible. A great repair job.

This ground-level composite photograph of hunebed D50 was taken from the east.

This ground-level composite photograph, taken from the west, really emphasises the grandeur of Hunebed D50.

Some, but not all, of the grave mounds at Kampsheide are flagged by these small information boards.

Certainly the most impressive burial mound I encountered, this one stands beside the path through the relatively open heathland to the southwest of the lake (red marker).

This smallish mound sits immediately adjacent to the path at the southernmost shore of the lake (green marker).

This is the largest mound in the clearing indicated by the blue marker.

Grave mounds in the clearing indicated by the blue marker on the maps.

Map of Kampsheide, indicating the main paths (white dotted lines).

Looking from the heathland, over a gate towards Galgenberg and the forest.

Galgenberg, newly strimmed, in sunshine.

This grave mound is seen from the path bordering Tumulibos.

A well proportioned mound beside the path that winds through the woodland.


This grafheuvel (grave mound), sunlit in a clearing.

A grave mound surrounded by beech trees.


The Offerberg cairn can be seen in the shade of large trees. This is the view from the Tumulibos, to its east.


Faint evidence of residual walling courses at Dun Craig.

A view northwards across the summit of Dun Craig.

