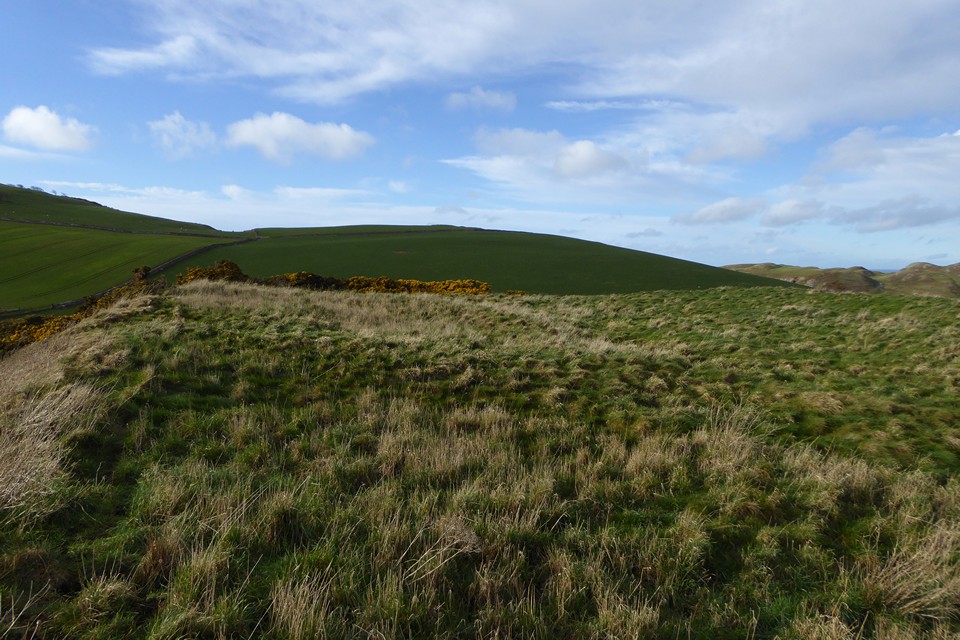
Row of orthostats to the northeast of the northern enclosure, which can be seen behind.
Image credit: A. Brookes (11.3.2019)

Row of orthostats to the northeast of the northern enclosure, which can be seen behind.

The northwestern half of the northern enclosure on the left, the bank dividing the enclosure in the lower right foreground.

The southeastern half of the northern enclosure.

Hut circle between the two enclosures.

Orthostats marking the northeastern entrance to the southern enclosure. Dod Hill rises behind.

Detail of the bank of the southern enclosure.

The southern enclosure, looking northeast.

Dod Hill from the big cairn.

Looking southwest across the big cairn towards Cunyan Crags and Dunmoor Hill.

Stone piles on the east of the big cairn. Looking towards Heddon Hill.

Another of the smaller cairns.

One of the smaller cairns in the foreground, the big cairn beyond. Looking towards Dod Hill.

The remaining rim on the northwestern arc of the big cairn.

Approaching from the southwest.
The remains of a very substantial cairn with several smaller ones, at the bottom of the eastern slopes of Dod Hill, which is an obvious focal point.
Pastscape description:
Although severely robbed, the surviving rim of this round cairn shows it was originally about 23.0m overall diameter.
An arc of earthfast kerbstones is visible around the S side, but the entire NE quadrant has been destroyed by robbing. Standing to a maximum height of 1.3m on the W side, the original height of the cairn was probably at least double this, judging by the large rubble heaps and sheepfolds nearby.
Six metres S. of the cairn, is a compact sub-circular earth and rubble mound about 5.0m in overall diameter and about 1.0m high. It appears undisturbed and cannot be regarded as spoil from the larger mound. Possibly a small satellite cairn, but one cannot be certain on ground evidence.
Remains of a further 4 round cairns, between 3.5 metres and 5 metres in diameter and up to 0.5 metres high, can be seen to the south and east.

Dod Hill from the southwest. The long cairn is somewhere on the facing slope – ridiculously strong winds prevented a climb of the hill.

The circle with Hedgehope Hill rising behind.

The enclosure across the burn, looking towards Hedgehope Hill and the Cheviot.
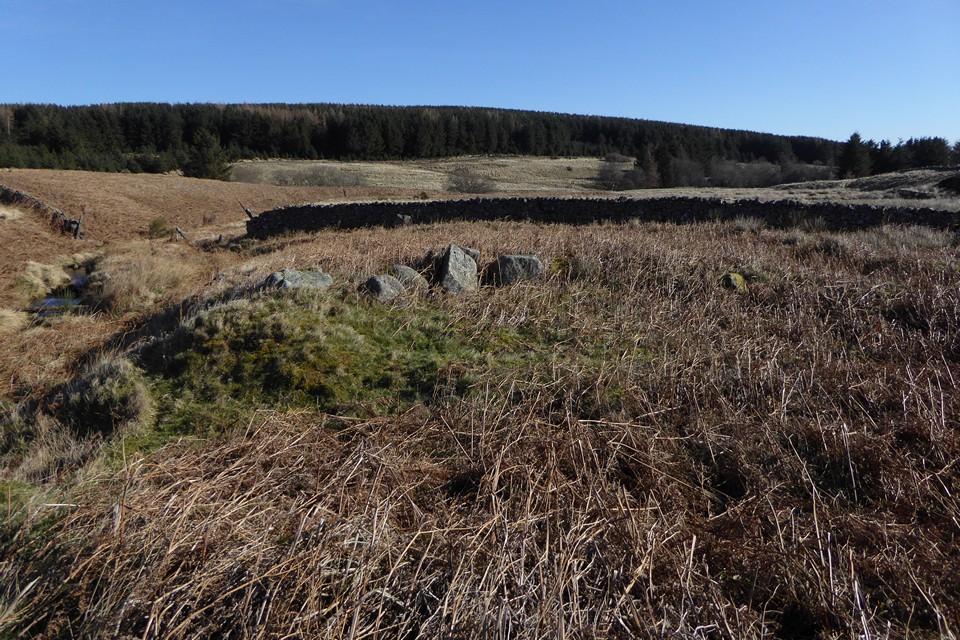
The enclosure across the burn from the circle.

Two of the stones in the “row” to the northeast of the circle.


Fallen stone in the northeastern arc.

Not all the stones are large, some are smaller than these and half-buried in the grass and peat.

Looking north-ish across the circle.

The three largest stones of the circle.

Looking east-ish along Threestone Burn.

General view of this excellent circle.
A mile to the southeast was a massive cairn, which yielded finds but is now gone. From pastscape:
(centred NU 039470) A tumulus of water-worn stones, about 26 feet high and 50 feet diameter, stood about 250 yards from High Water Mark, on the very extreme limit of the cultivated land, on the left of the road from Cheswick to the beach. When opened in 1826, it was found to contain several secondary inhumations, and, at its centre, a primary burial in a cist, 5 feet x 2 feet 6 inches, together with a bronze knife-dagger, now in the B.M.
No trace of a cairn in the area.
Canmore description of the fort/settlement site:
This fort is situated at an elevation of some 250ft OD, and occupies the NW end of a rocky knoll which rises some 40ft above a cultivated field.
It is enclosed by a single earth-and-stone rampart which follows the contour on three sides and crosses the summit on the fourth. In the interior are several rather indefinite foundations, and apparently a circular one on the right of the entrance and another nearer the centre. There are also a number of mounds and hollows of indeterminate character outside on the slope from the SE, probably due to quarrying.
The remains at this site are those of a probable two-phase settlement overlain by a farmstead. In the first phase the settlement measured 40m by 24.5m internally; subsequently it was extended on the NW by 13m. The enclosing bank is spread to a width of about 3.3m, except on the SE, where it is considerably thicker, with traces of an external ditch. The gap on the SE is probably associated with the farmstead, and the original entrance may have been on the N. The remains of the later farmstead are situated within the wall of the settlement. The buildings appear to have been ranged around a yard which was open on the SE. The most prominent feature is a building platform measuring 13m from NW to SE by 4.2m transversely set against the SW wall of the earlier settlement.
As well as the fort there is an intervisible prehistoric settlement site to the NW at NT 9083 6863. Canmore description:
This roughly rectangular settlement, measuring about 44m by 28.5m within a wall (0.6m high and spread to a thickness of 3.7m) occupies the rounded summit of a hill due S of Pettico Wick Harbour, (at an elevation of 105m OD). The S corner of the interior has been incorporated into what is probably a secondary enclosure containing the turf-covered footings of two circular houses. Within the settlement there are footings of two houses with internal diameters of 6.2m and 7m respectively.

Looking down on the fort (centre) from the slopes below Mire Lake NW settlement.

Looking out from the fort, across the low remains of the bank. Mire Loch NW settlement is prominent on top of the hill behind.


Landscape context from the west. The fort occupies the small headland (centre of shot). St Abb’s Head rises behind.


Looking east towards St Abb’s Head from the eastern fort.

Standing inside the eastern fort, looking towards the western fort.

Outer defences of the eastern fort, with Coldingham Loch beyond.

The western fort from the outer bank of the eastern fort, showing the multiple lines of banks and ditches.

One of the round house platforms in the western fort.